mNo edit summary Tag: Visual edit |
mNo edit summary |
||
| (25 intermediate revisions by 3 users not shown) | |||
| Line 1: | Line 1: | ||
| − | + | '''Locations''' are various places that [[Ninja]] visits over the course of his adventure. Each area has a unique theme, design, and specific set of [[enemies]]. |
|
| − | == |
+ | == Messenger Island == |
| + | :''For the main article, see [[Messenger Island]].'' |
||
{| class="article-table" style="text-align: center; font-family: 'Press Start 2P', cursive; font-size: 13px; text-align: center; background: transparent;" cellspacing="15px" cellpadding="15px" |
{| class="article-table" style="text-align: center; font-family: 'Press Start 2P', cursive; font-size: 13px; text-align: center; background: transparent;" cellspacing="15px" cellpadding="15px" |
||
|- |
|- |
||
| − | | [[File:NinjaVillage.png| |
+ | | [[File:NinjaVillage.png|225px|link=Ninja Village]] |
| − | | [[File:AutumnHills.png| |
+ | | [[File:AutumnHills.png|225px|link=Autumn Hills]] |
| − | | [[File:ForlornTemple.png| |
+ | | [[File:ForlornTemple.png|225px|link=Forlorn Temple]] |
|- |
|- |
||
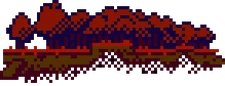
| [[Ninja Village]] |
| [[Ninja Village]] |
||
| Line 12: | Line 13: | ||
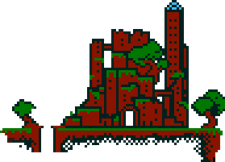
| [[Forlorn Temple]] |
| [[Forlorn Temple]] |
||
|- |
|- |
||
| − | | [[File:Catacombs.png| |
+ | | [[File:Catacombs.png|225px|link=Catacombs]] |
| − | | [[File:BambooCreek.png| |
+ | | [[File:BambooCreek.png|225px|link=Bamboo Creek]] |
| − | | [[File:HowlingGrotto and LostWoods.png| |
+ | | [[File:HowlingGrotto and LostWoods.png|125px|link=Howling Grotto]] |
|- |
|- |
||
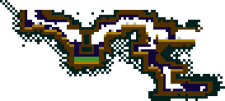
| [[Catacombs]] |
| [[Catacombs]] |
||
| Line 20: | Line 21: | ||
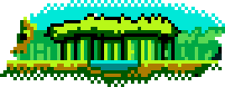
| [[Howling Grotto]] |
| [[Howling Grotto]] |
||
|- |
|- |
||
| − | | [[File:QuillshroomMarsh.png| |
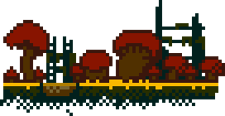
+ | | [[File:QuillshroomMarsh.png|225px|link=Quillshroom Marsh]] |
| − | | [[File:SearingCrags.png| |
+ | | [[File:SearingCrags.png|225px|link=Searing Crags]] |
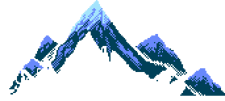
| − | | [[File:GlacialPeak.png| |
+ | | [[File:GlacialPeak.png|225px|link=Glacial Peak]] |
|- |
|- |
||
| [[Quillshroom Marsh]] |
| [[Quillshroom Marsh]] |
||
| Line 28: | Line 29: | ||
| [[Glacial Peak]] |
| [[Glacial Peak]] |
||
|- |
|- |
||
| − | | [[File:TowerOfTime.png| |
+ | | [[File:TowerOfTime.png|100px|link=Tower of Time]] |
| − | | [[File:CloudRuins.png| |
+ | | [[File:CloudRuins.png|225px|link=Cloud Ruins]] |
| − | | [[File:UnderWorld.png| |
+ | | [[File:UnderWorld.png|225px|link=Underworld]] |
|- |
|- |
||
| [[Tower of Time]] |
| [[Tower of Time]] |
||
| Line 36: | Line 37: | ||
| [[Underworld]] |
| [[Underworld]] |
||
|- |
|- |
||
| − | | [[File:DarkCave.png| |
+ | | [[File:DarkCave.png|225px|link=Dark Cave]] |
| − | | [[File:RiviereTurquoise.png| |
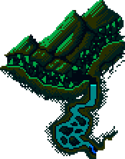
+ | | [[File:RiviereTurquoise.png|225px|link=Rivière Turquoise]] |
| − | | [[File:SunkenShrine.png| |
+ | | [[File:SunkenShrine.png|225px|link=Sunken Shrine]] |
|- |
|- |
||
| [[Dark Cave]] |
| [[Dark Cave]] |
||
| Line 44: | Line 45: | ||
| [[Sunken Shrine]] |
| [[Sunken Shrine]] |
||
|- |
|- |
||
| − | | [[File:ElementalSkylands.png| |
+ | | [[File:ElementalSkylands.png|225px|link=Elemental Skylands]] |
| − | | [[File:CorruptedFuture.png| |
+ | | [[File:CorruptedFuture.png|100px|link=Corrupted Future]] |
| − | | [[File:MusicBox.png| |
+ | | [[File:MusicBox.png|225px|link=Music Box]] |
|- |
|- |
||
| [[Elemental Skylands]] |
| [[Elemental Skylands]] |
||
| Line 53: | Line 54: | ||
|} |
|} |
||
| − | == |
+ | == Voodkin Island == |
| + | :''For the main article, see [[Voodkin Island]].'' |
||
{| class="article-table" style="text-align: center; font-family: 'Press Start 2P', cursive; font-size: 13px; text-align: center; background: transparent;" cellspacing="15px" cellpadding="15px" |
{| class="article-table" style="text-align: center; font-family: 'Press Start 2P', cursive; font-size: 13px; text-align: center; background: transparent;" cellspacing="15px" cellpadding="15px" |
||
|- |
|- |
||
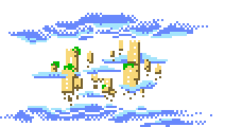
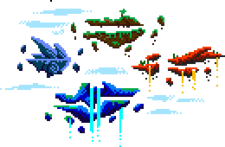
| + | | [[File:DLC_01_01.png|225px|link=Open Sea]] |
||
| − | | style="width: 1/3" | |
||
| − | | style="width: |
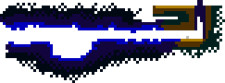
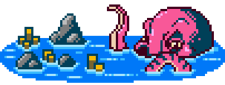
+ | | style="width: 175pt;" |[[File:DLC_01_02.png|235px|link=Voodkin Shore]] |
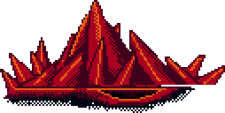
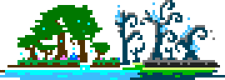
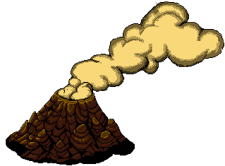
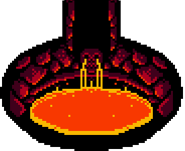
| + | | [[File:DLC_01_03.png|225px|link=Fire Mountain]] |
||
| − | | style="width: 1/3" | |
||
| + | |- |
||
| + | | [[Open Sea]] |
||
| + | | [[Voodkin Shore]] |
||
| + | | [[Fire Mountain]] |
||
| + | |- |
||
| + | | |
||
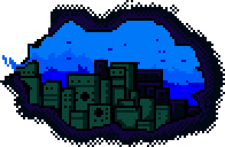
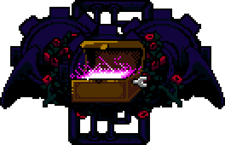
| + | | [[File:DLC_01_04 Edited.png|185px|link=Voodoo Heart]] |
||
| + | | |
||
| + | |- |
||
| + | | |
||
| + | | [[Voodoo Heart]] |
||
| + | | |
||
| + | |} |
||
| + | |||
| + | == Miscellaneous Locations == |
||
| + | {| class="article-table" style="text-align: center; font-family: 'Press Start 2P', cursive; font-size: 13px; text-align: center; background: transparent;" cellspacing="15px" cellpadding="15px" |
||
| + | |- |
||
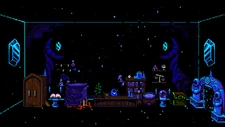
| + | | [[File:The Shop.png|225px|link=The Shop]] |
||
| + | | [[File:Tower of Time HQ.png|225px|link=Tower of Time HQ]] |
||
| + | | style="width: 175pt;" |[[File:The Craftsman's Corner 16-Bit.png|225px|link=The Craftsman's Corner]] |
||
|- |
|- |
||
| [[The Shop]] |
| [[The Shop]] |
||
| [[Tower of Time HQ]] |
| [[Tower of Time HQ]] |
||
| + | | [[The Craftsman's Corner]] |
||
| + | |- |
||
| + | | |
||
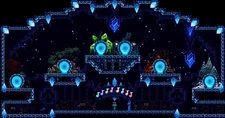
| + | | [[File:TowerOfTime_8_RoomBackground01.png|225px|link=The Void]] |
||
| + | | |
||
| + | |- |
||
| + | | |
||
| [[The Void]] |
| [[The Void]] |
||
| + | | |
||
|} |
|} |
||
| + | [[fr:Emplacements]] |
||
| + | [[pt-br:Regiões]] |
||
| + | [[ru:Локации]] |
||
[[Category:Locations]] |
[[Category:Locations]] |
||
Revision as of 19:56, 2 September 2019
Locations are various places that Ninja visits over the course of his adventure. Each area has a unique theme, design, and specific set of enemies.
Messenger Island
- For the main article, see Messenger Island.


Voodkin Island
- For the main article, see Voodkin Island.
|

|
|
| Open Sea | Voodkin Shore | Fire Mountain |
|
||
| Voodoo Heart |
Miscellaneous Locations
|
|

|
| The Shop | Tower of Time HQ | The Craftsman's Corner |

|
||
| The Void |