The Dark Messenger is a pseudo-boss in the Picnic Panic DLC of The Messenger. It and Dark Quarble are created via a voodoo ritual at the top of Fire Mountain due to Barma'thazël's handiwork. Ninja and Quarble must duel against their dark counterparts in a series of races inside the Voodoo Heart.
The Dark Messenger's outfit is a reskin option for Ninja, accompanied with accepting "THE DEAL" from the Voodoo Mask in New Game +.
Profile[]
Appearance[]
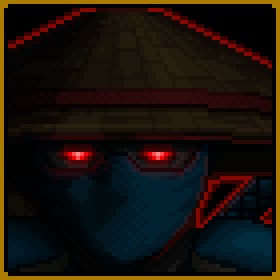
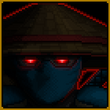
The Dark Messenger and Dark Quarble share the appearance of their normal counterparts, but they are shadowed in, have red glowing eyes, and have red glowing outlines around their bodies. 8-bit Dark Messenger is bluer in comparison to normal Ninja, and 16-bit Dark Messenger is always blurring into wavy static-like horizontal lines.
Personality[]
Neither the Dark Messenger or Dark Quarble speak, but the Dark Messenger listens obediently to Barma'thazël's instructions as if it were a puppet. Dark Quarble closely follows the Dark Messenger around wherever it goes.
During a very specific race room (1W-4L), the Dark Messenger is placed on a moving platform near the top of the screen as Ninja struggles with obstacles at the bottom of the room. As the Dark Messenger is slowly escorted to the finish line, it playfully crouches up and down throughout the race, which would suggest it does have some form of self-awareness.
Dark Quarble reacts to pain from being damaged by the Voodoo Idols, sharing Quarble's typical shocked expression.
Boss Fight[]
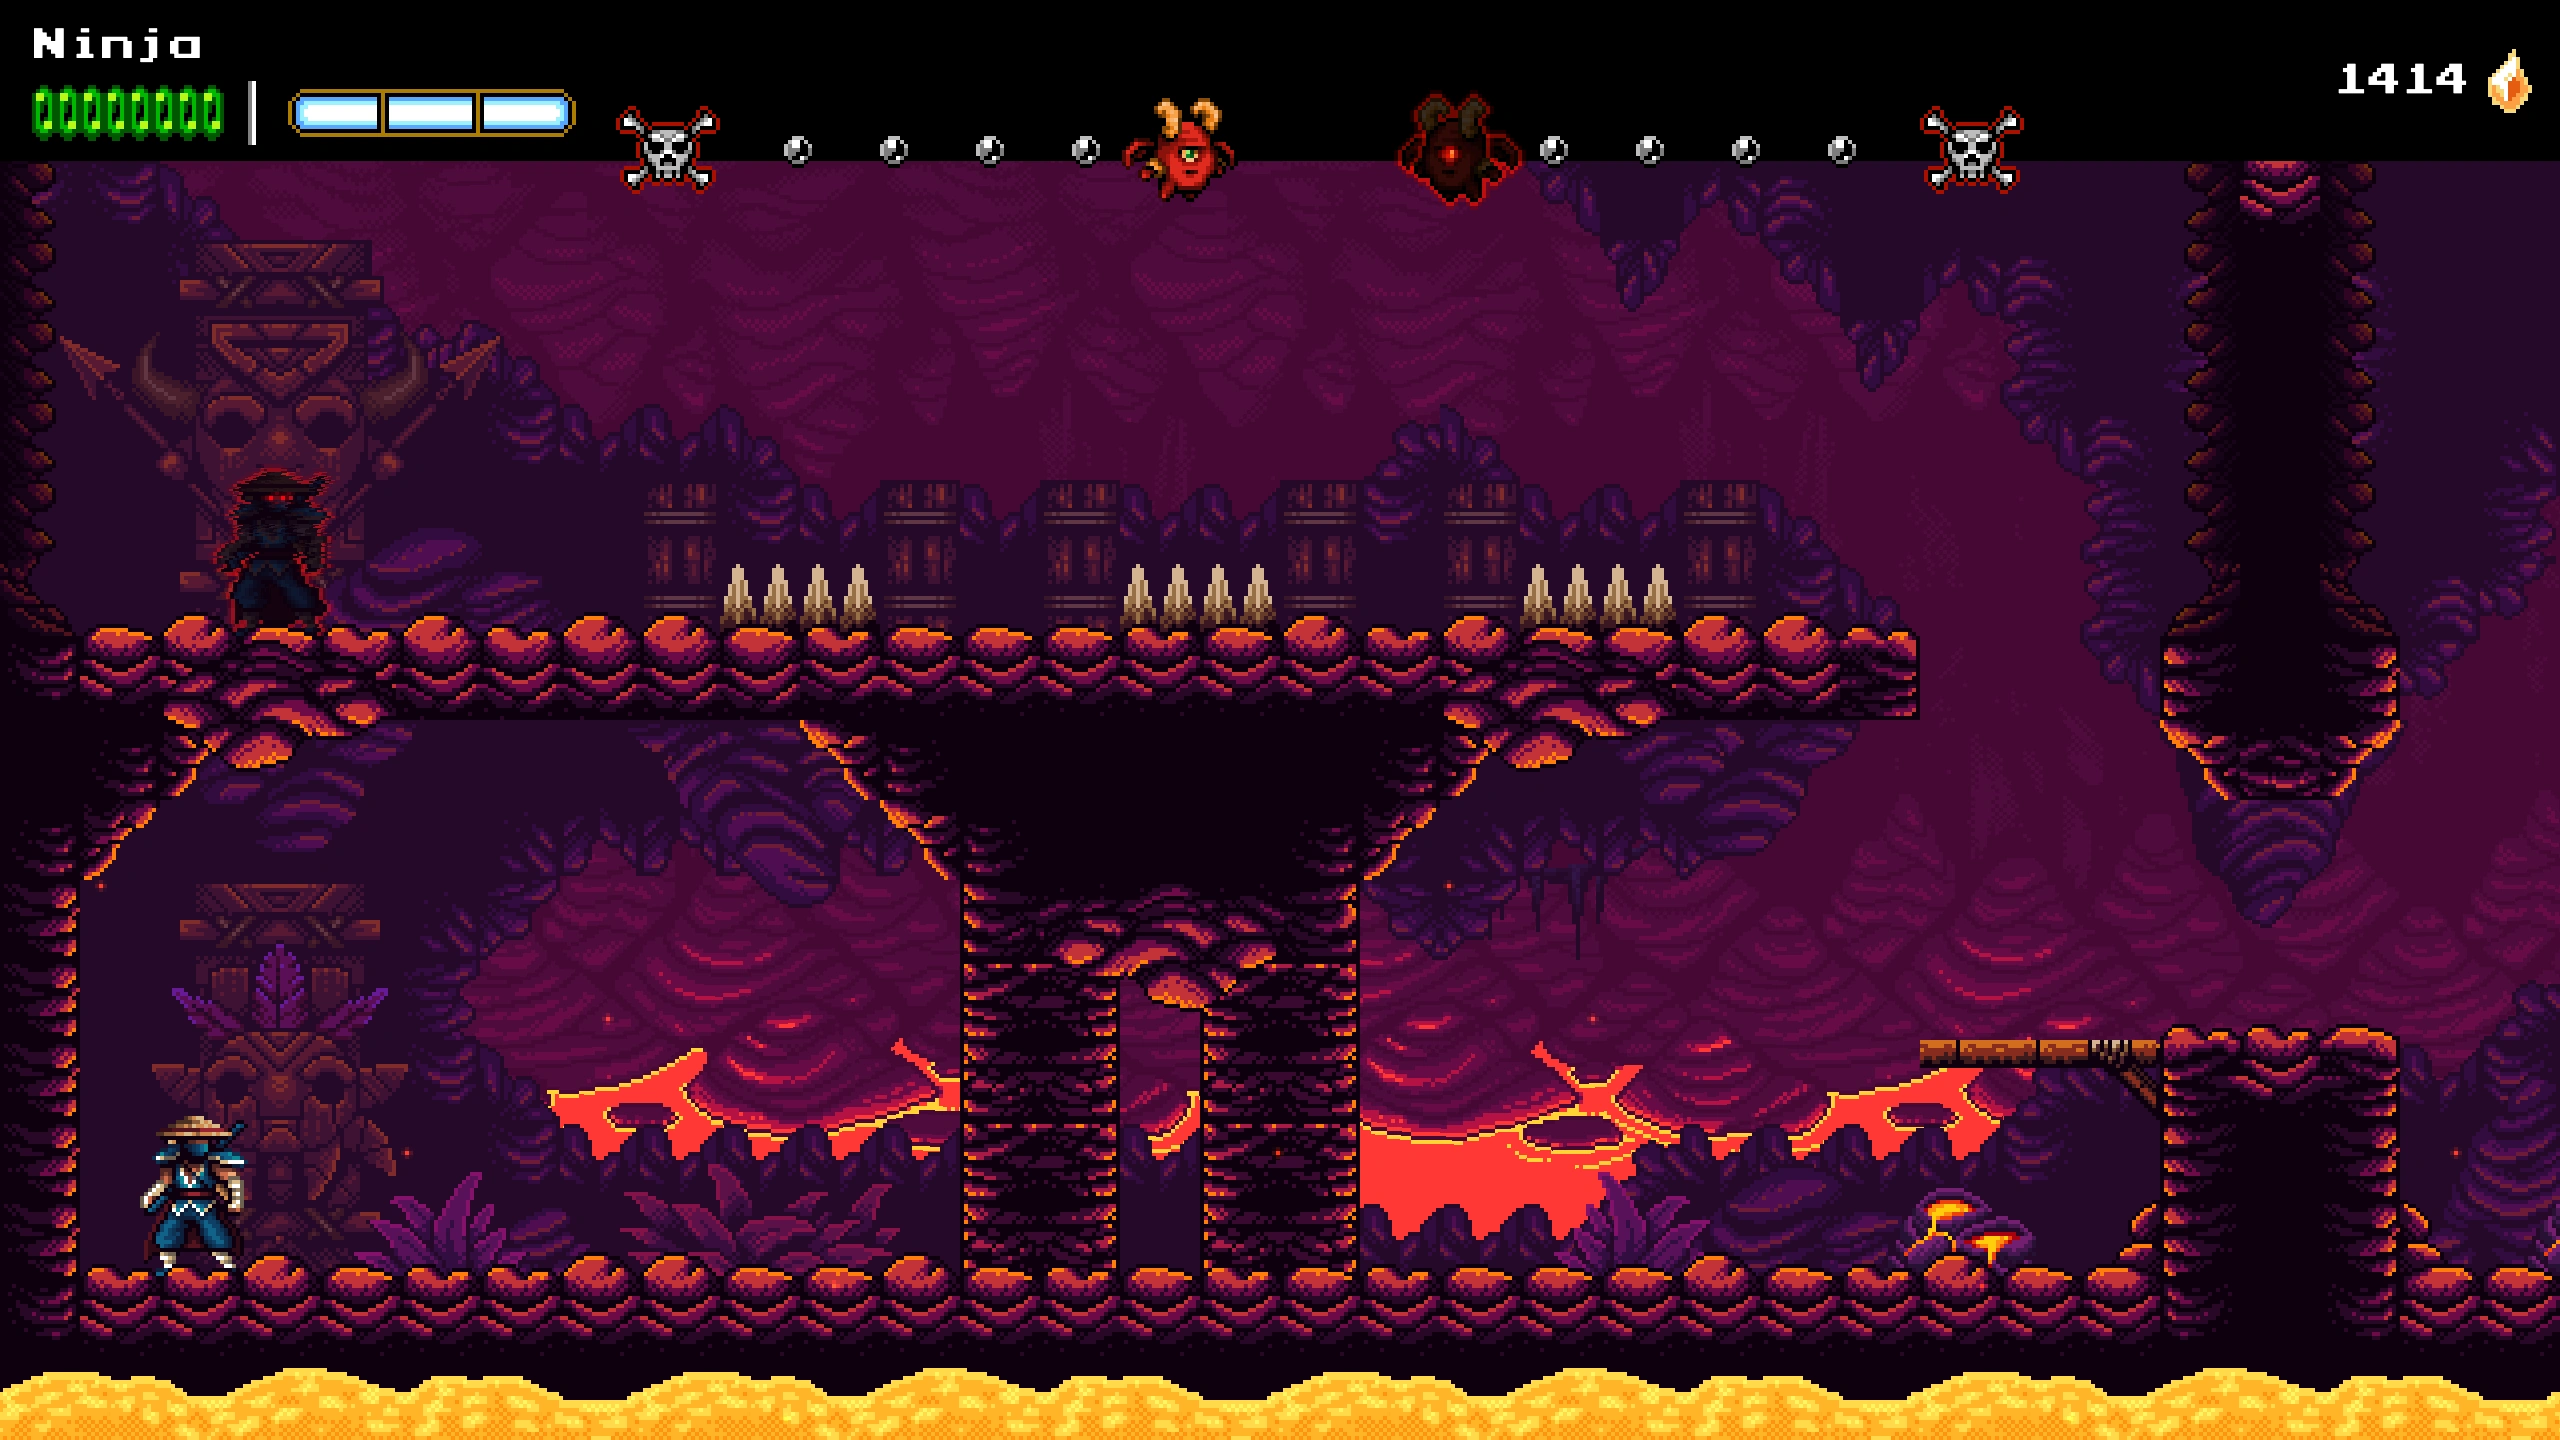
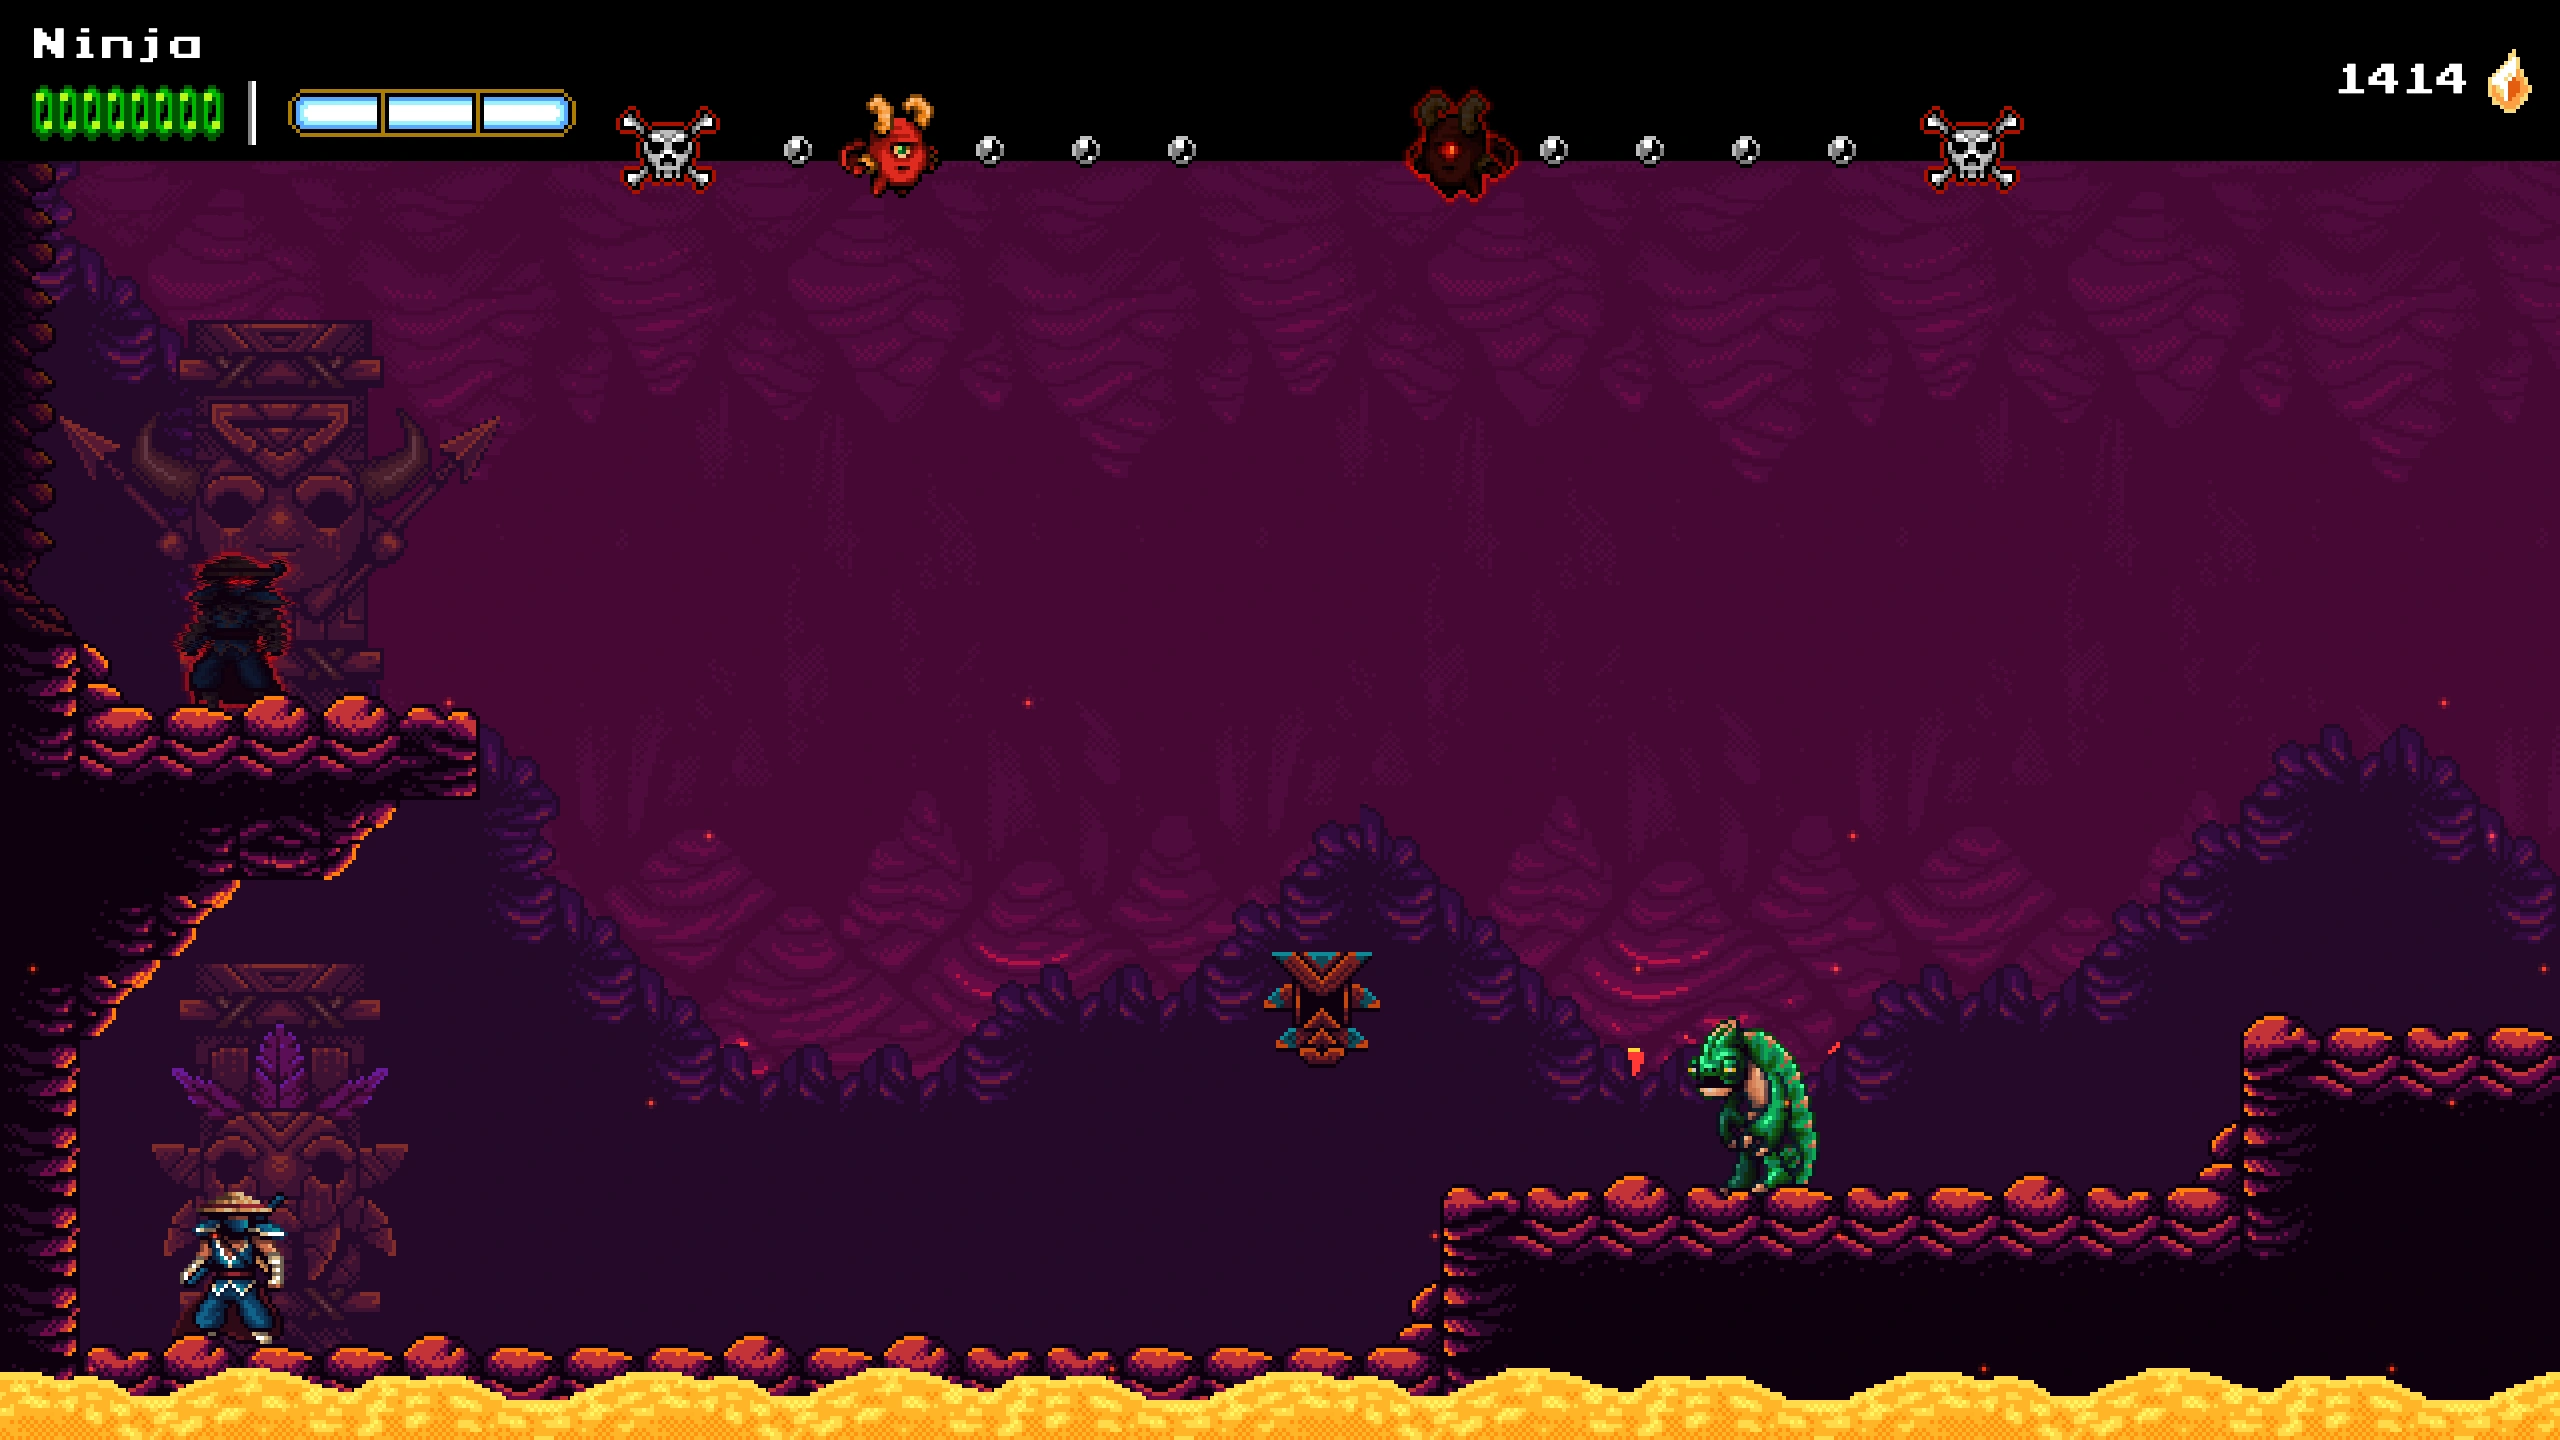
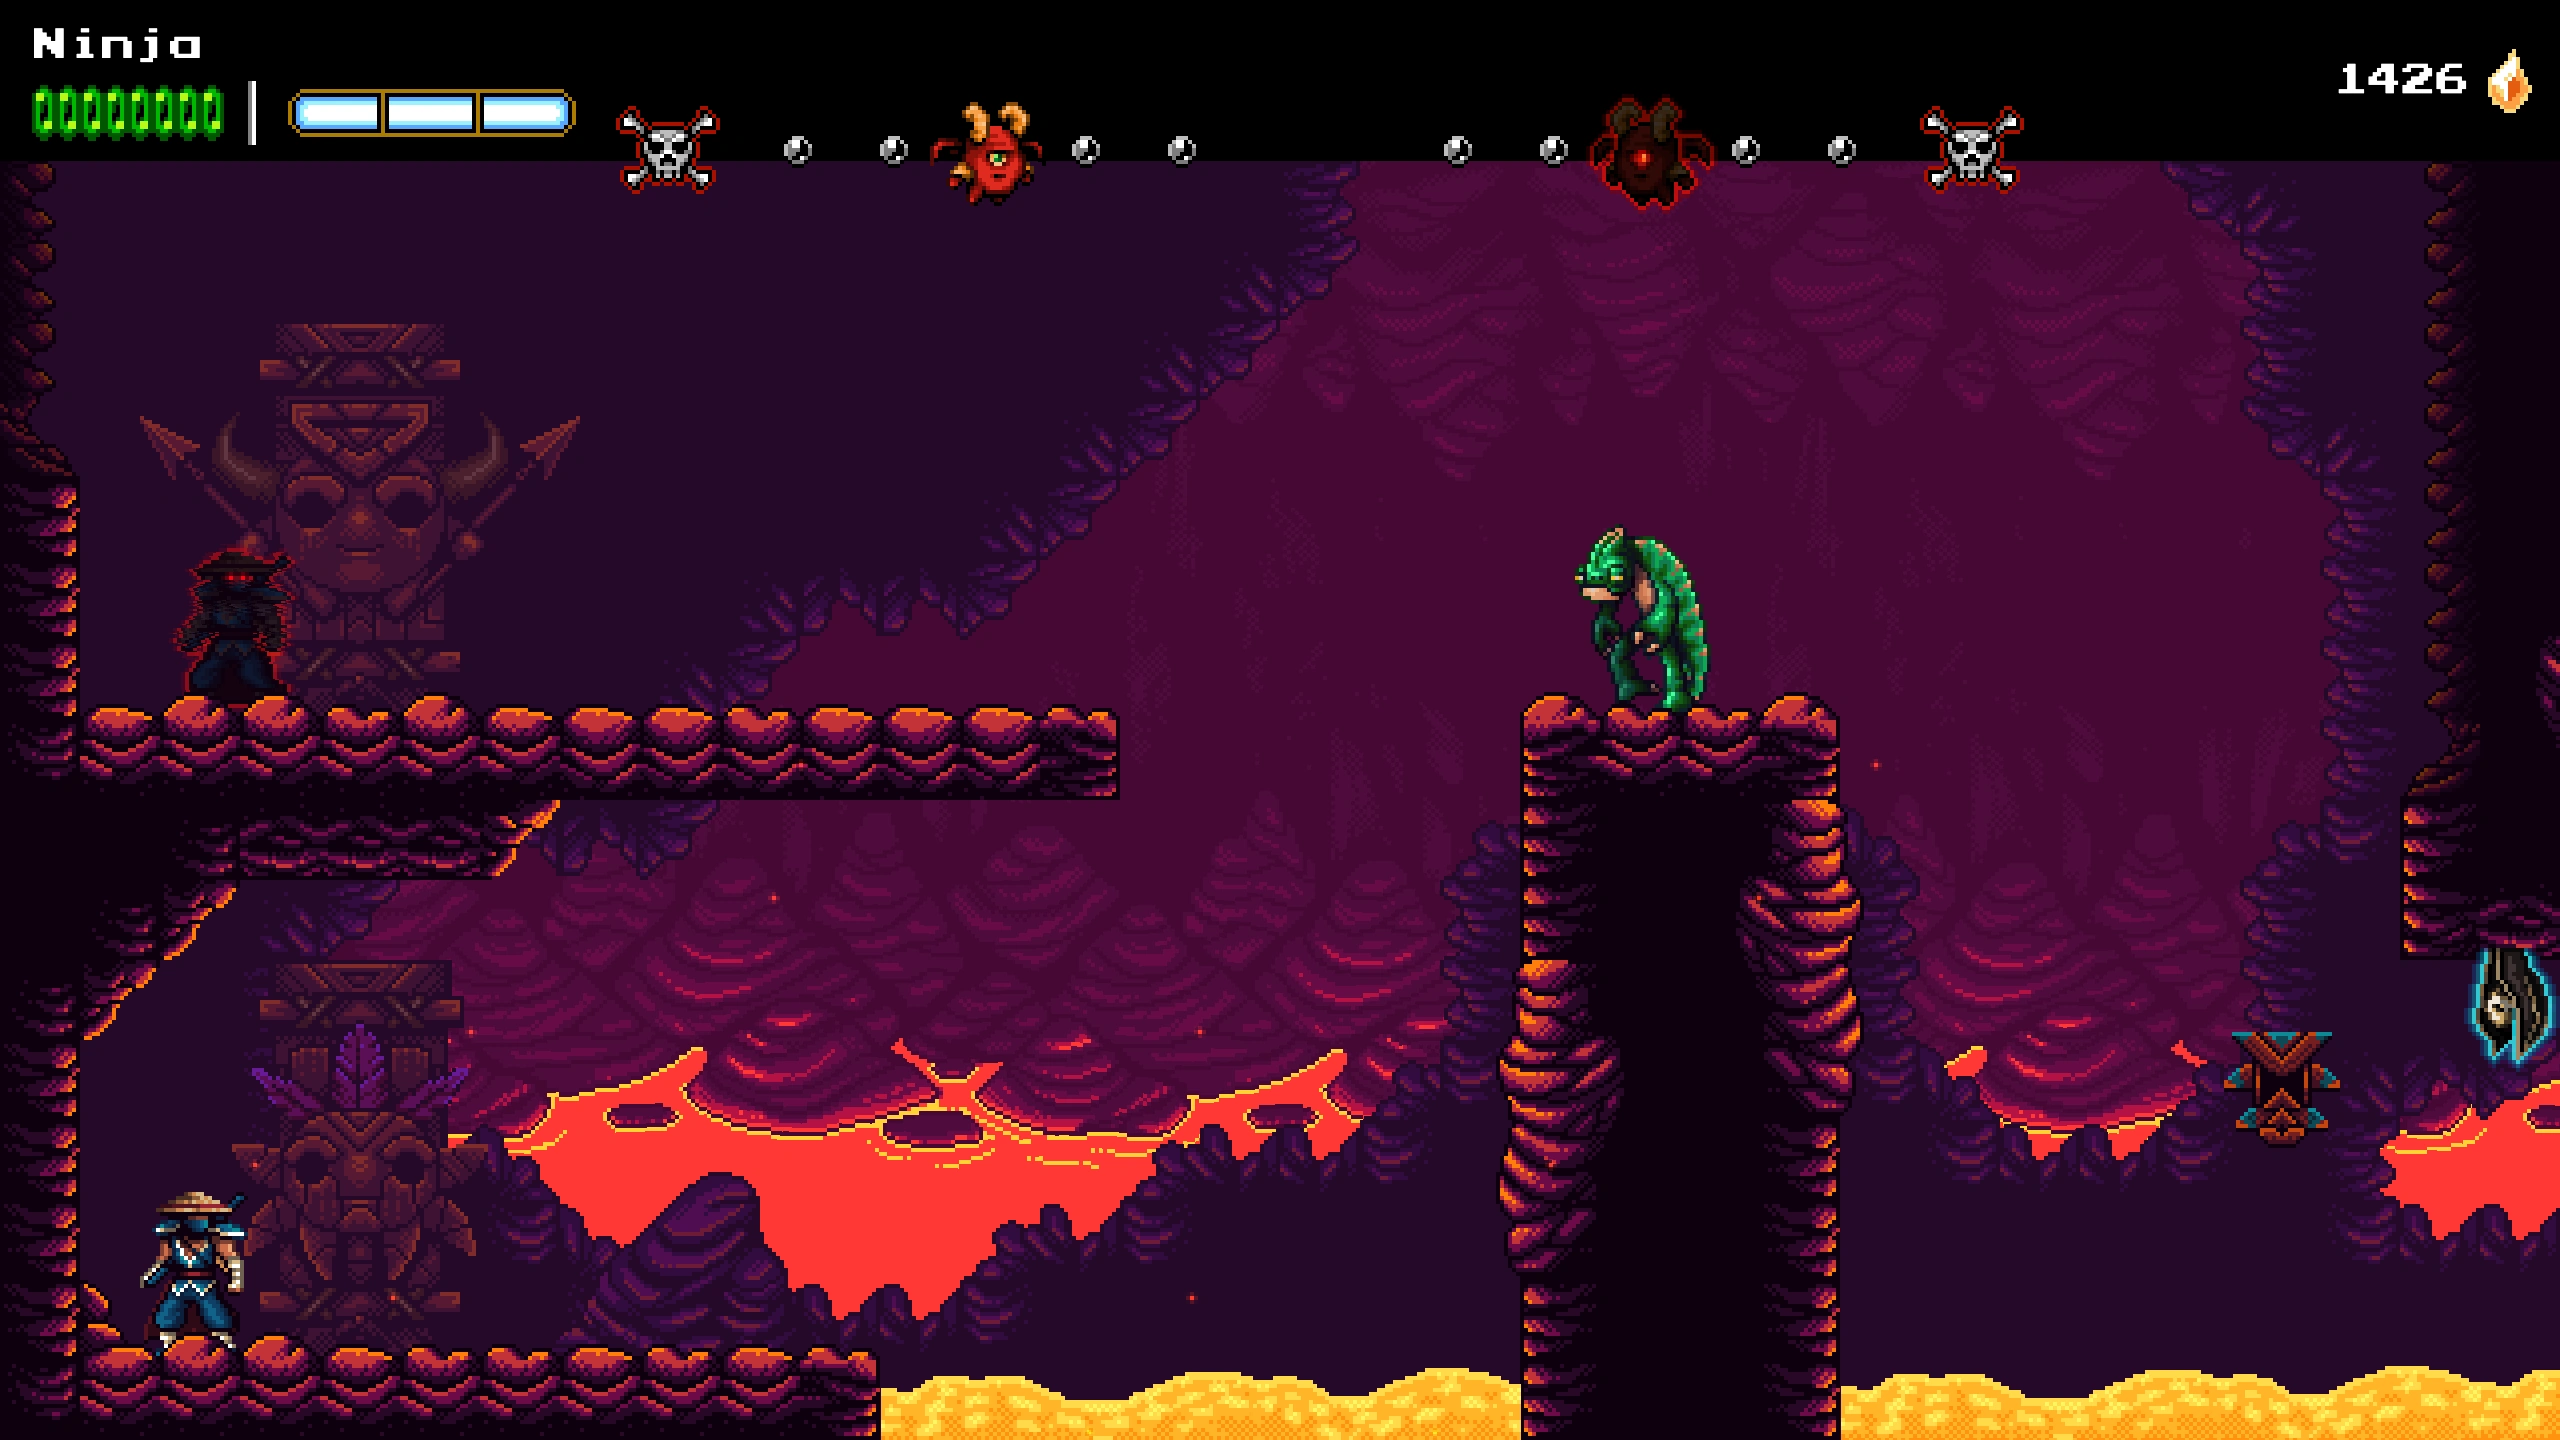
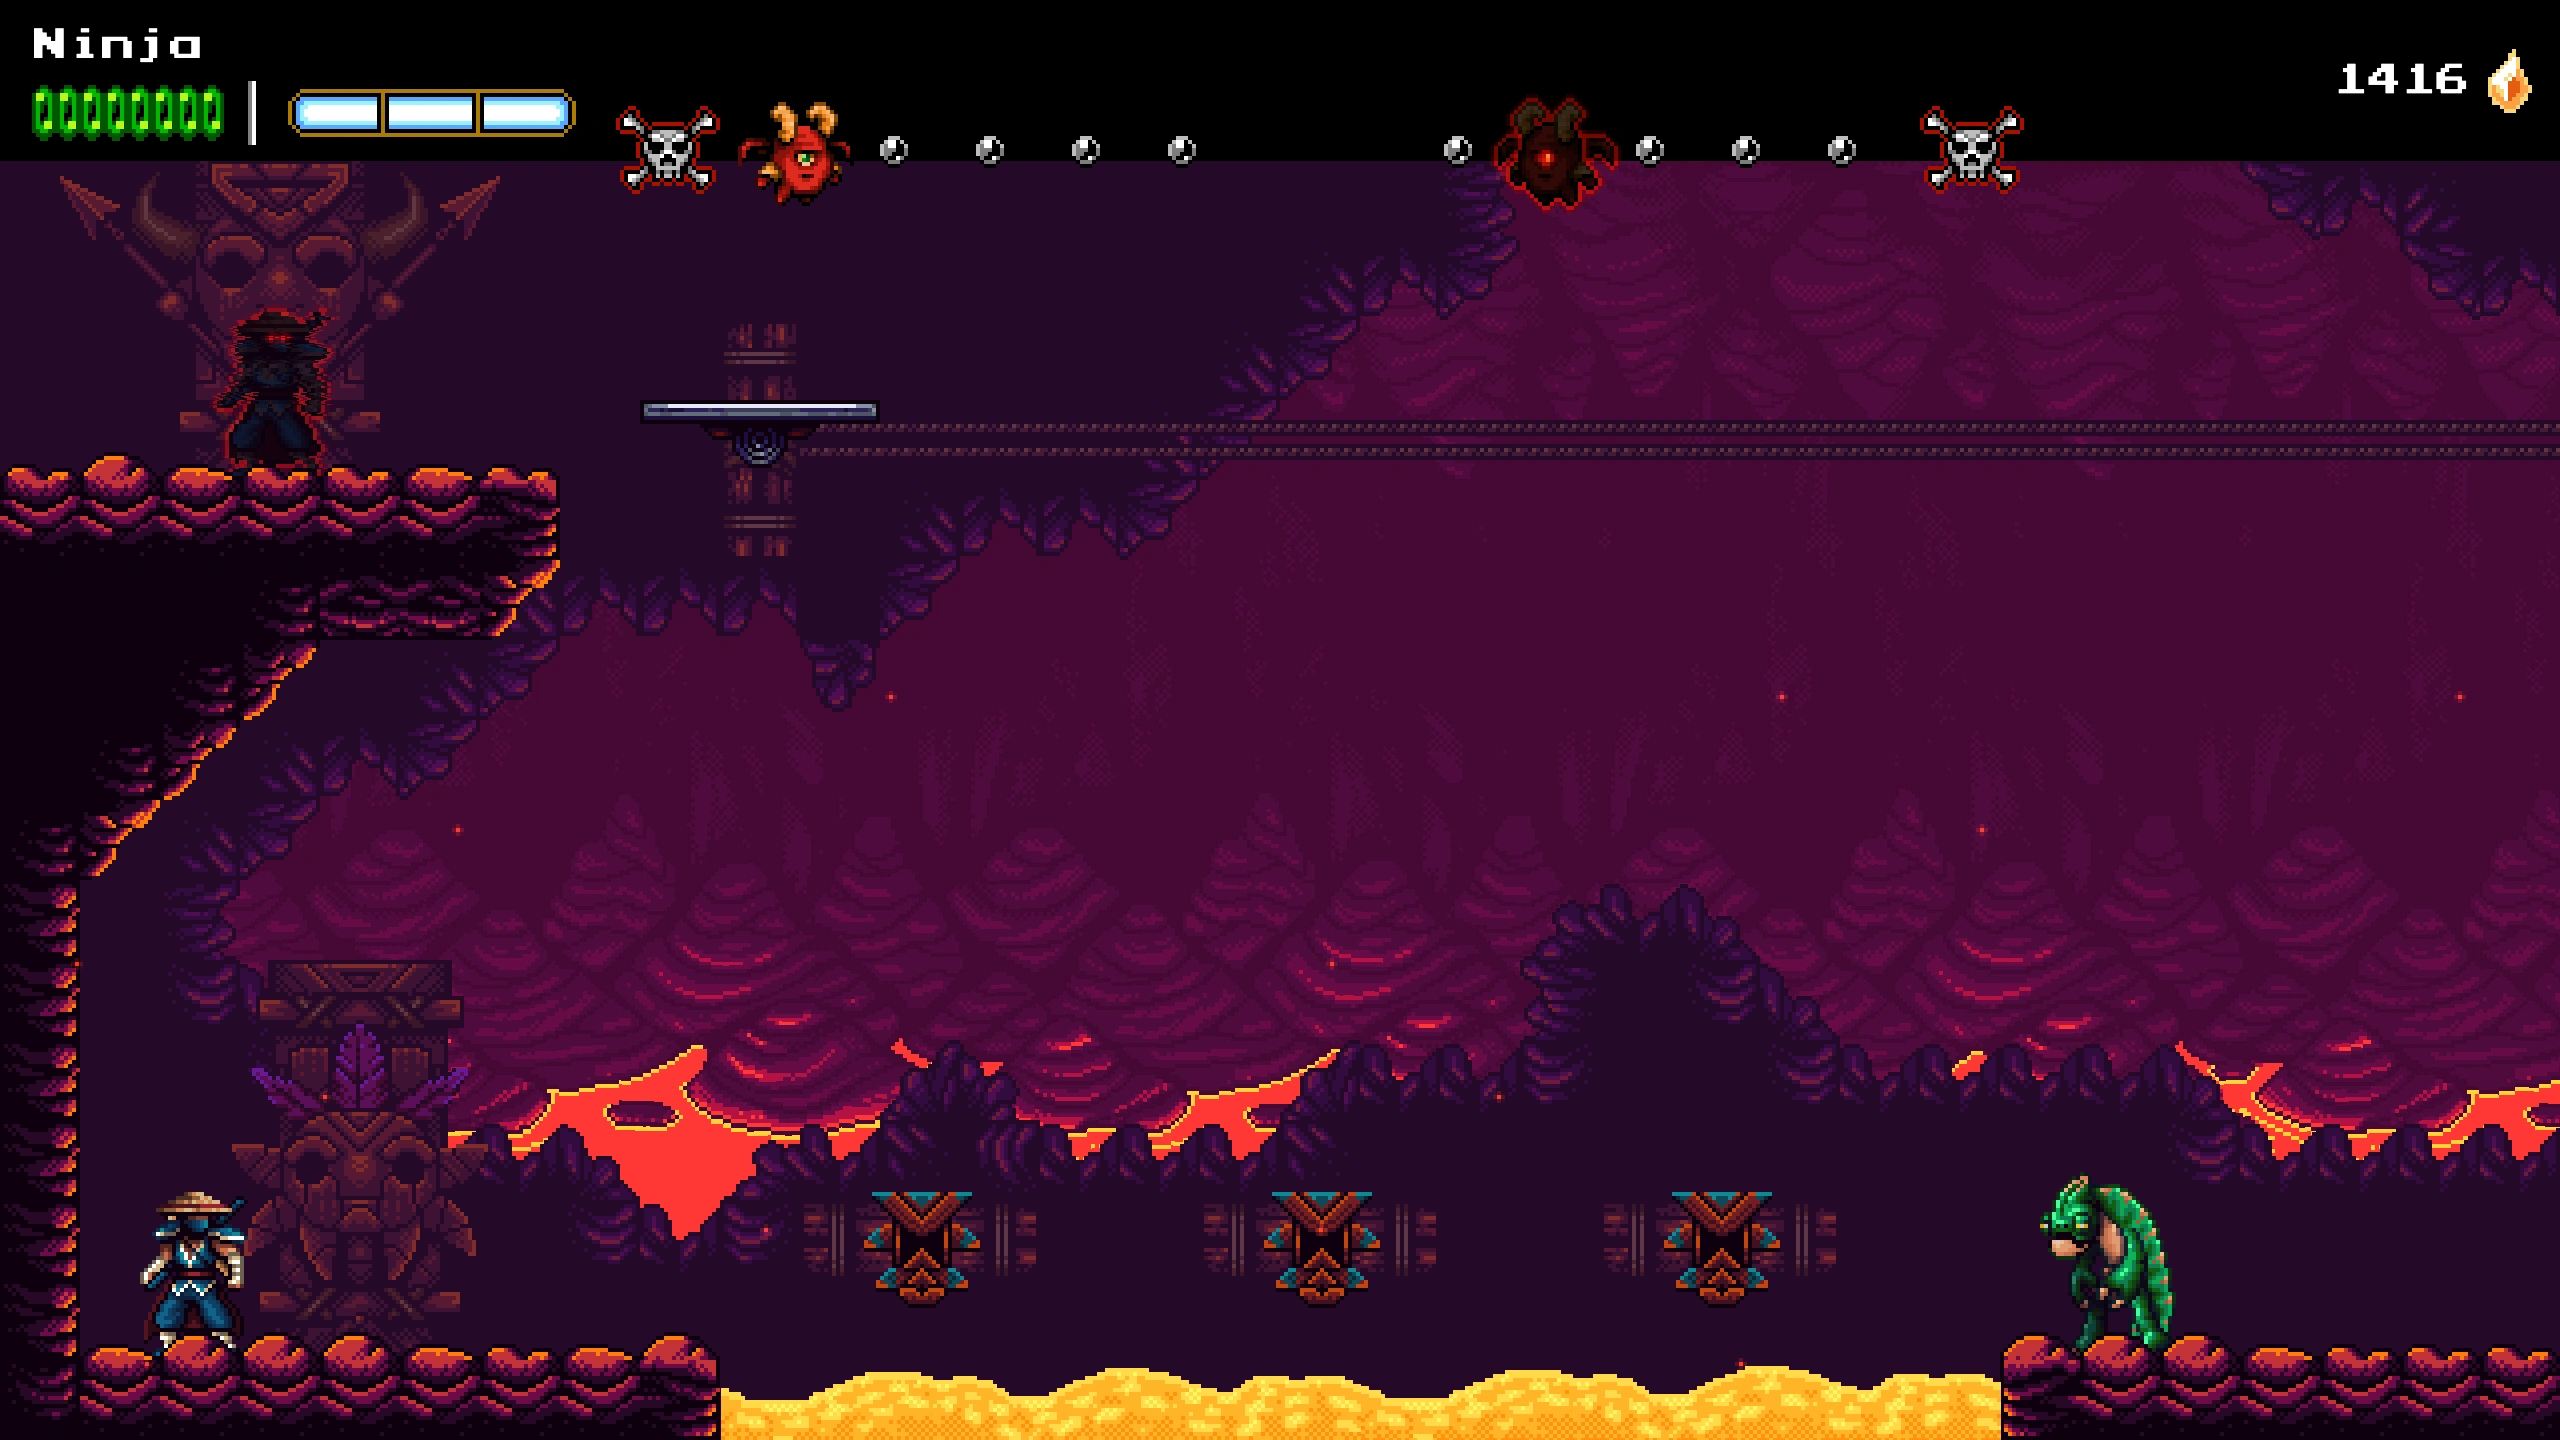
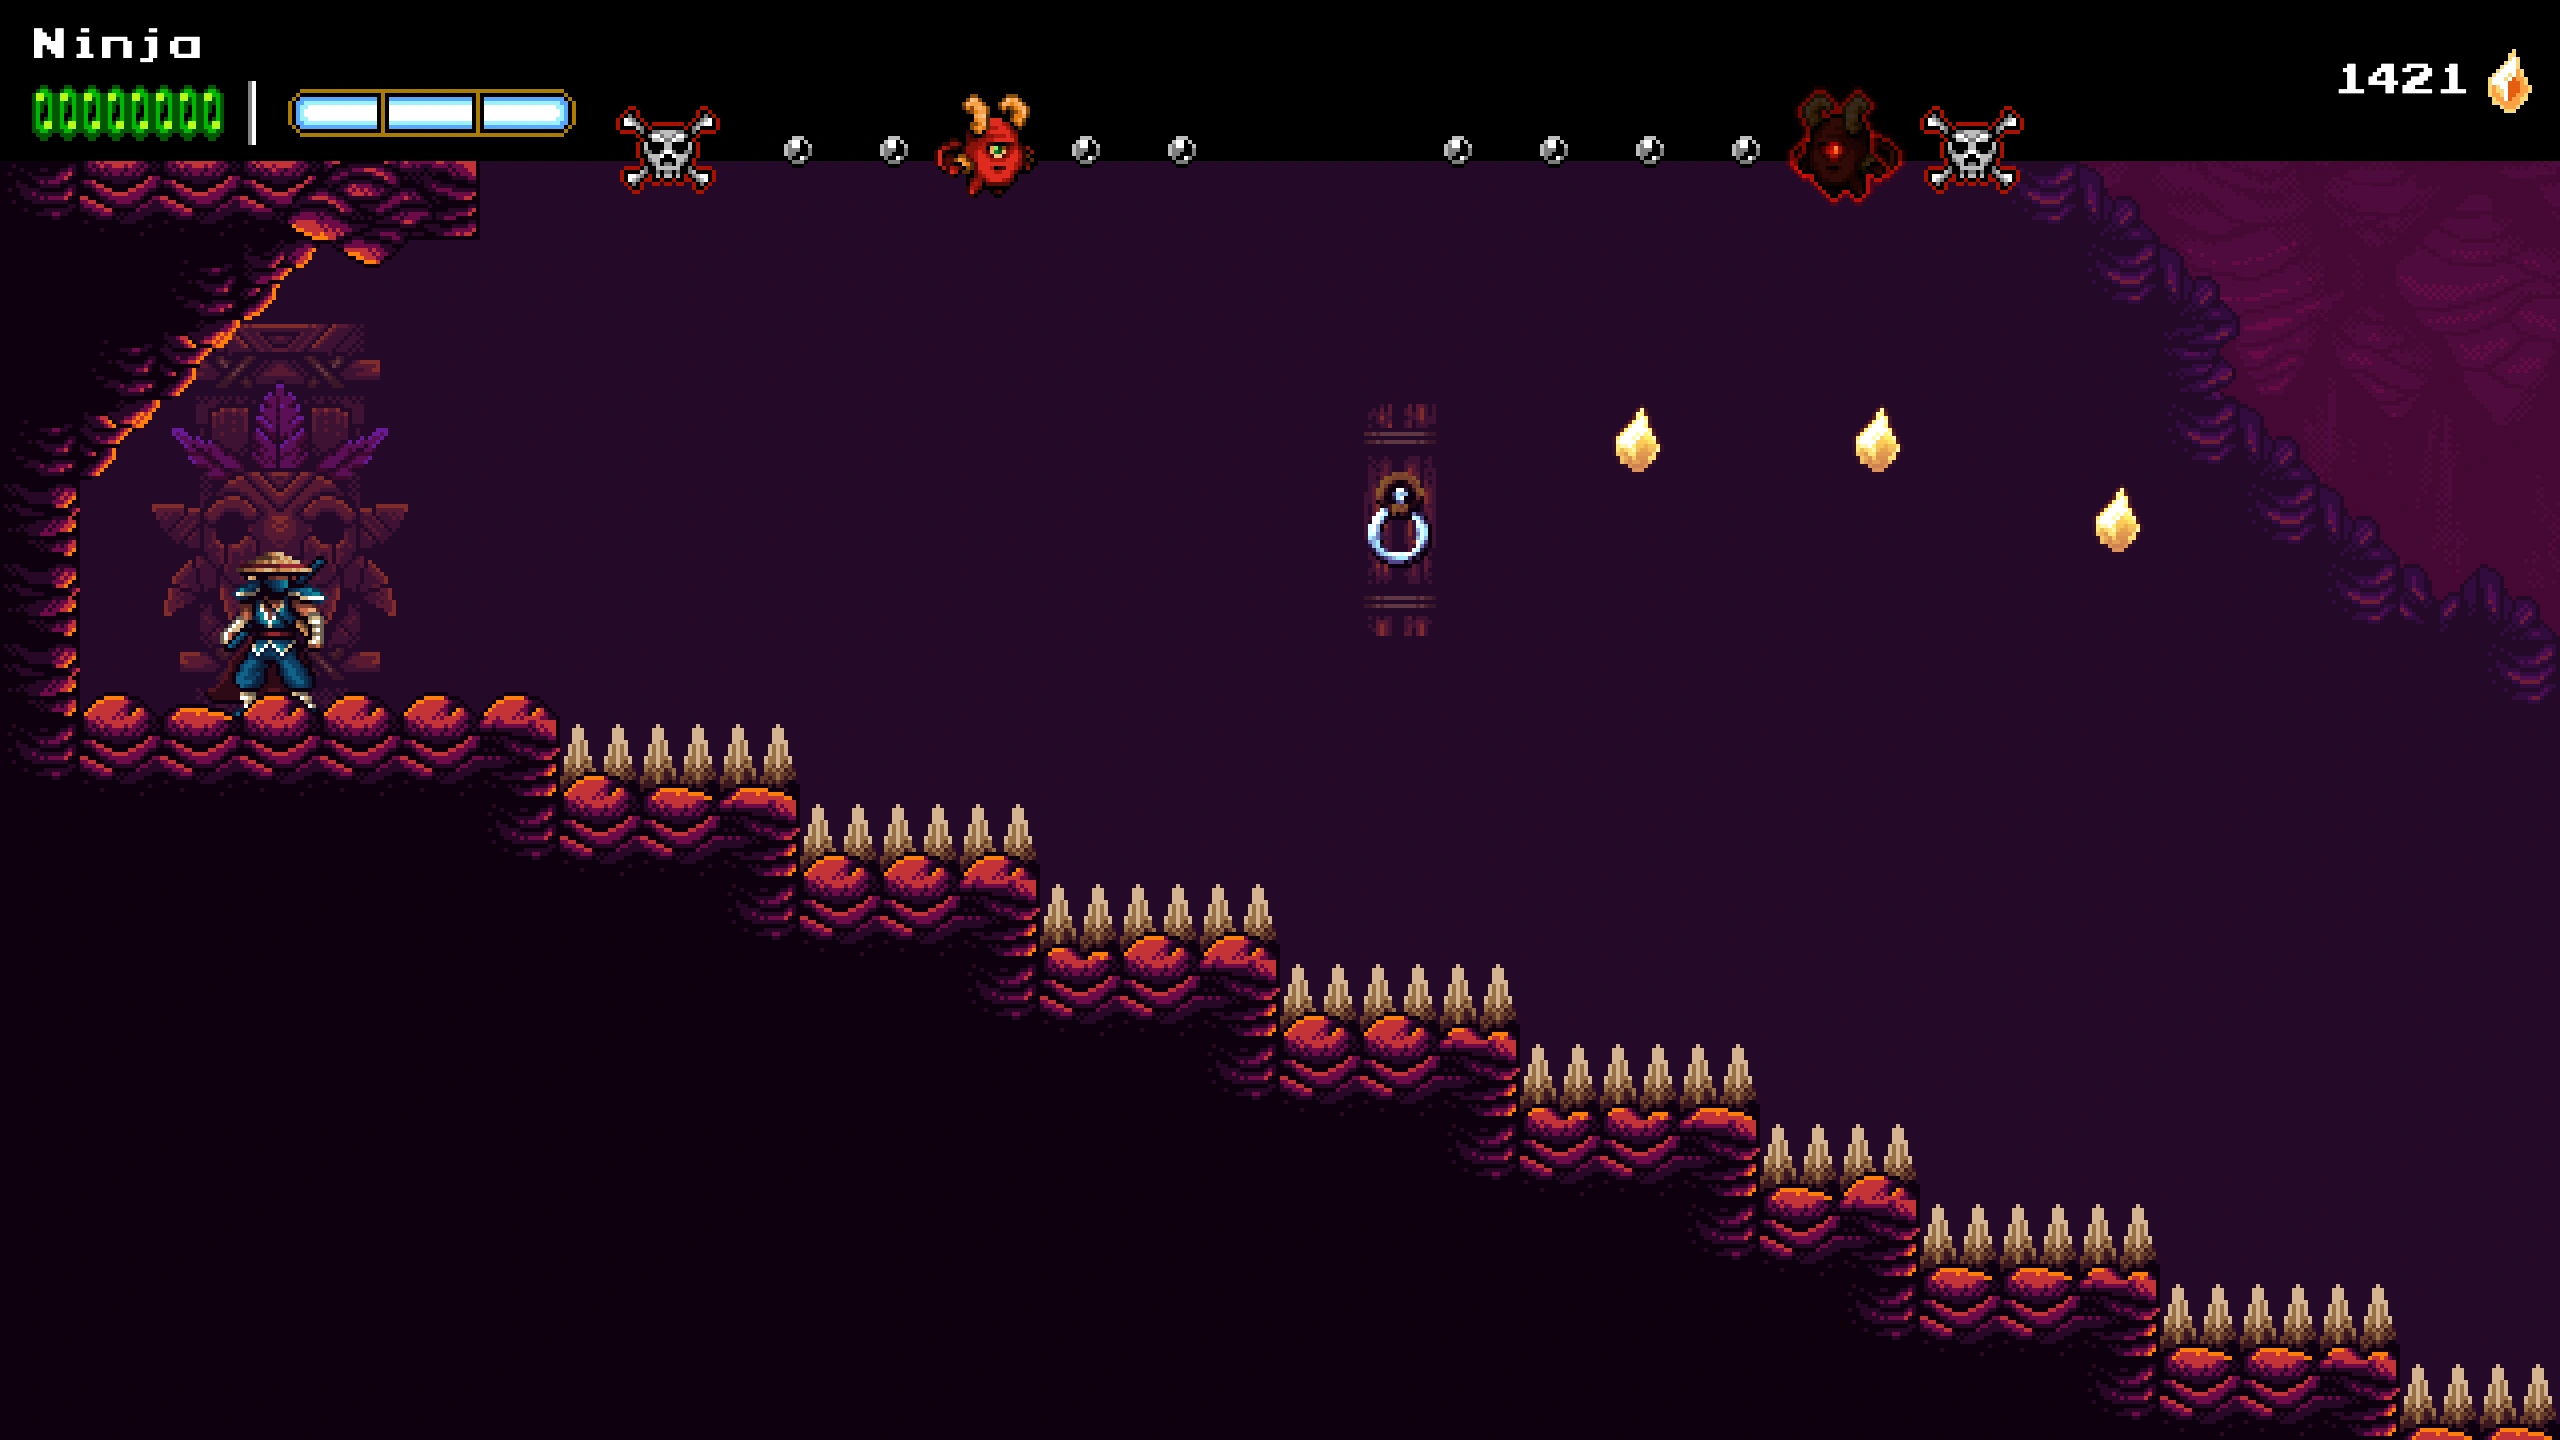
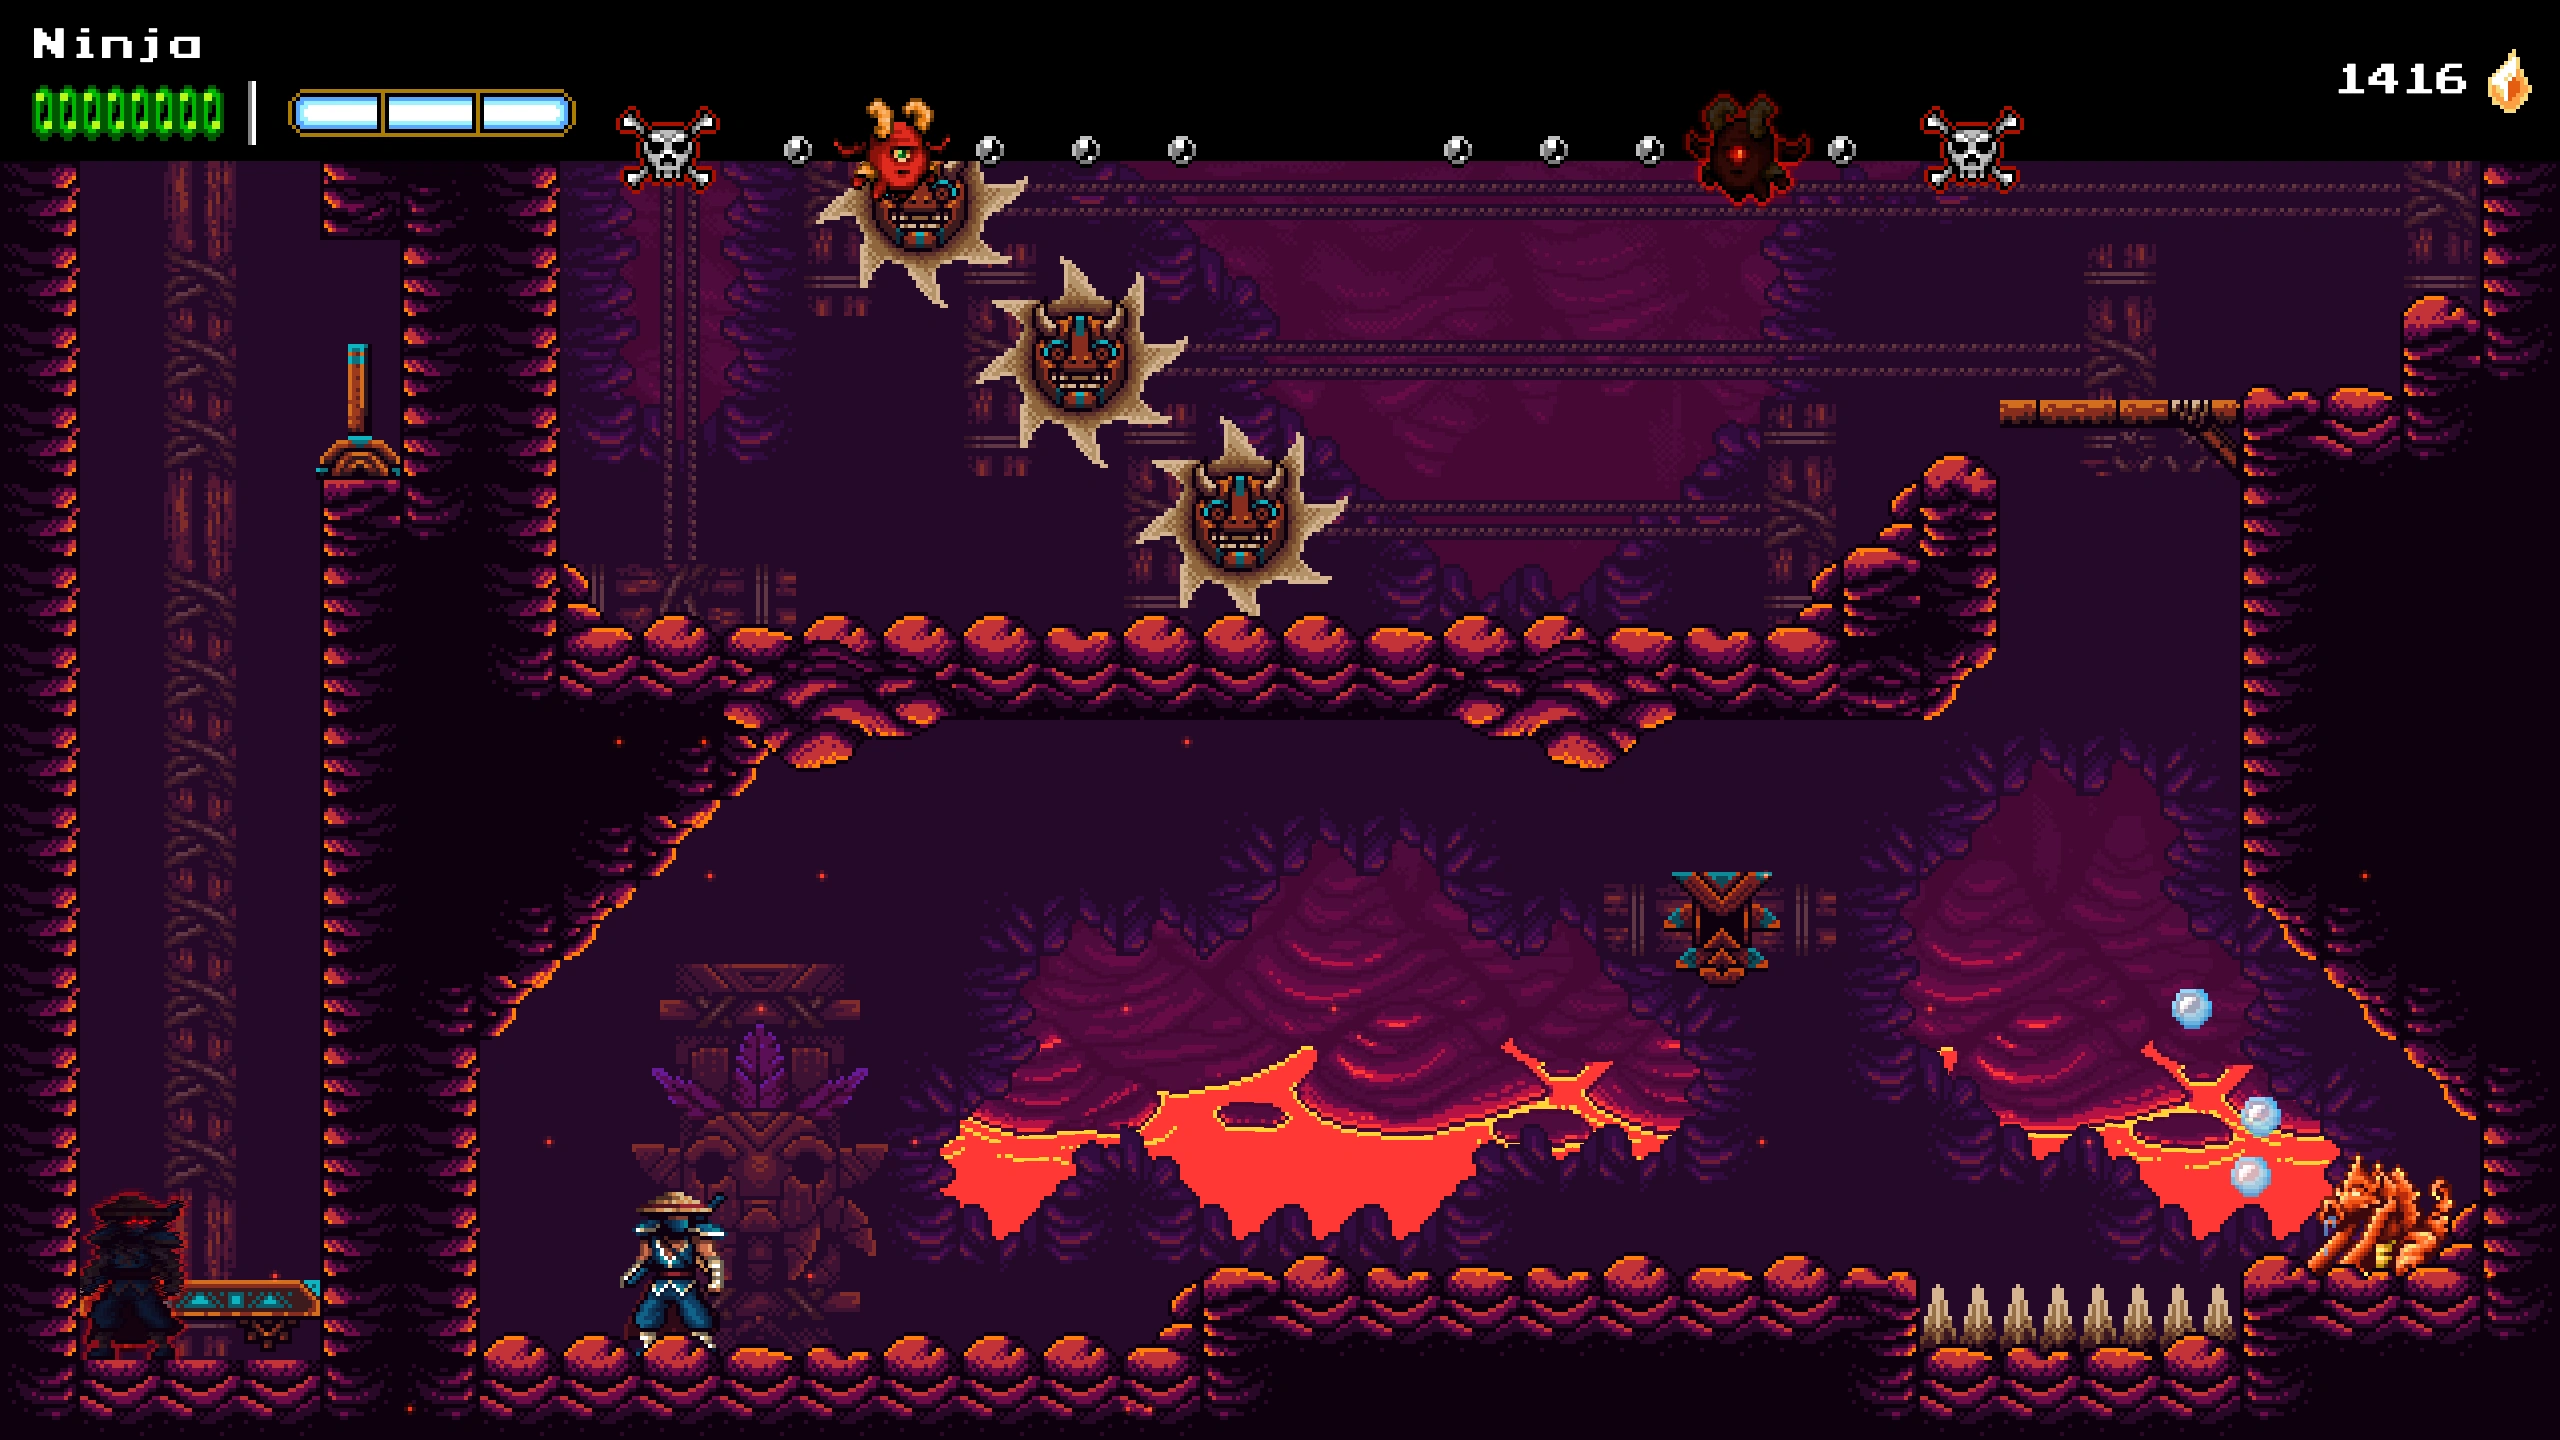
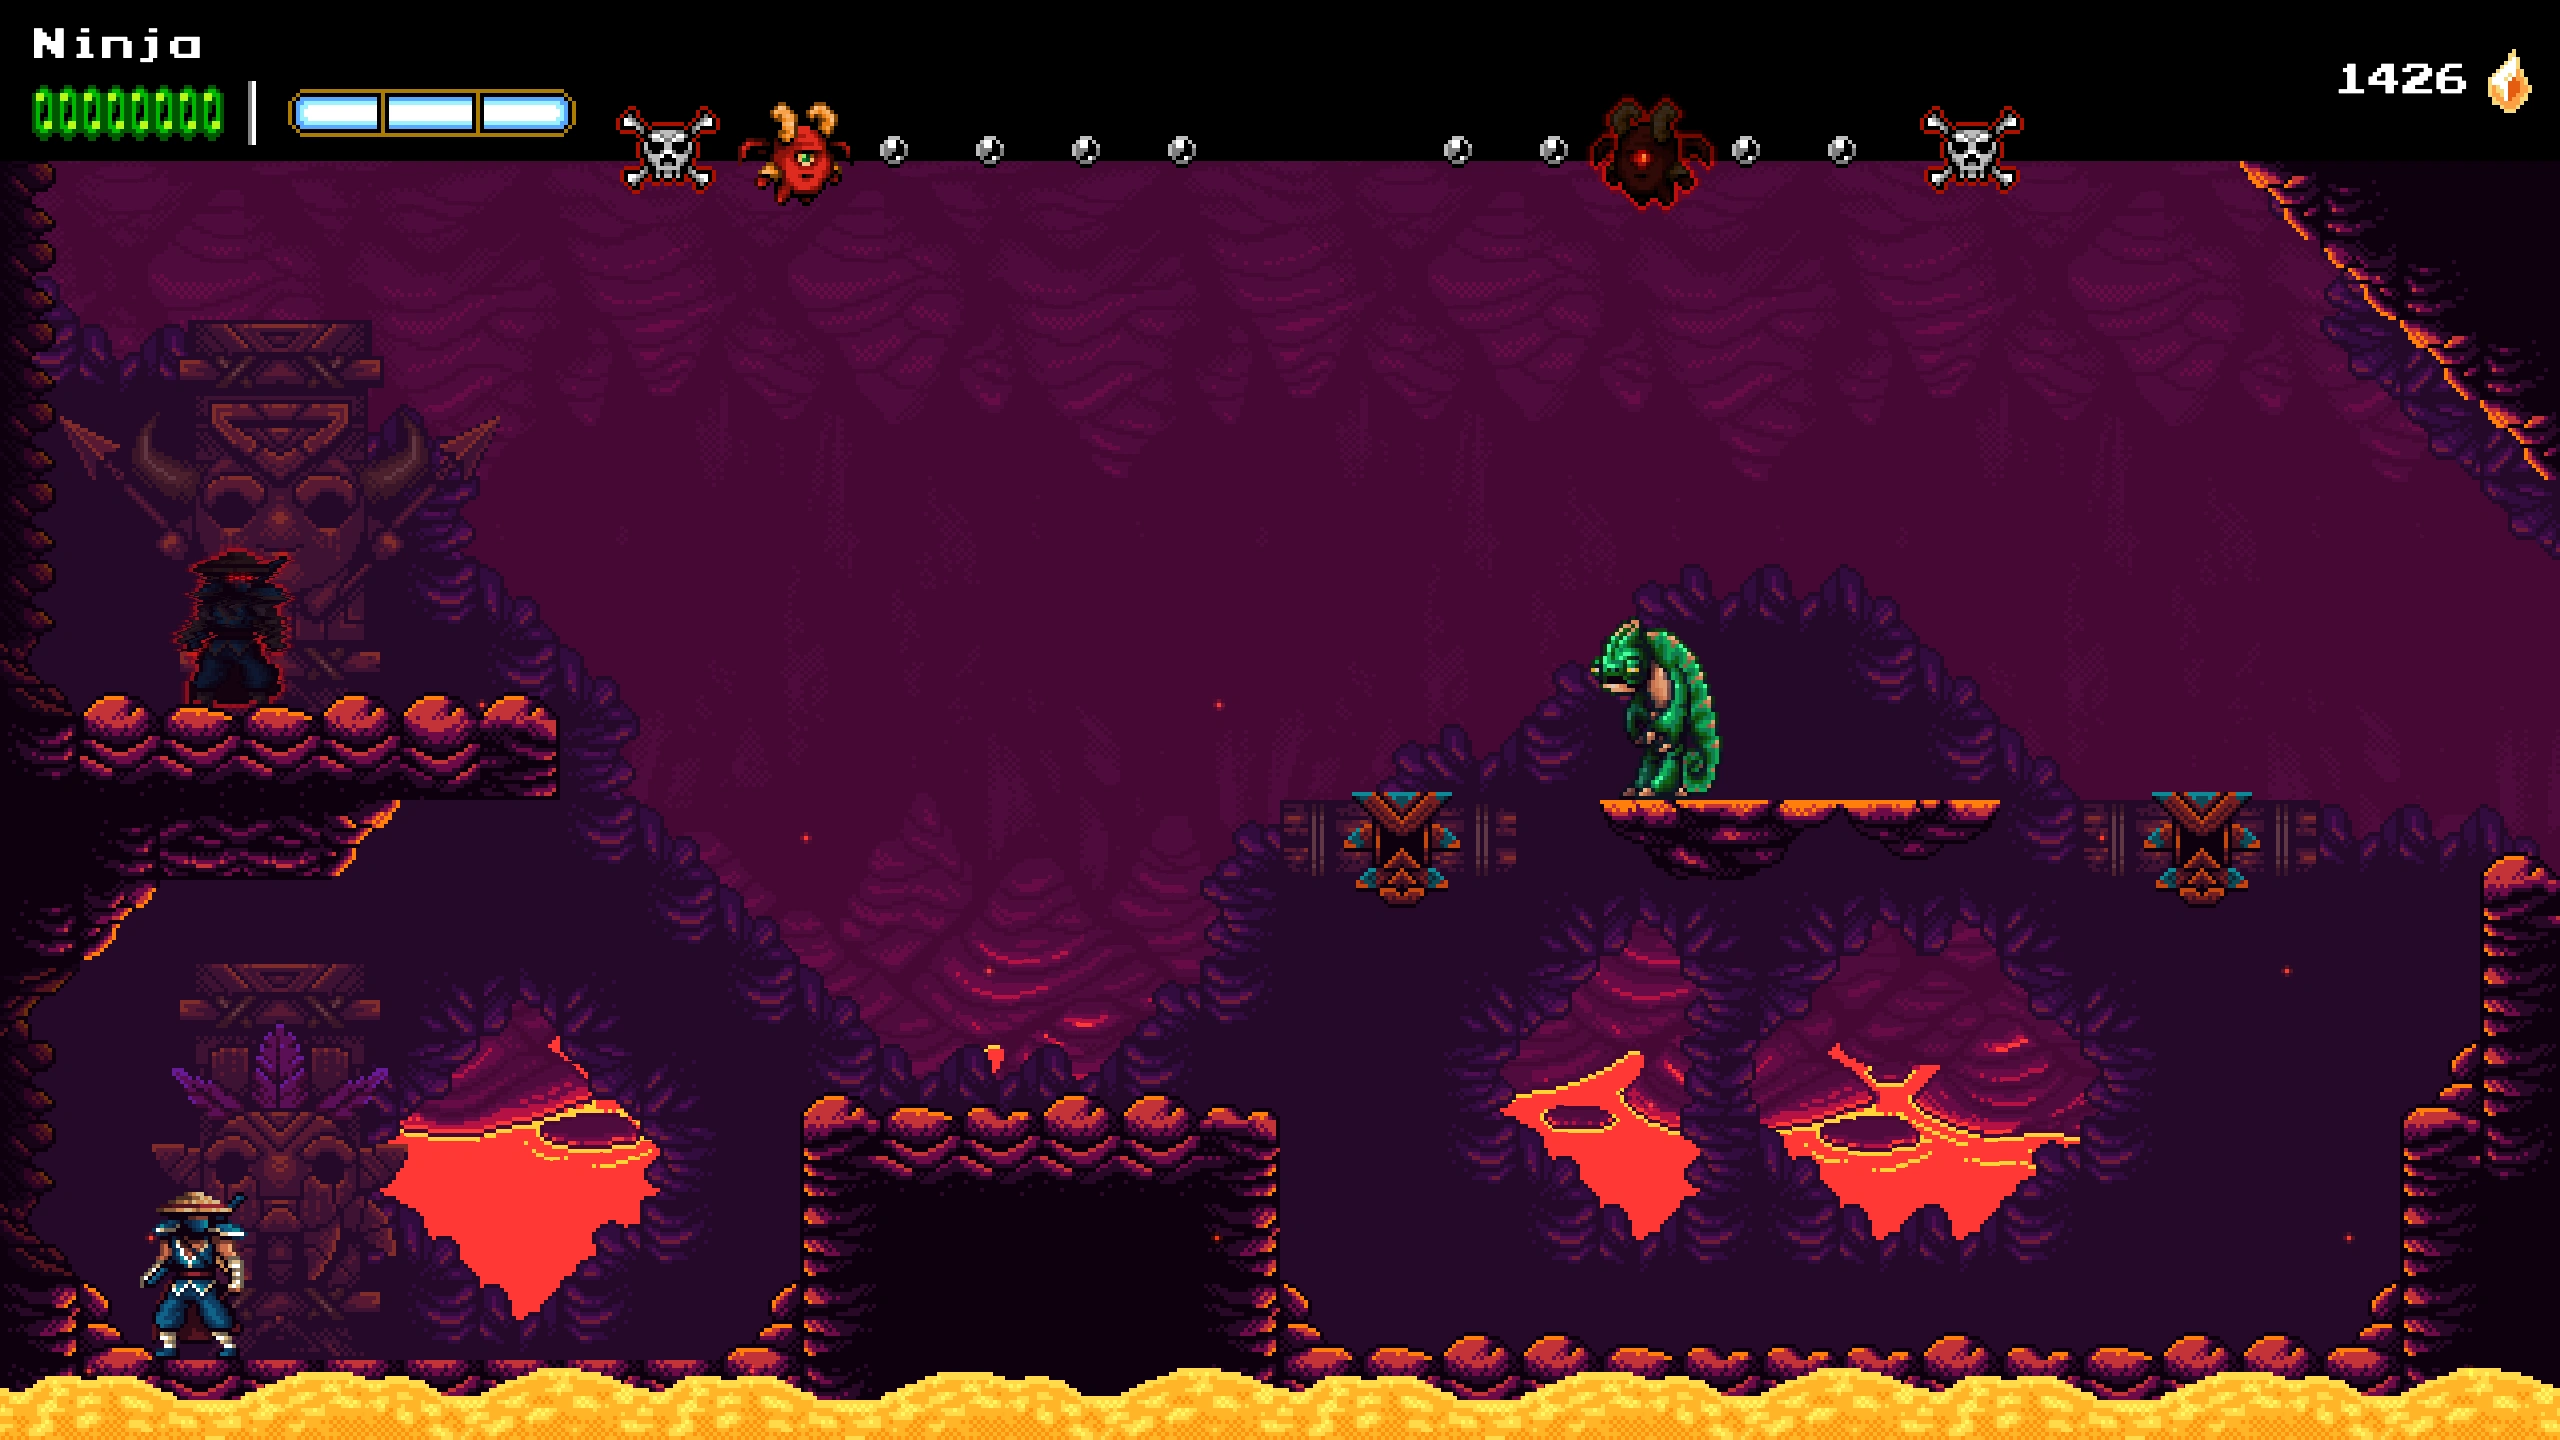
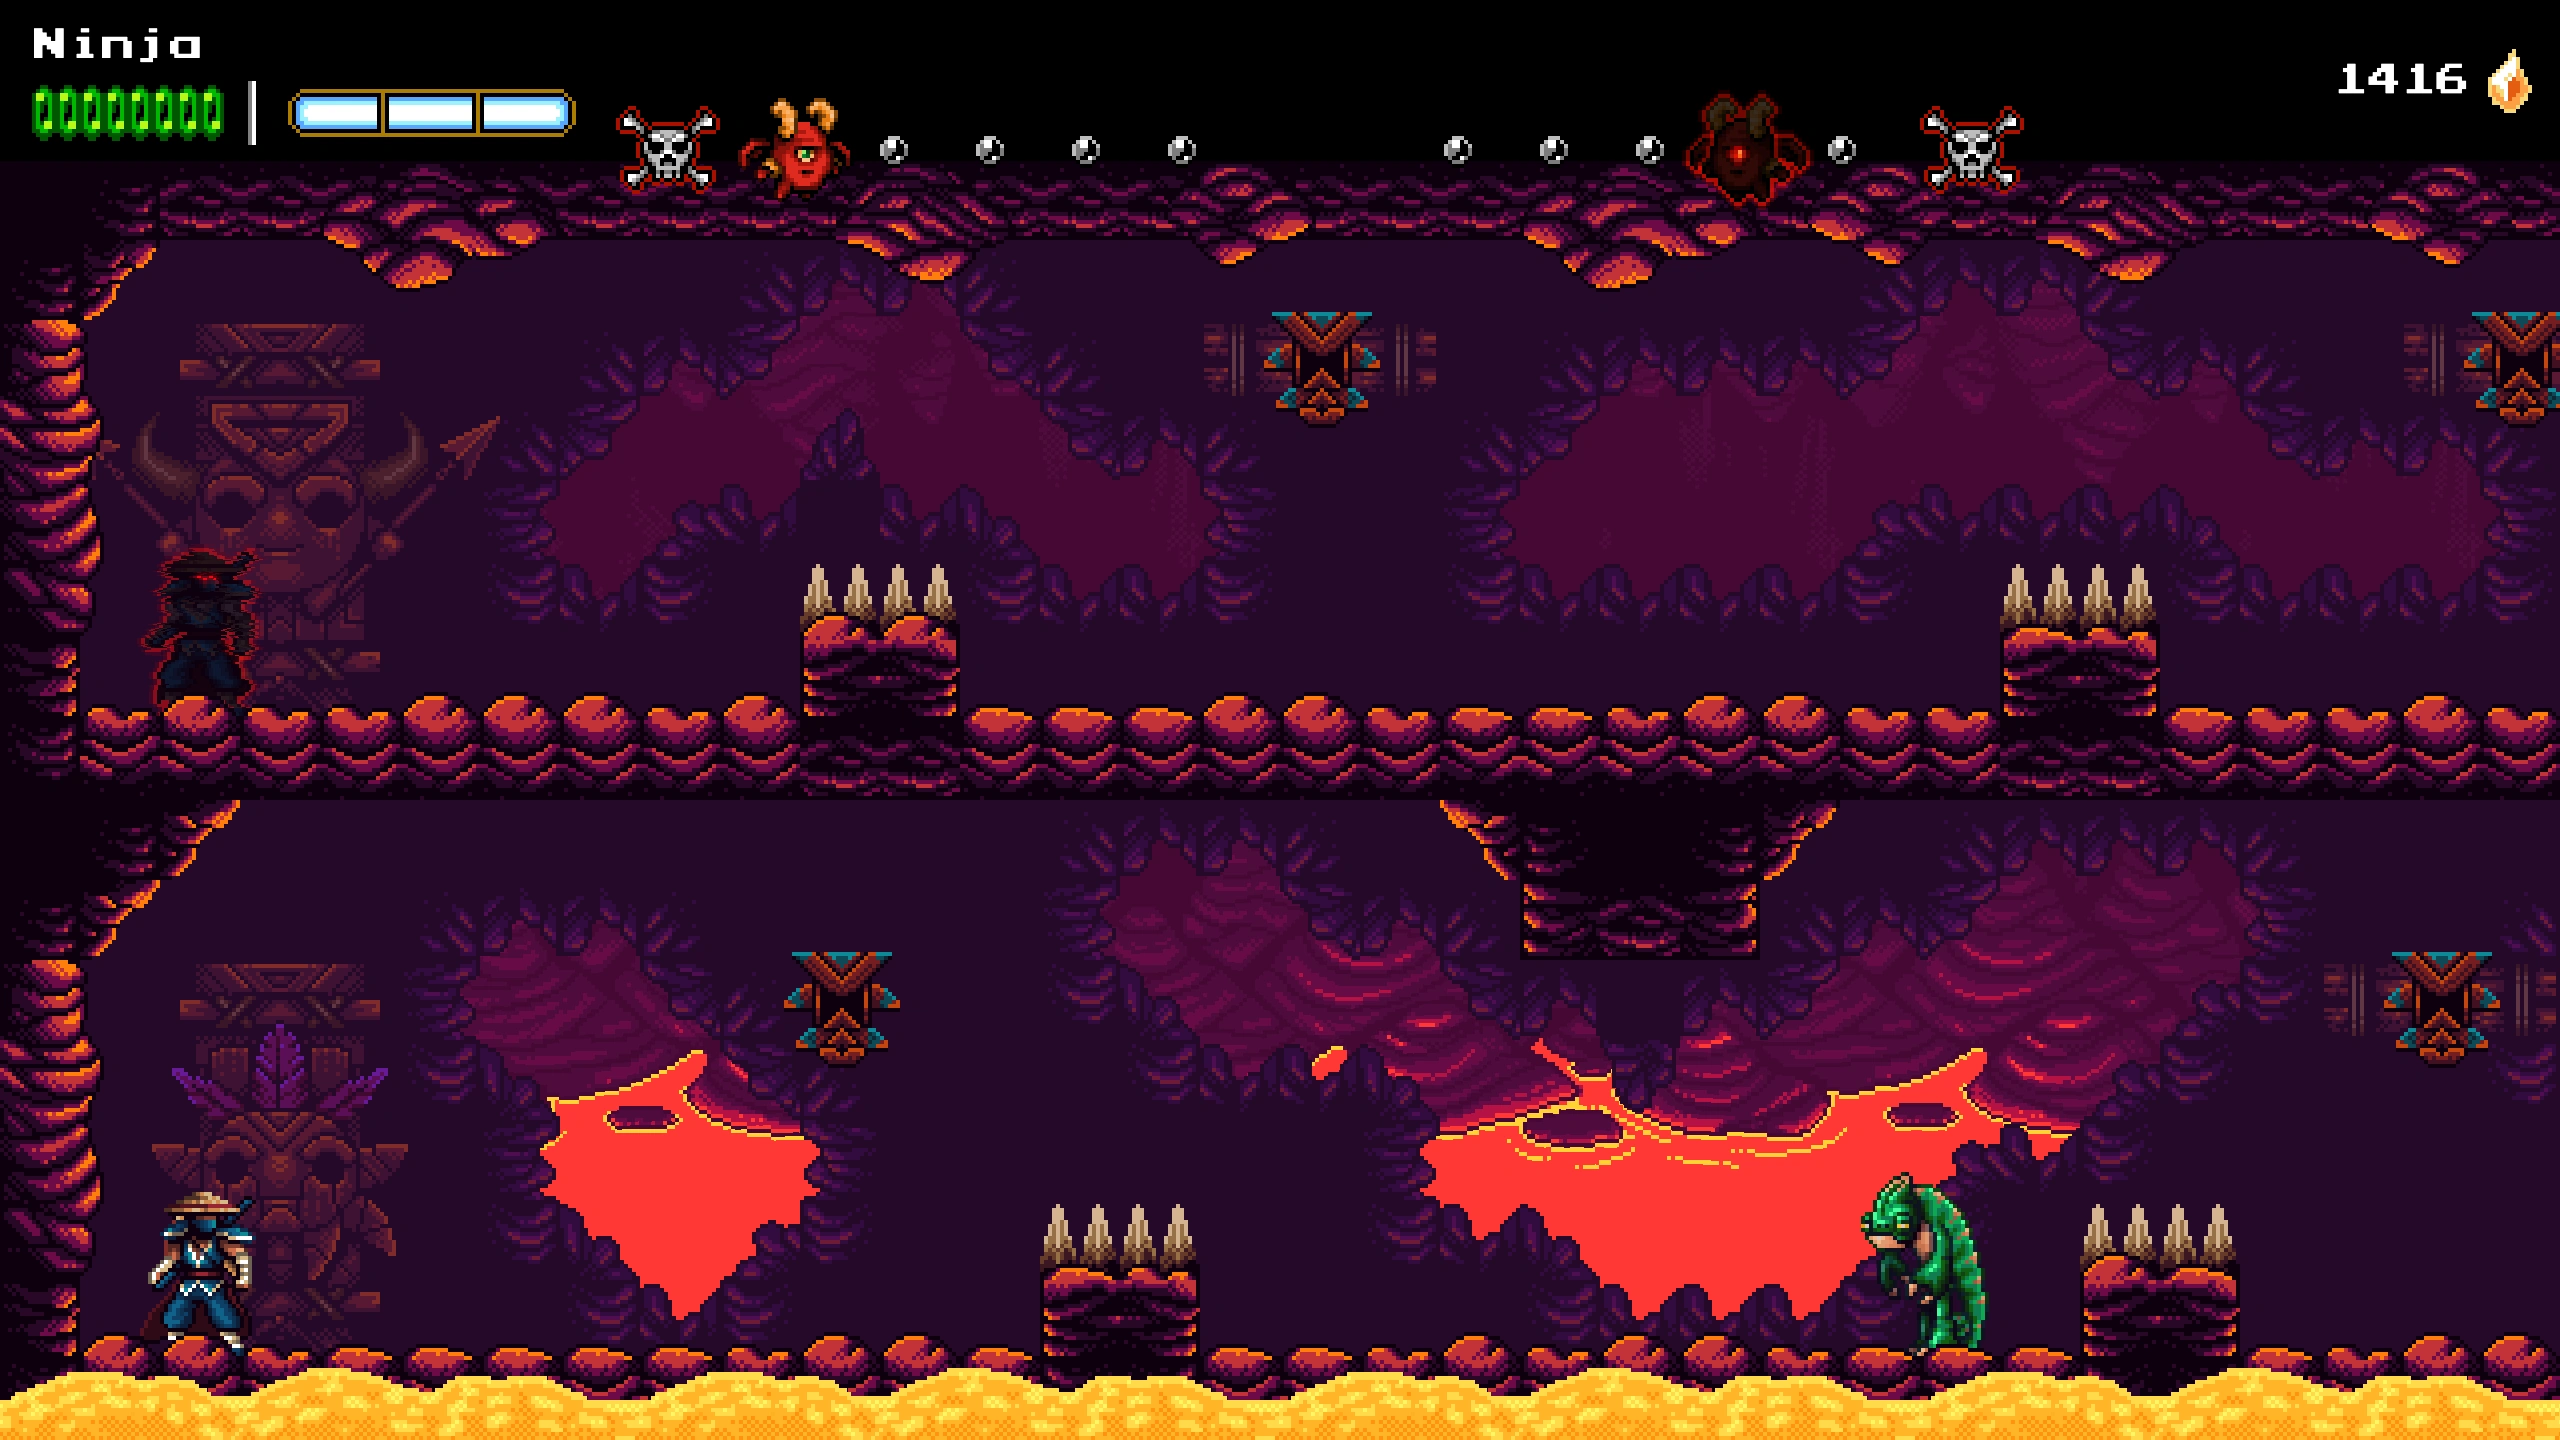
Ninja is pit in a series of races against the Dark Messenger. He must race to the finish line and attack the Voodoo Idol at the end of each course before his opponent does. The Voodoo Idol can be Rope Darted for quicker activation.
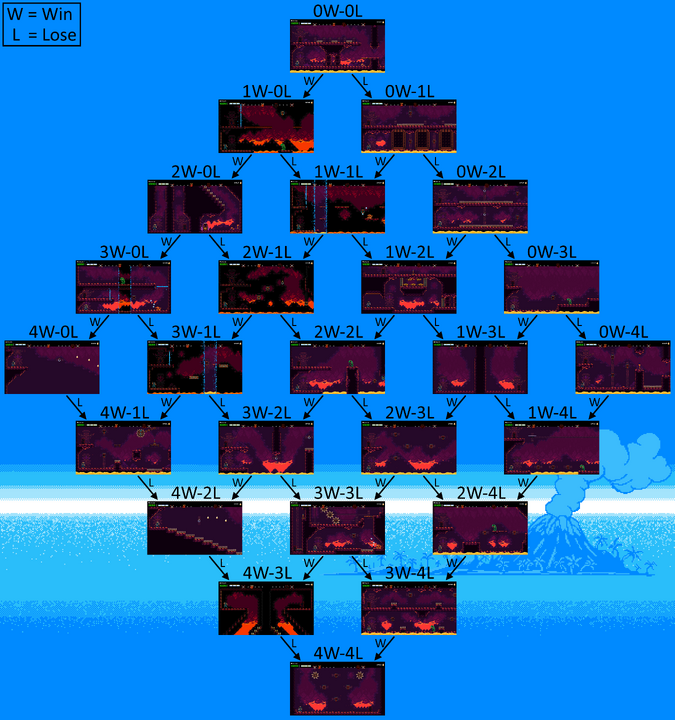
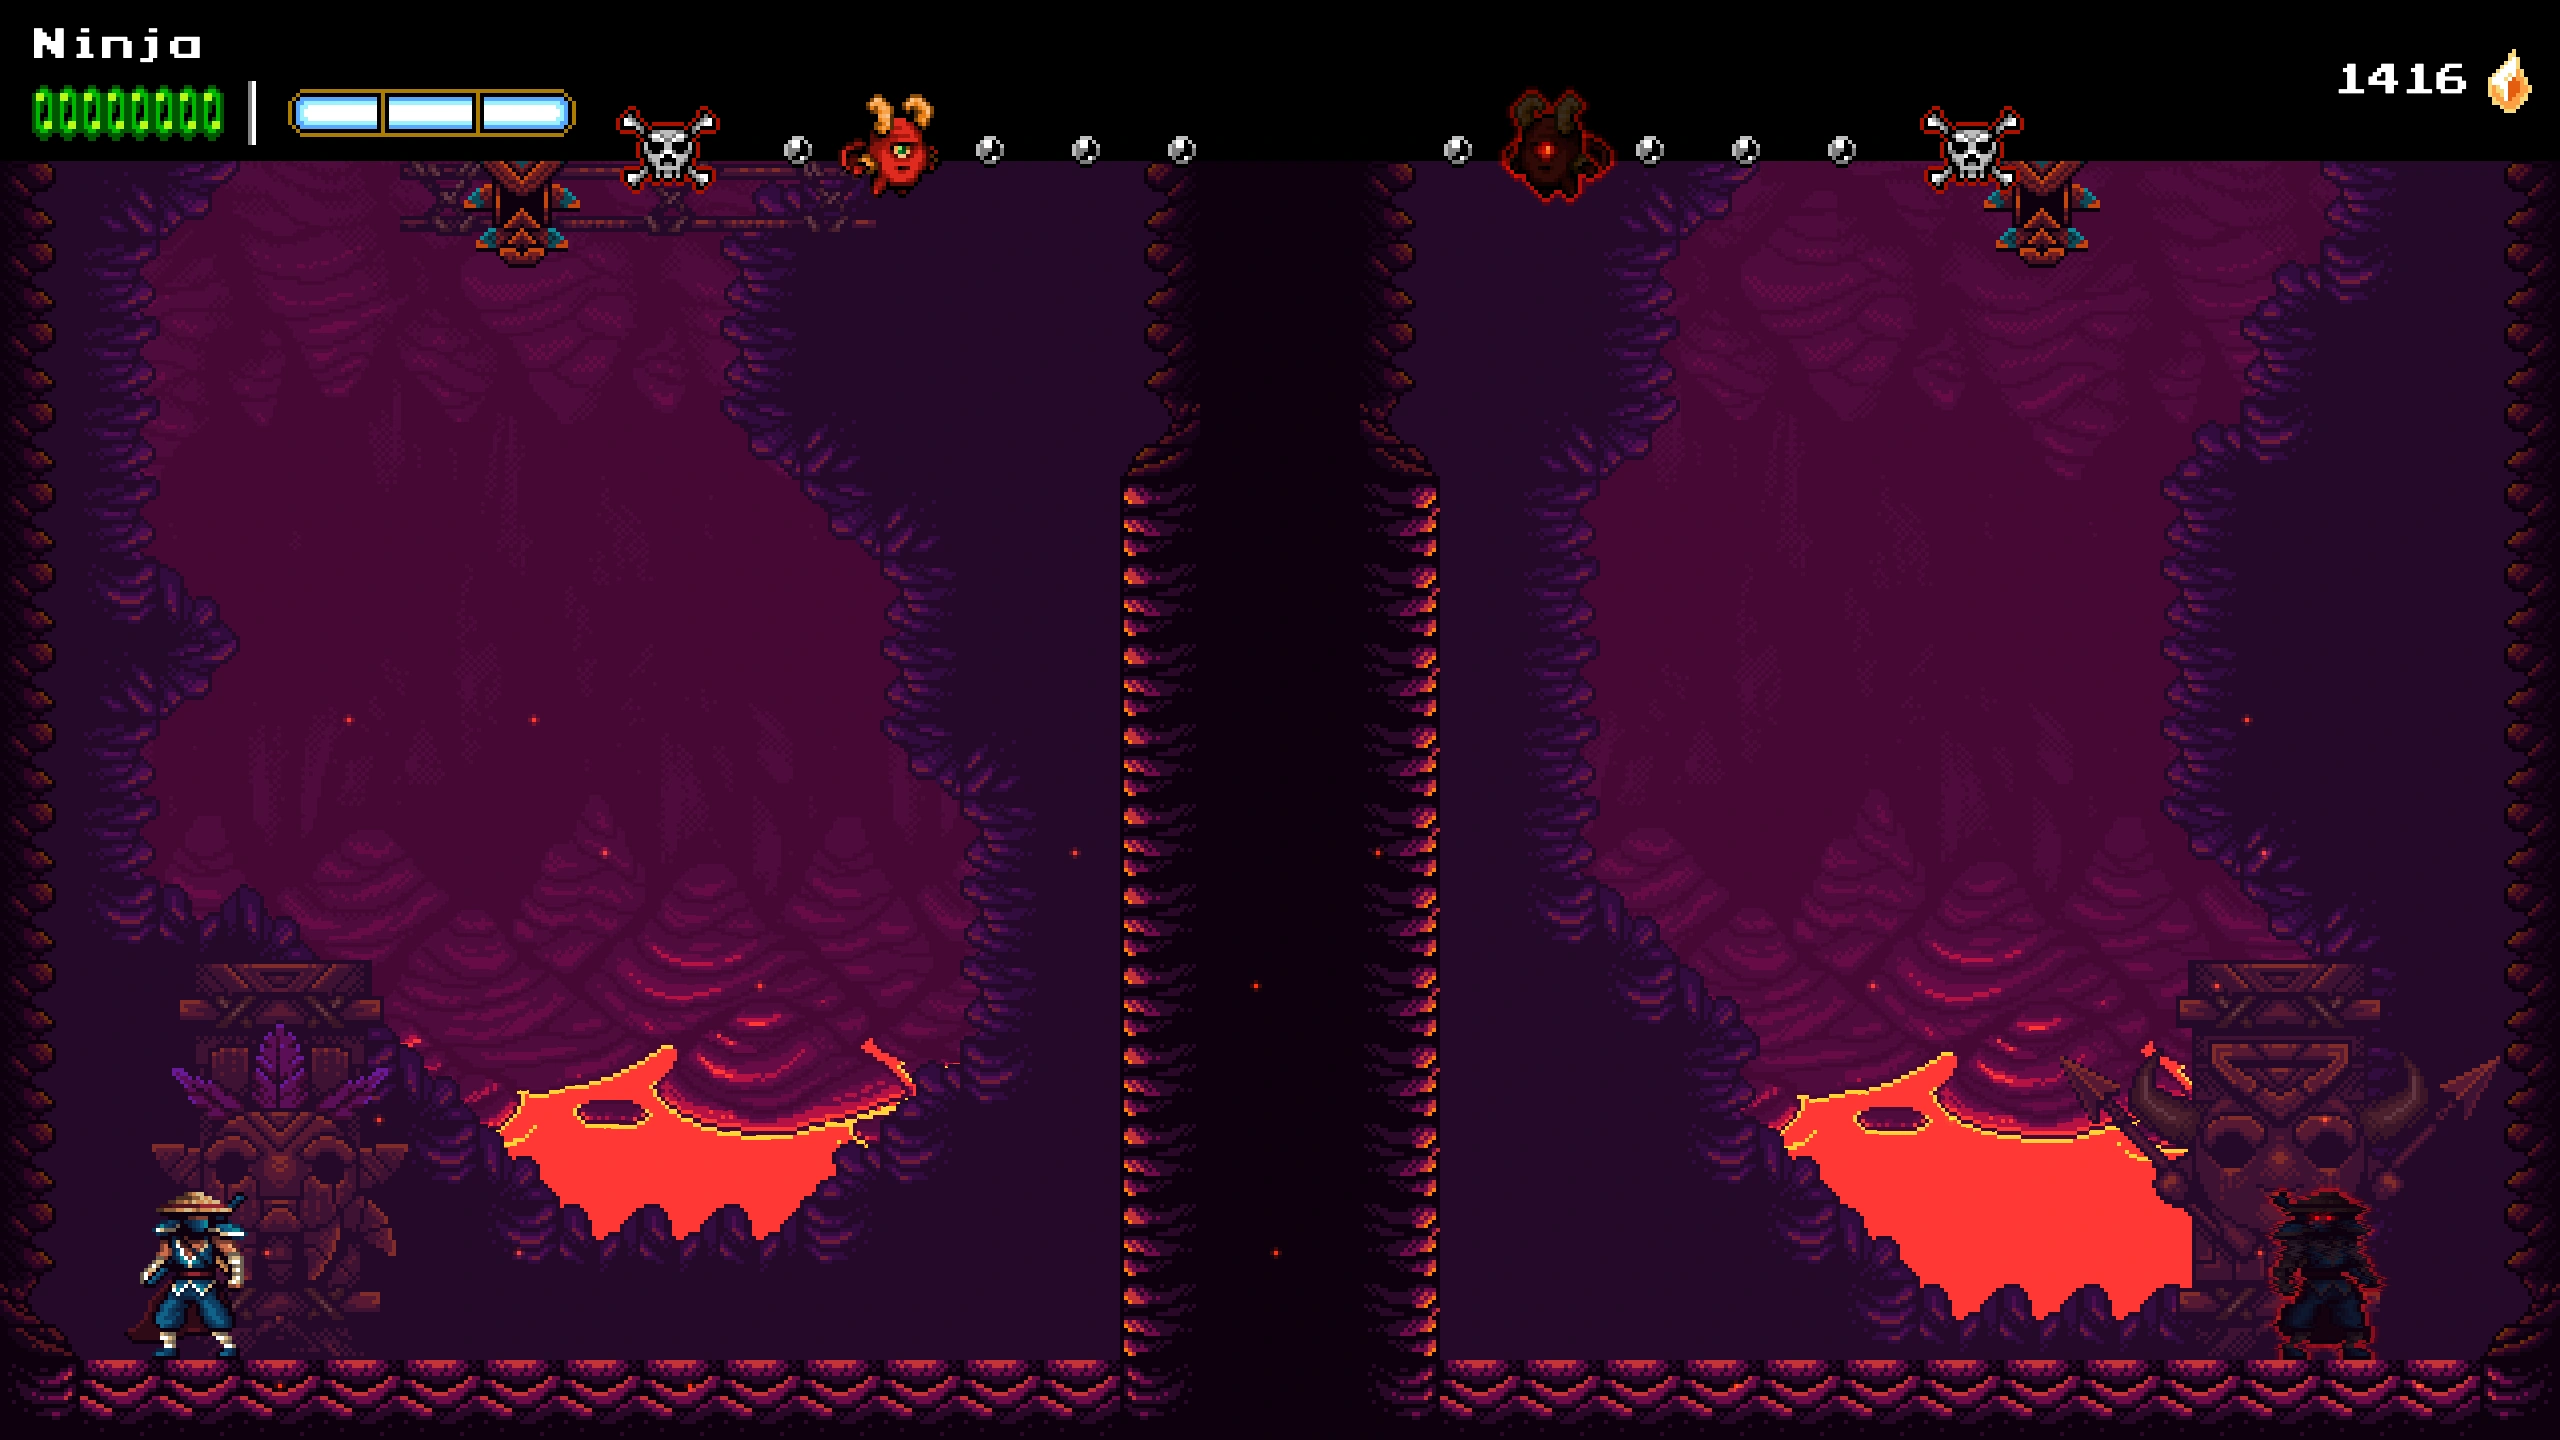
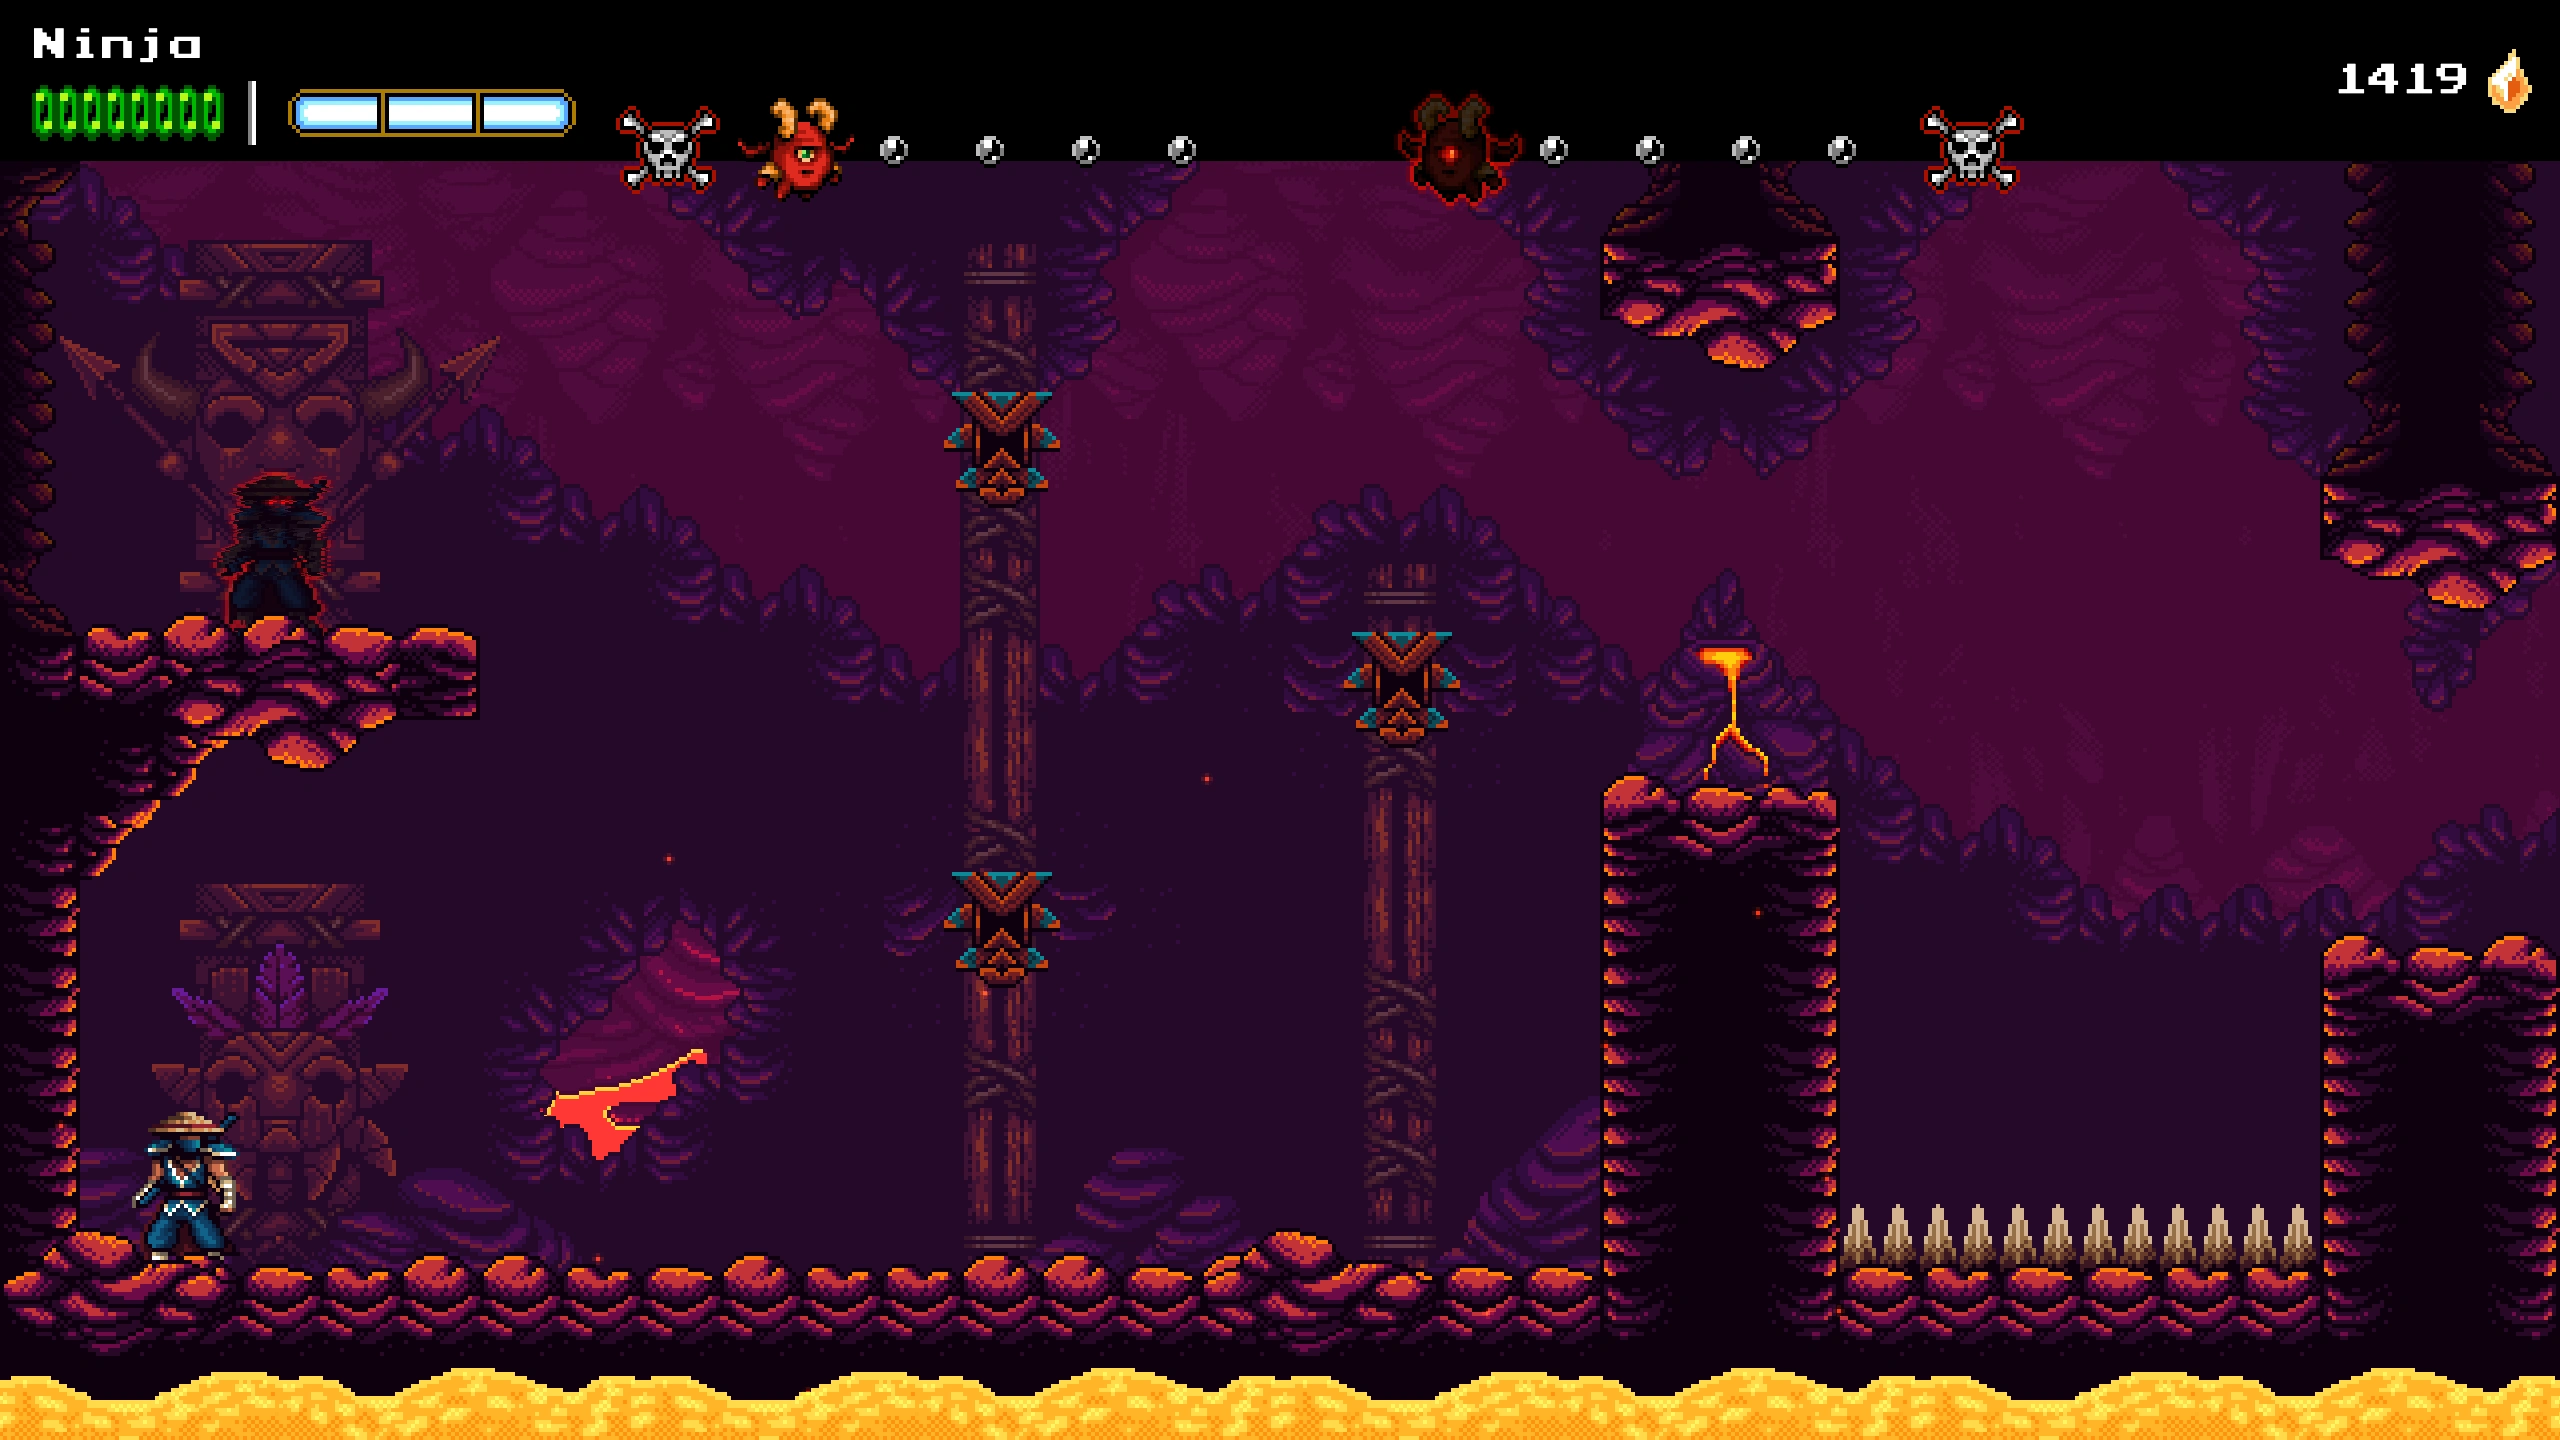
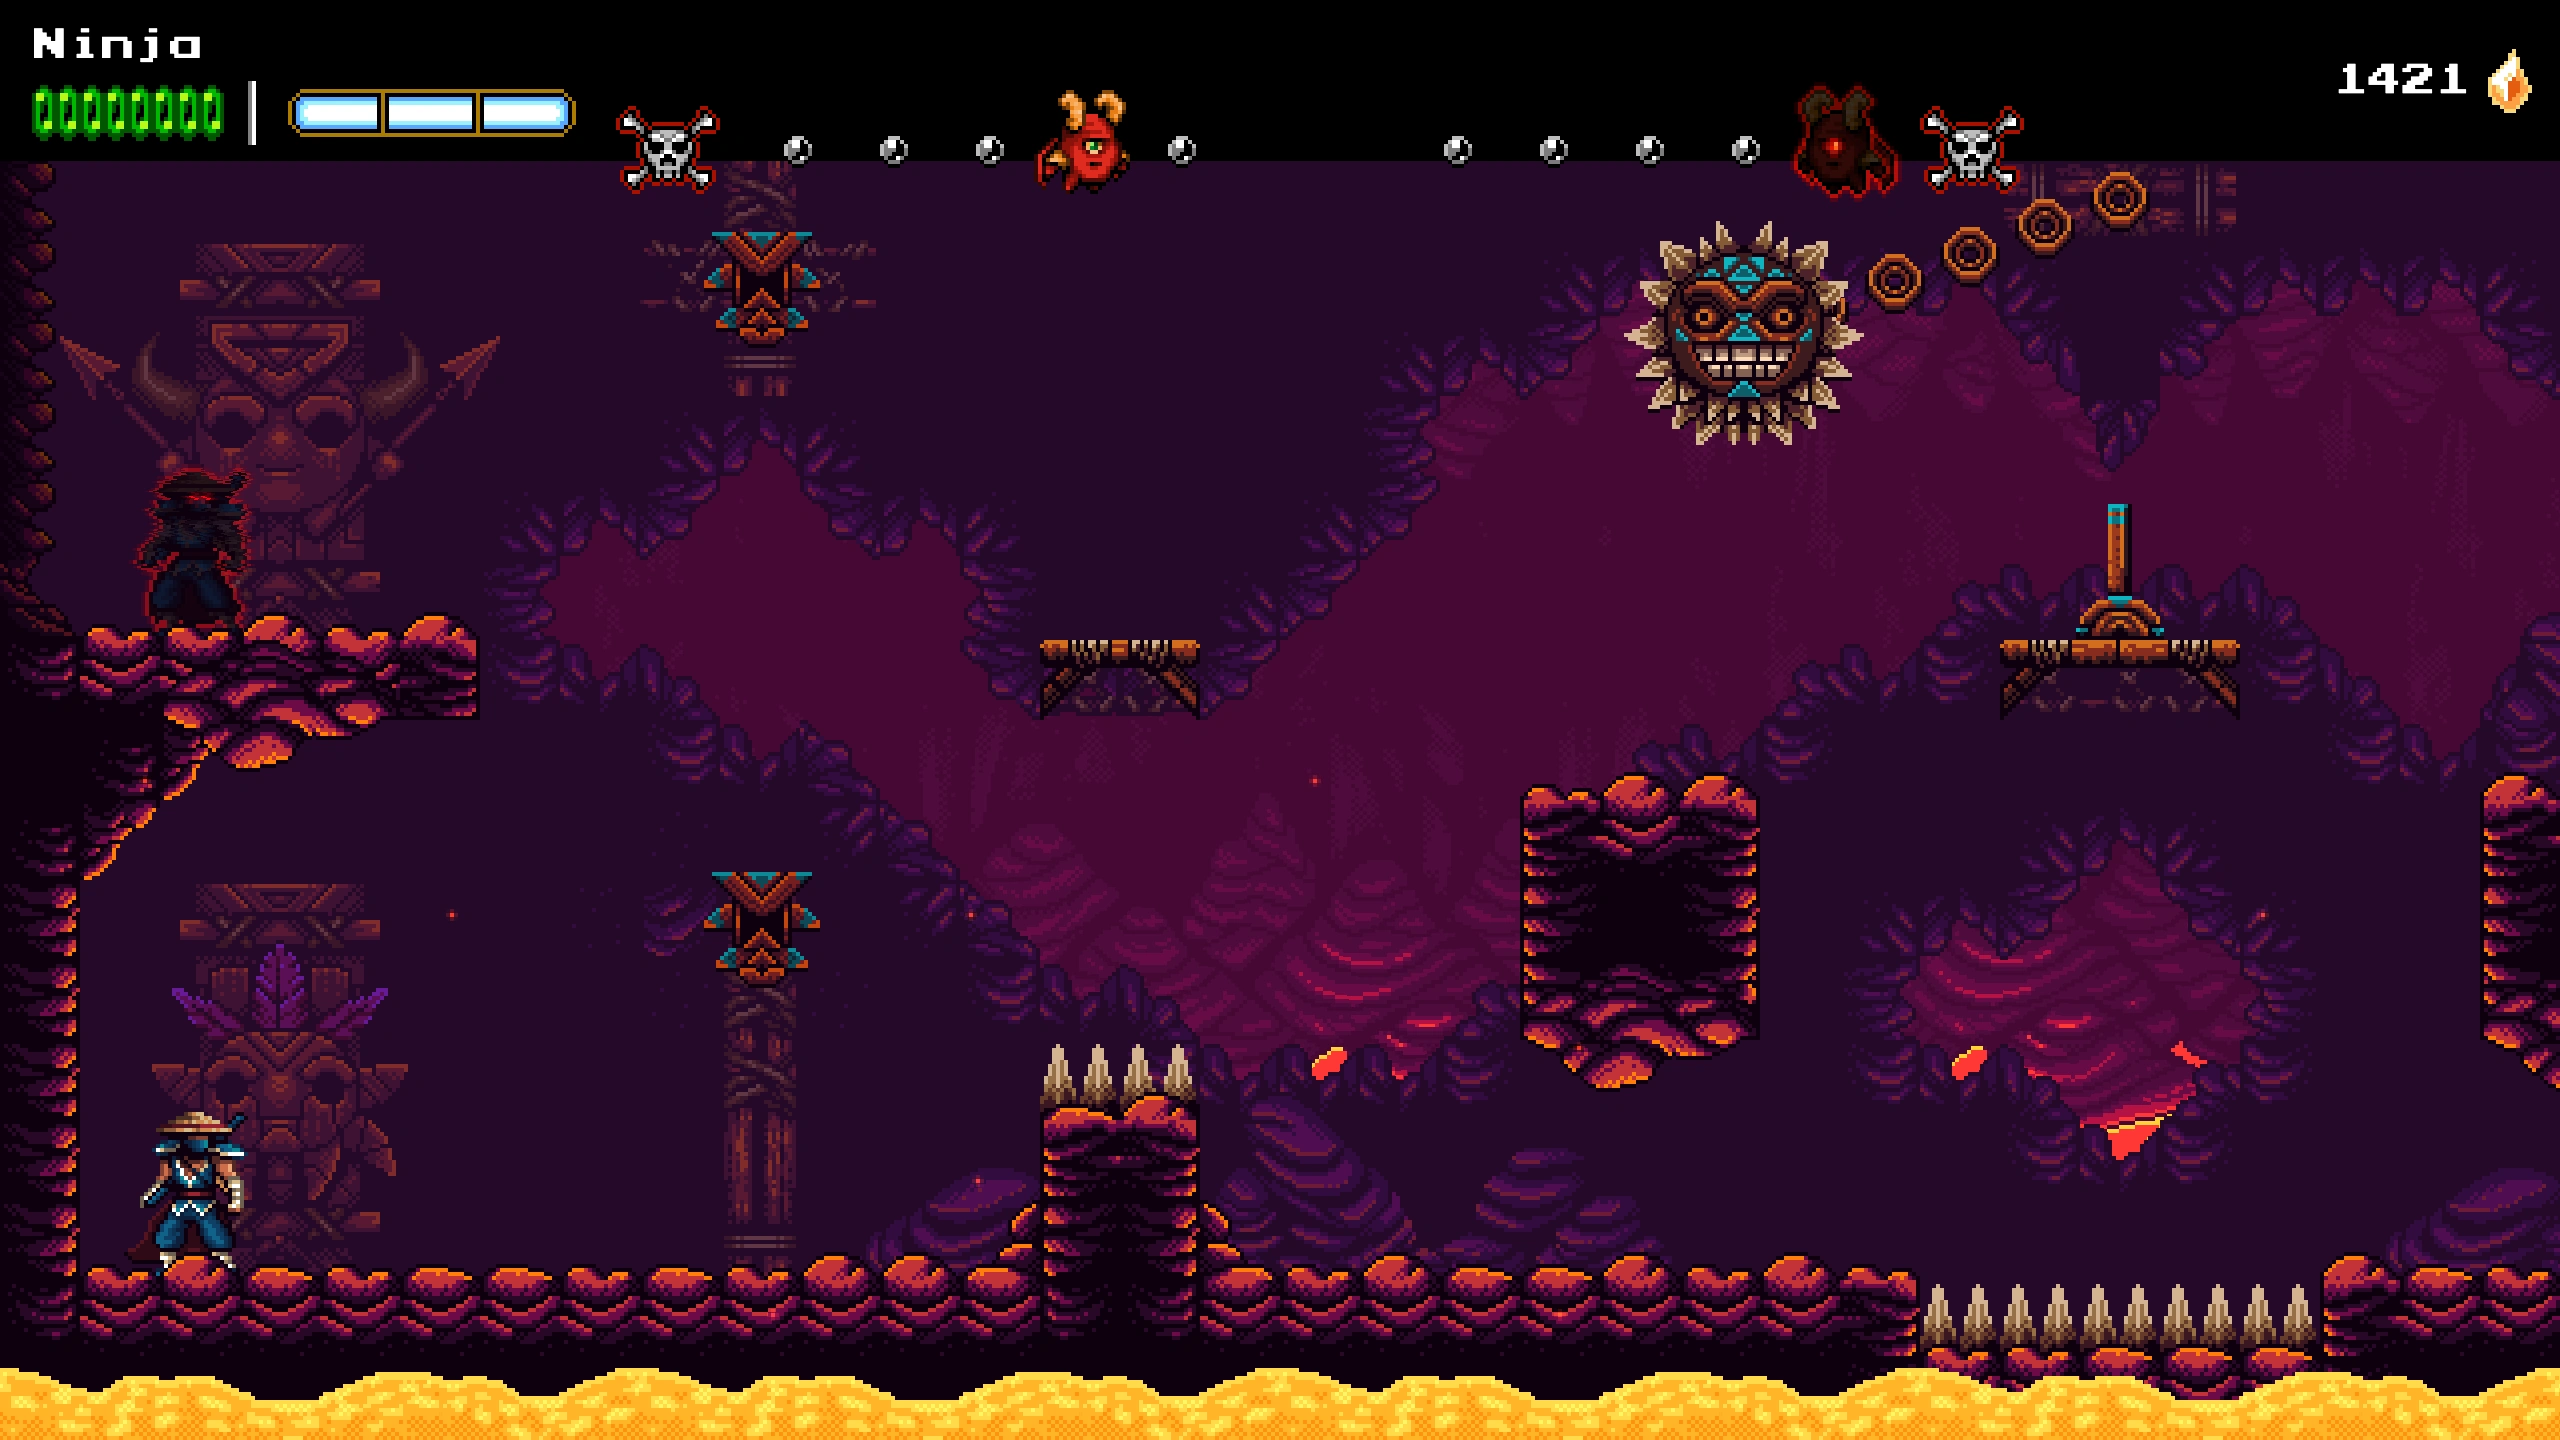
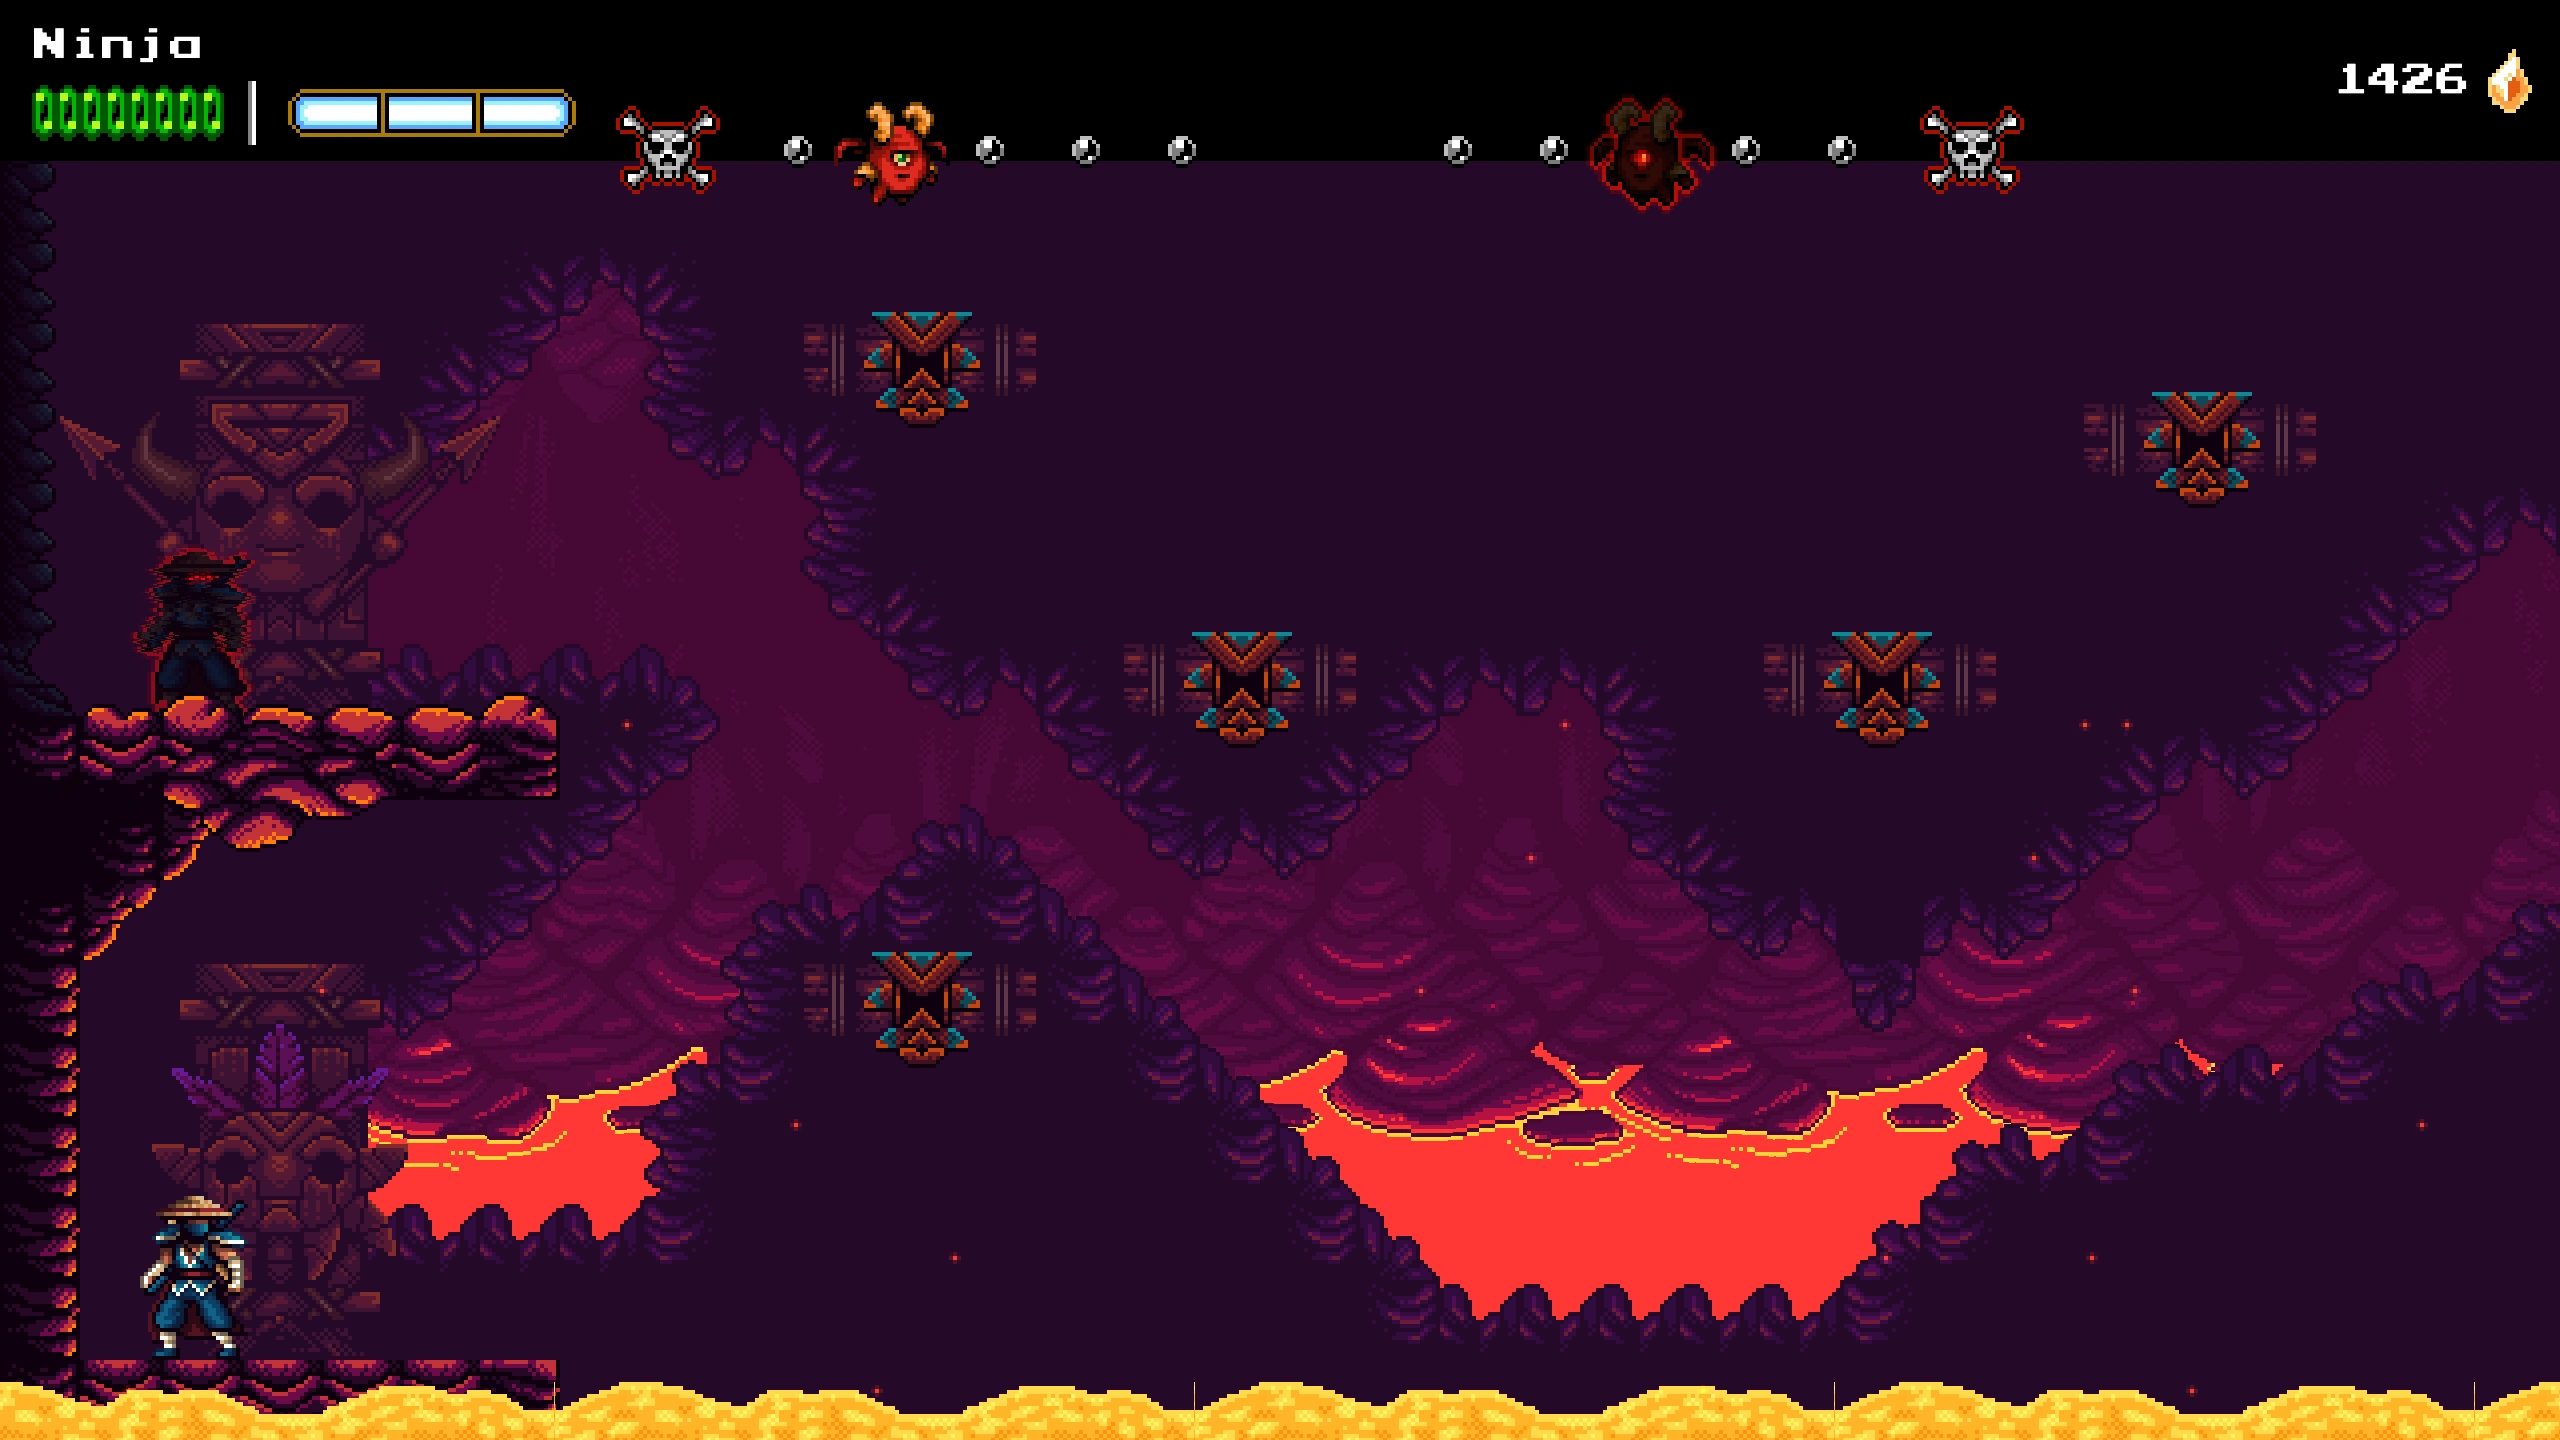
After the first tutorial room is finished, a progression bar with greed demon indicators appears at the top of the screen. The first to reach 5 wins will win the challenge. The number of current wins and losses determines which race room you encounter, with there being a total of 25 different race rooms.

| First Screen | Wins-Losses | Description |
|---|---|---|
|
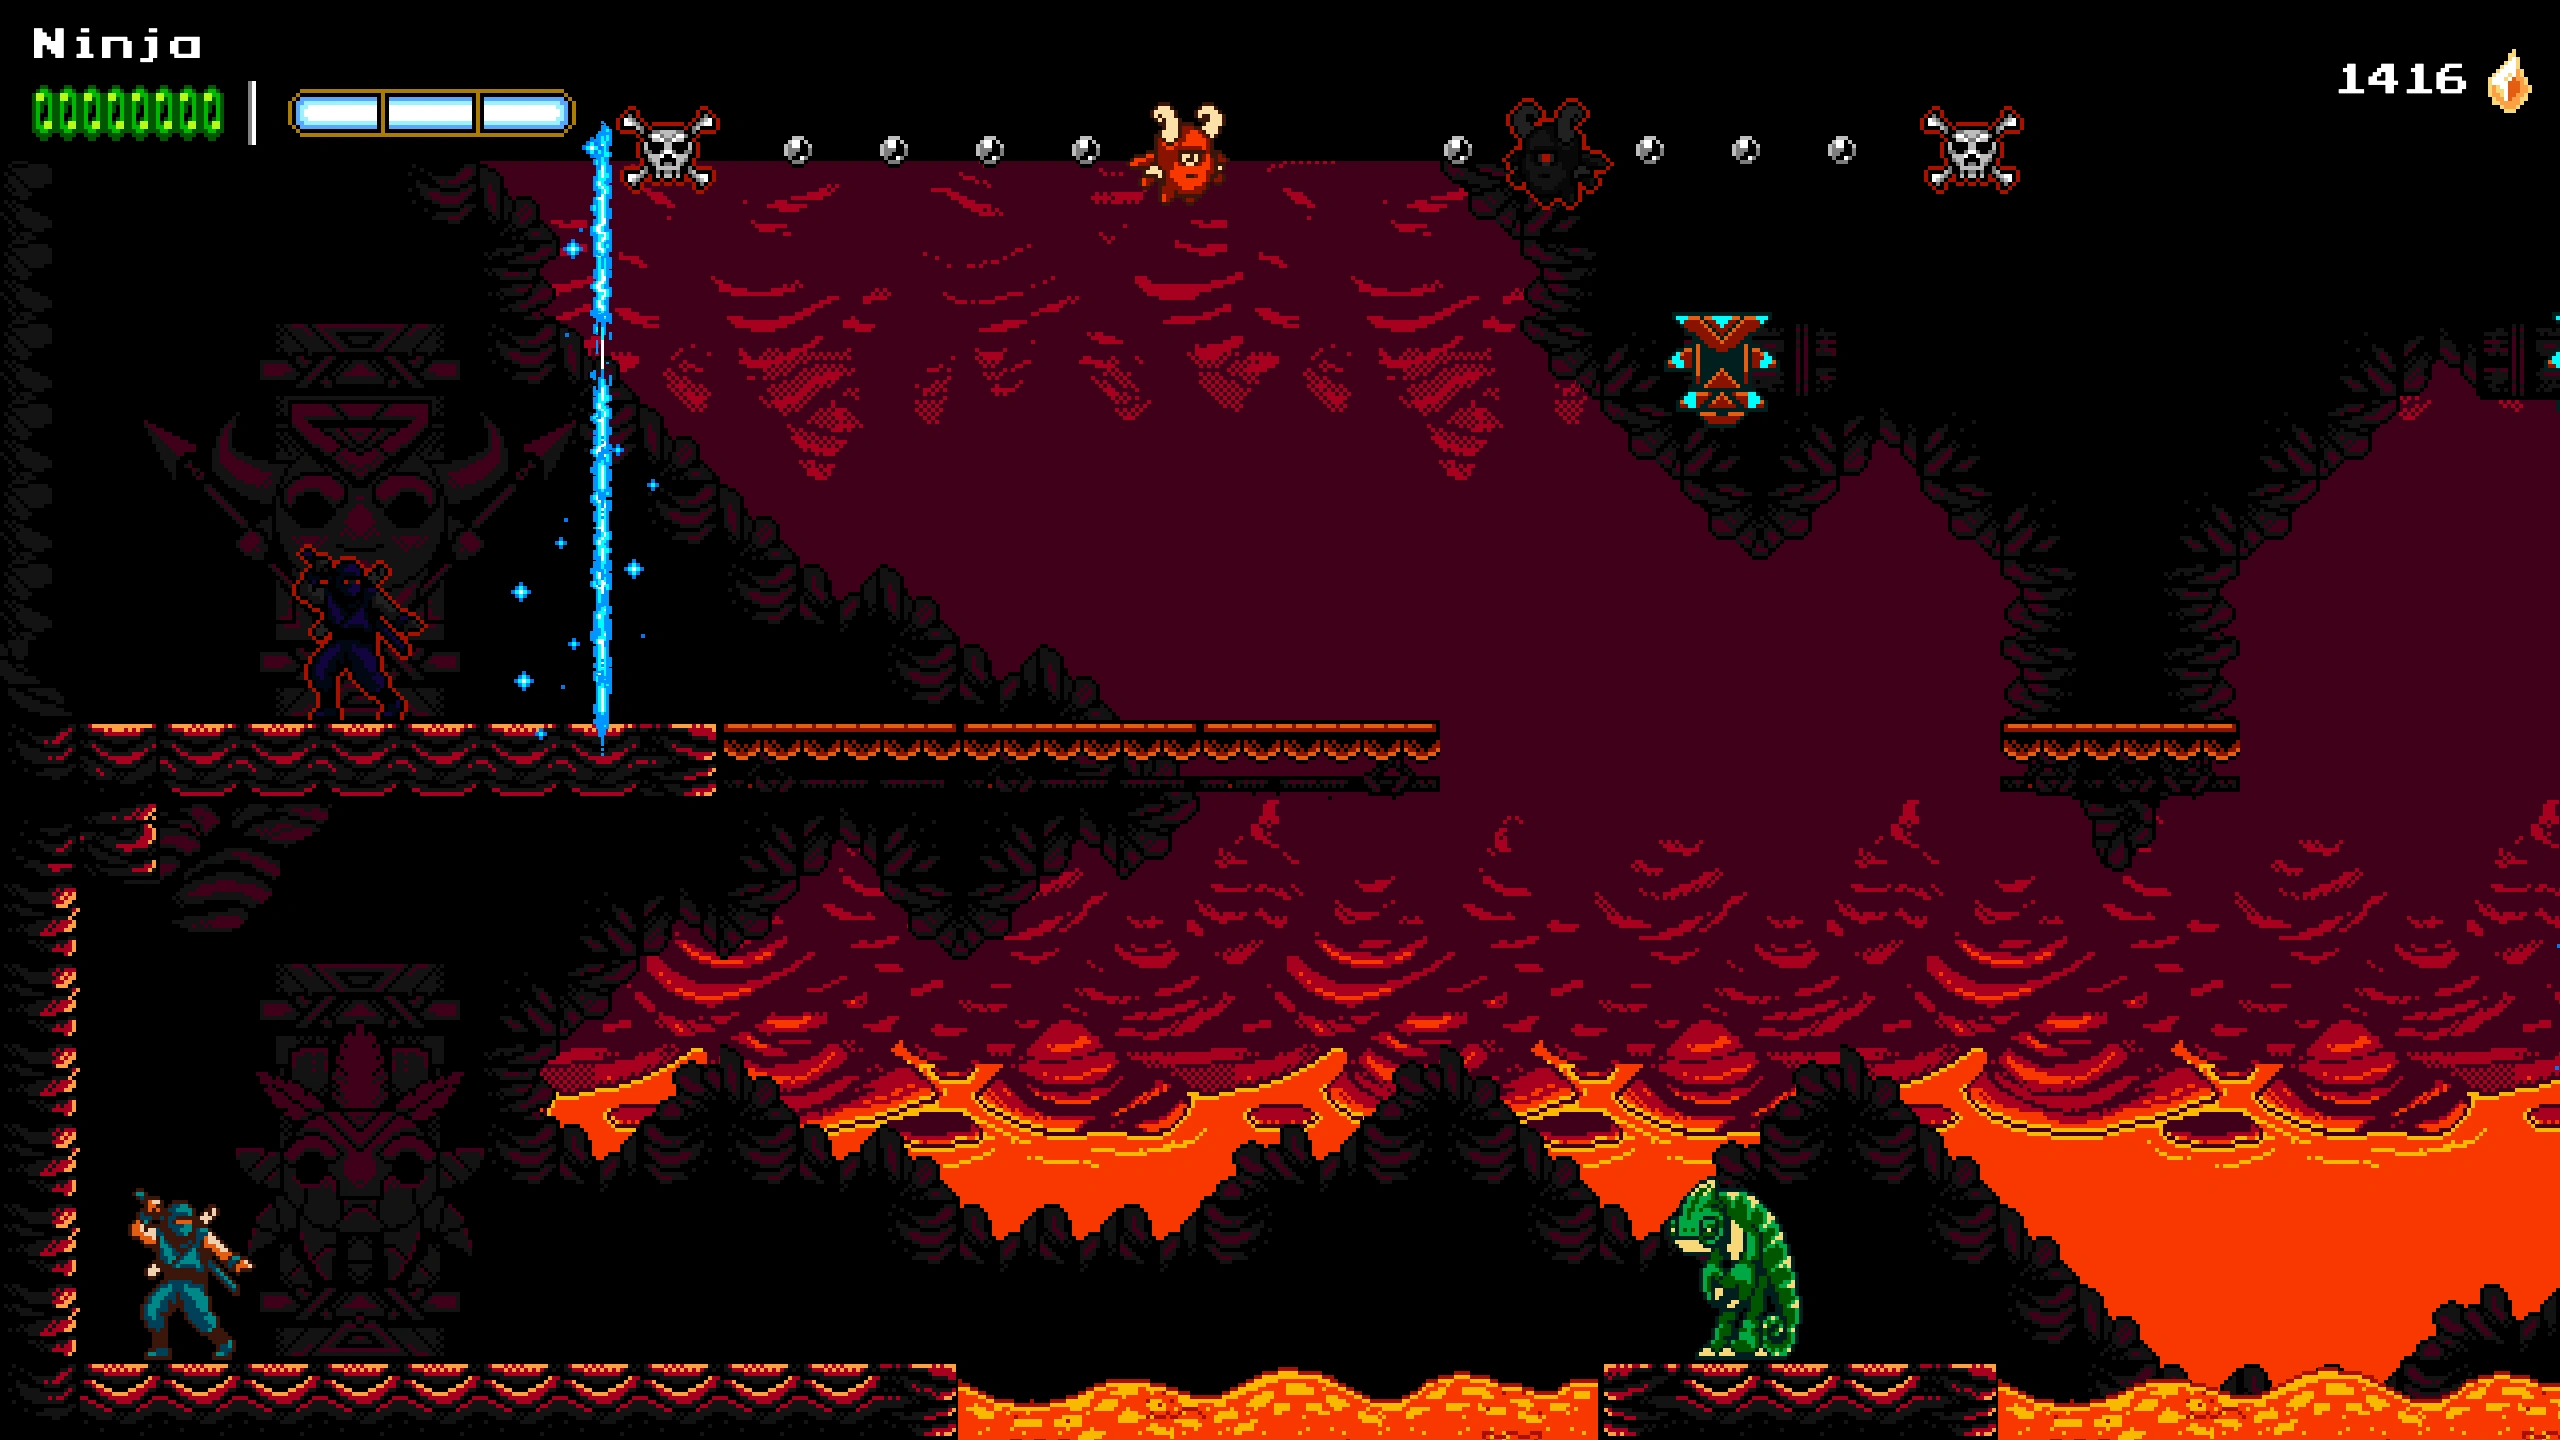
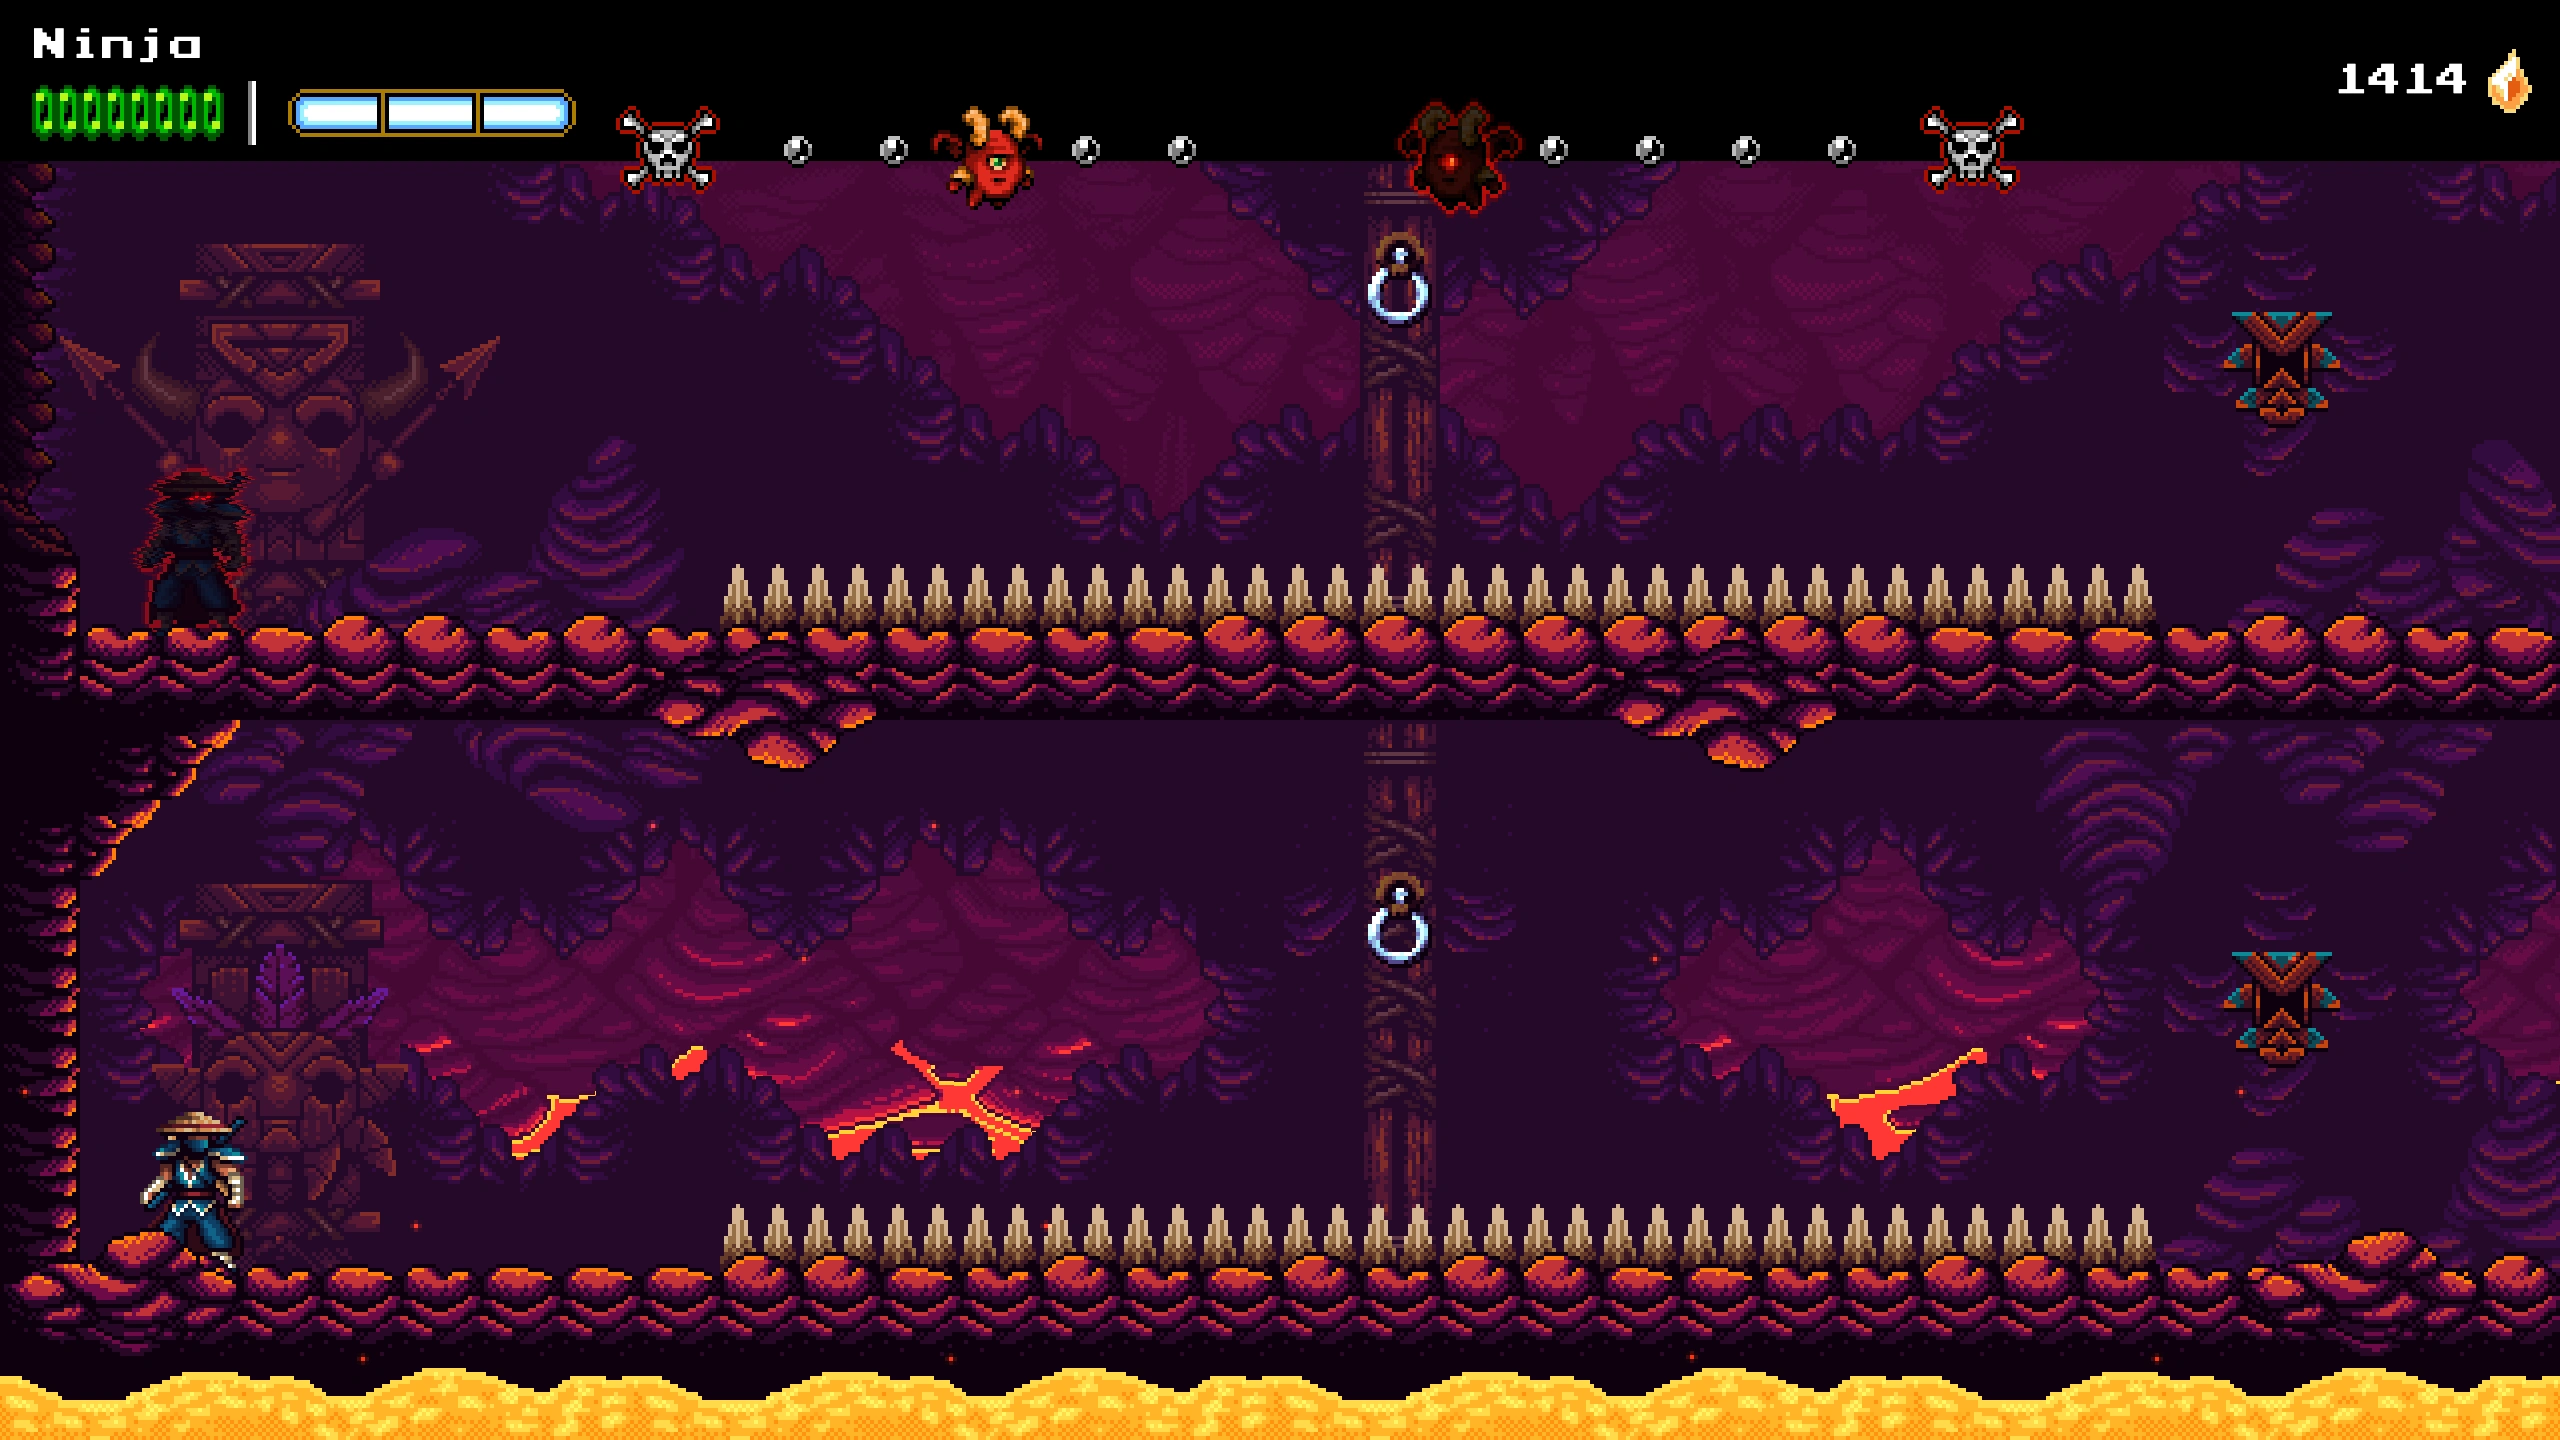
0W-0L | The lower pathway consists of lanterns, Tropical Green Kappa, small spike sections, and metal rings on swinging pendulums. The upper pathway consists of lanterns, and platforms with Tropical Blue Kappa. |
|
1W-0L | The lower pathway consists of lava pits, Tropical Green Kappa, Tropical Blue Kappa, and Croustarde. The upper pathway consists of falling platforms, lanterns, a couple of static time rifts, and several moving columnar time rifts. |
|
0W-1L | The lower pathway consists of lanterns and crusher blocks. |
|
2W-0L | A tall vertical room that begins with an upward pathway that requires climbing, then ends with a downward pathway filled with diagonal corridors of spikes. |
|
1W-1L | A room with time rifts, thin platforms, a couple of Tropical Ranged Kappa, a couple of Tropical Ranged Kappa, and lanterns. The floor is a lava pit. |
|
0W-2L | A relatively short room that begins with a metal ring above a row of spikes, and ends with a couple of lanterns and a Tropical Green Kappa. |
|
3W-0L | A tall snaking multi-leveled room with many enemies, obstacles, and time rifts. Floor 1 has a Tropical Ranged Kappa. Floor 2 has spikeball pendulums and a Tropical Green Kappa. Floor 3 has a couple of Tropical Green Kappa, and lanterns above a spike pit. Floor 4 has Bouncing Monkos. Floor 5 has moving sawblades and a lantern. Floor 6 has a couple of Tropical Green Kappa and a couple of Tropical Ranged Kappa. The last floor has a metal ring. |
|
2W-1L | The beginning and ending sections are lava pits with lanterns situated above them. The middle section consists of metal rings on swinging pendulums, four Tropical Green Kappa, and elevated walls with spike-lined tops. This room also houses an easter egg referencing one of The Shopkeeper's stories. |
|
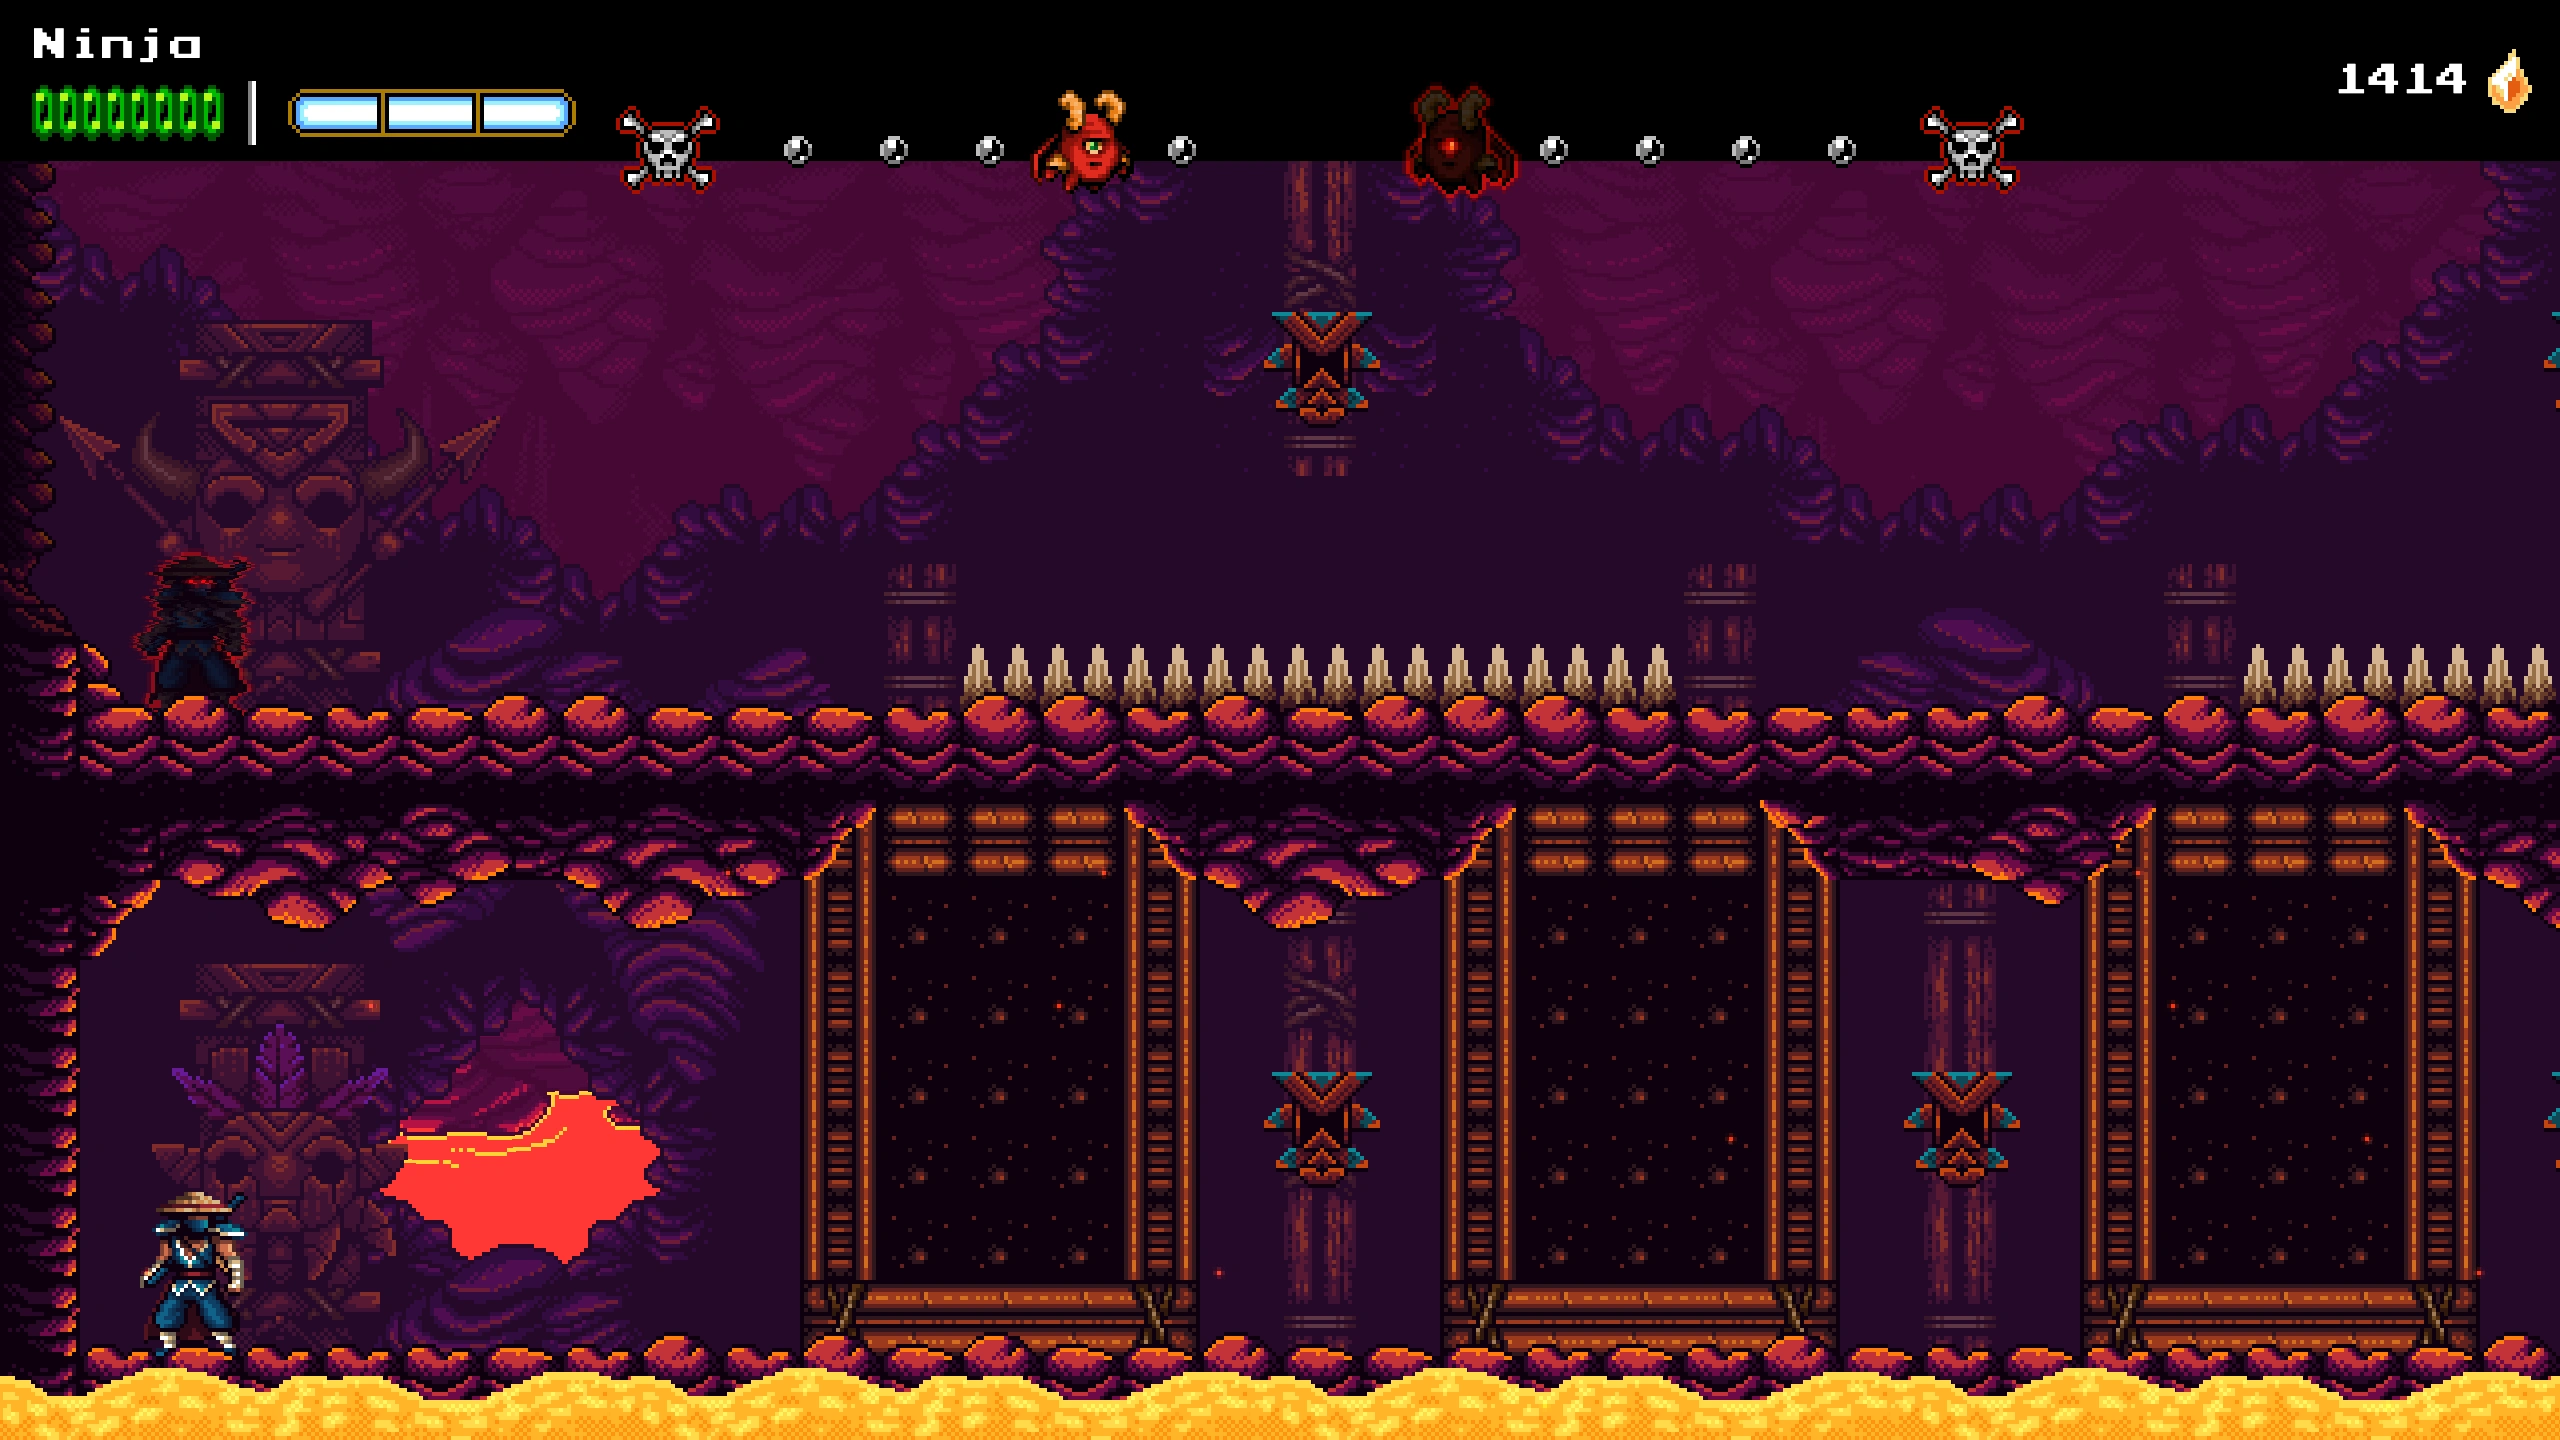
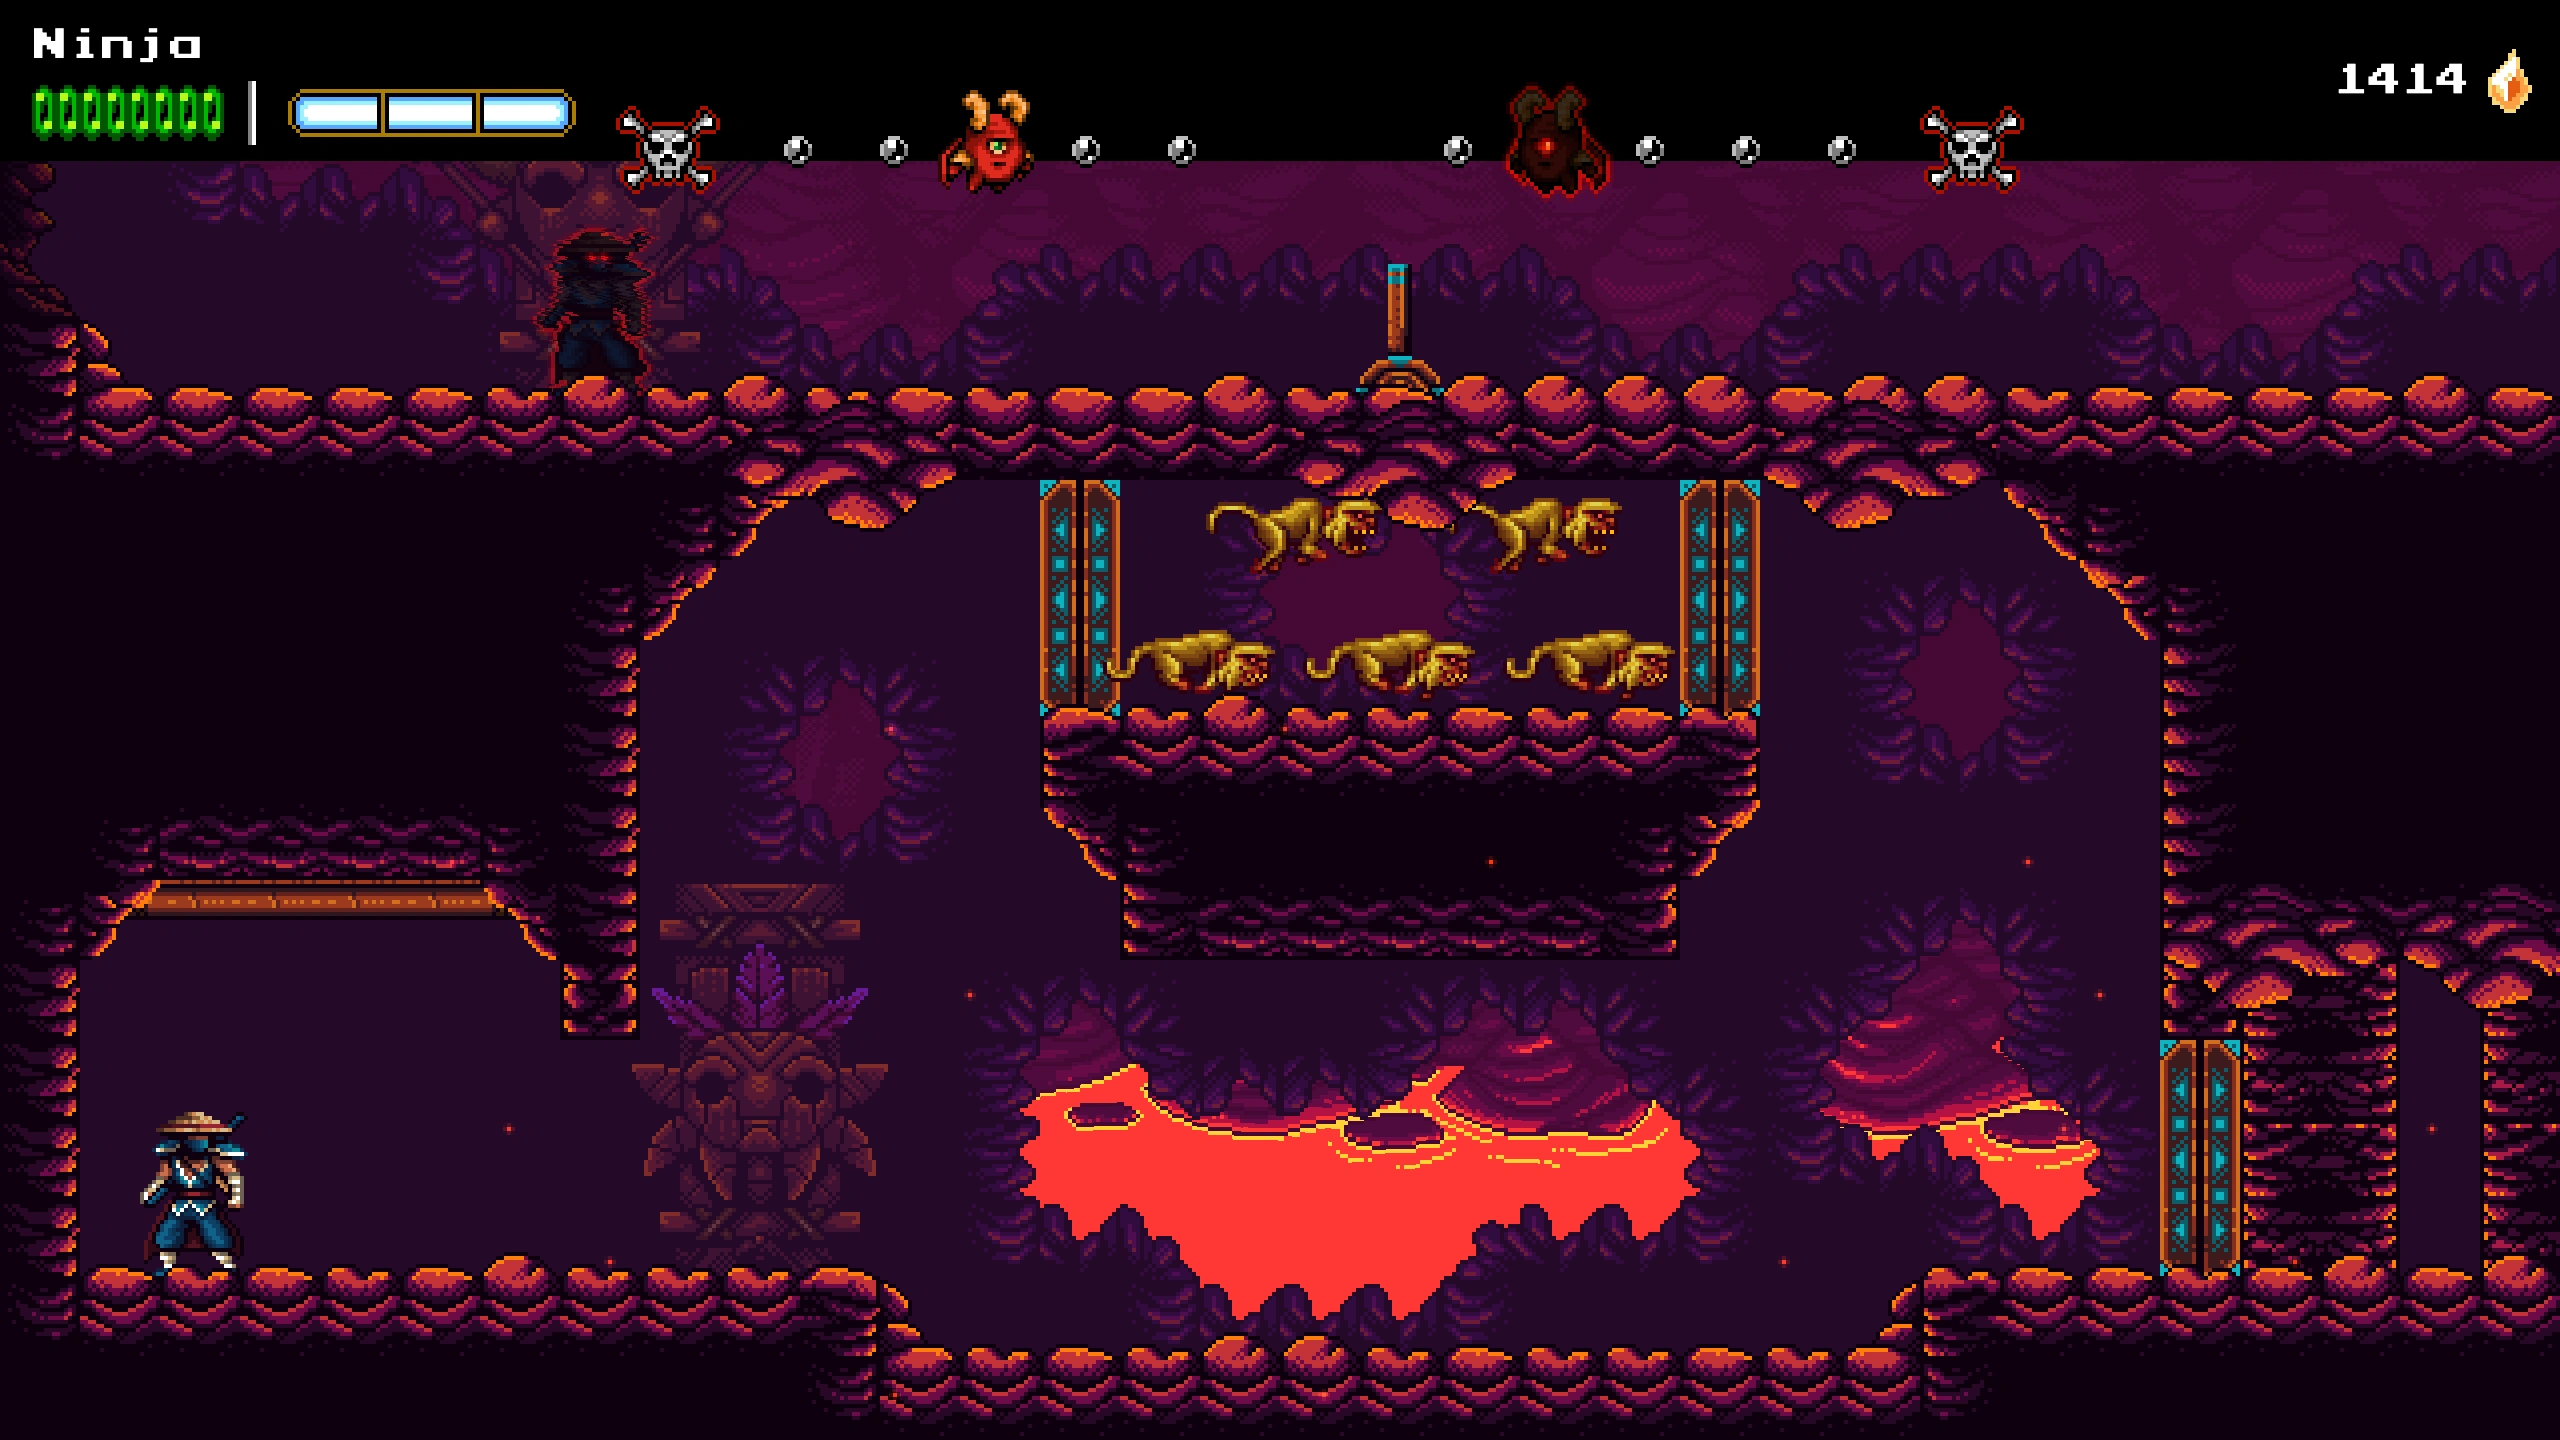
1W-2L | The Dark Messenger runs across the safety of the ceiling while attacking switches that trigger pathways and traps for Ninja in the lower part of the arena. The first switch releases a cage of Bouncing Monkos. The second switch triggers a few stationary lanterns to start moving. The third switch removes the floor below the moving lanterns. The third switch causes crusher blocks to become active. The fourth switch activates moving spike platforms that rise from the floor. |
|
0W-3L | A relatively short room with a pyramid-like structure. Leading upward is a lantern, a Tropical Green Kappa, and a Tropical Ranged Kappa. At the top is a Tropical Blue Kappa. Leading downward is a Croustarde, a Tropical Green Kappa, and a lantern. |
|
4W-0L | An extremely long horizontal room, filled with enemies, lanterns, and a few metal rings. Time Shard pathways guide the way after metal rings. Momentum must be kept by Rope Darting metal rings, and doing normal attacks on the lanterns and enemies. Height is maintained by occasionally Cloudstepping. |
|
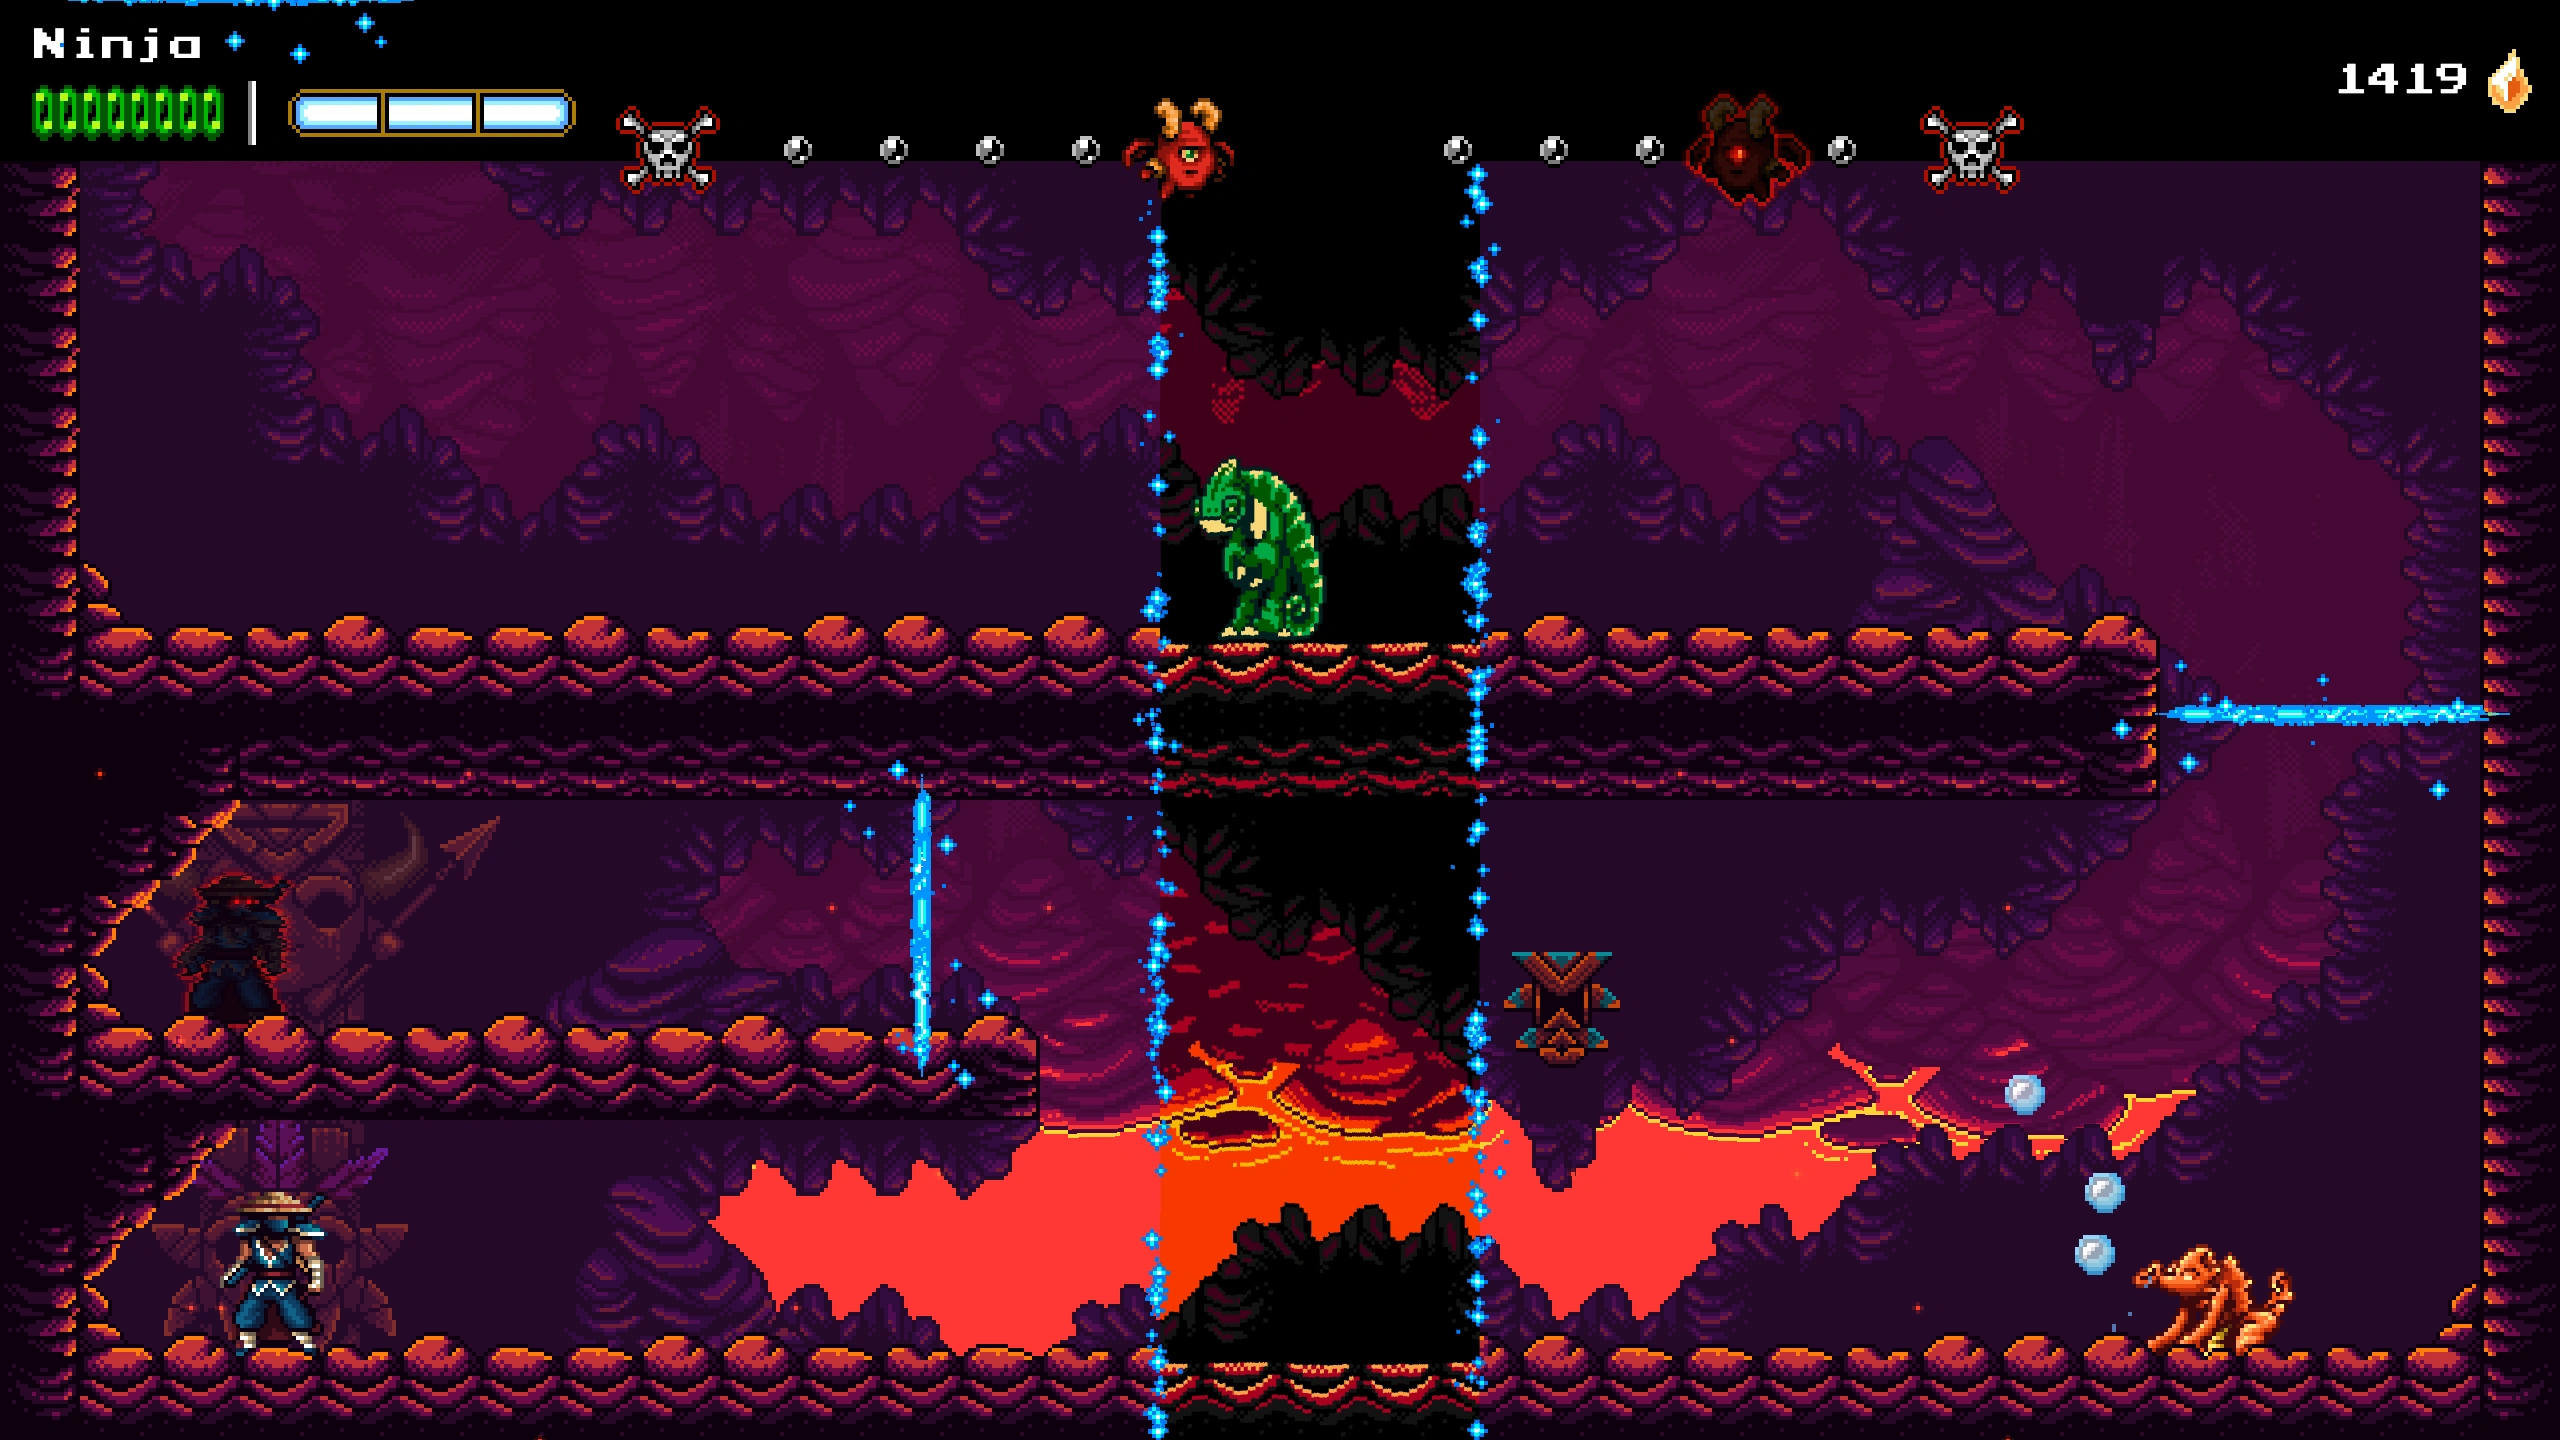
3W-1L | A room with time rifts and moving platforms. The room is normally in 8-bit, but tall columnar time rifts move side-to-side, revealing the 16-bit era which has lanterns and thin platforms. The floor is a lava pit. |
|
2W-2L | A long room with lanterns above lava pits separated by elevated platforms with enemies. There are Tropical Bats, Tropical Blue Kappa, Tropical Green Kappa, and a swinging spikeball pendulum. |
|
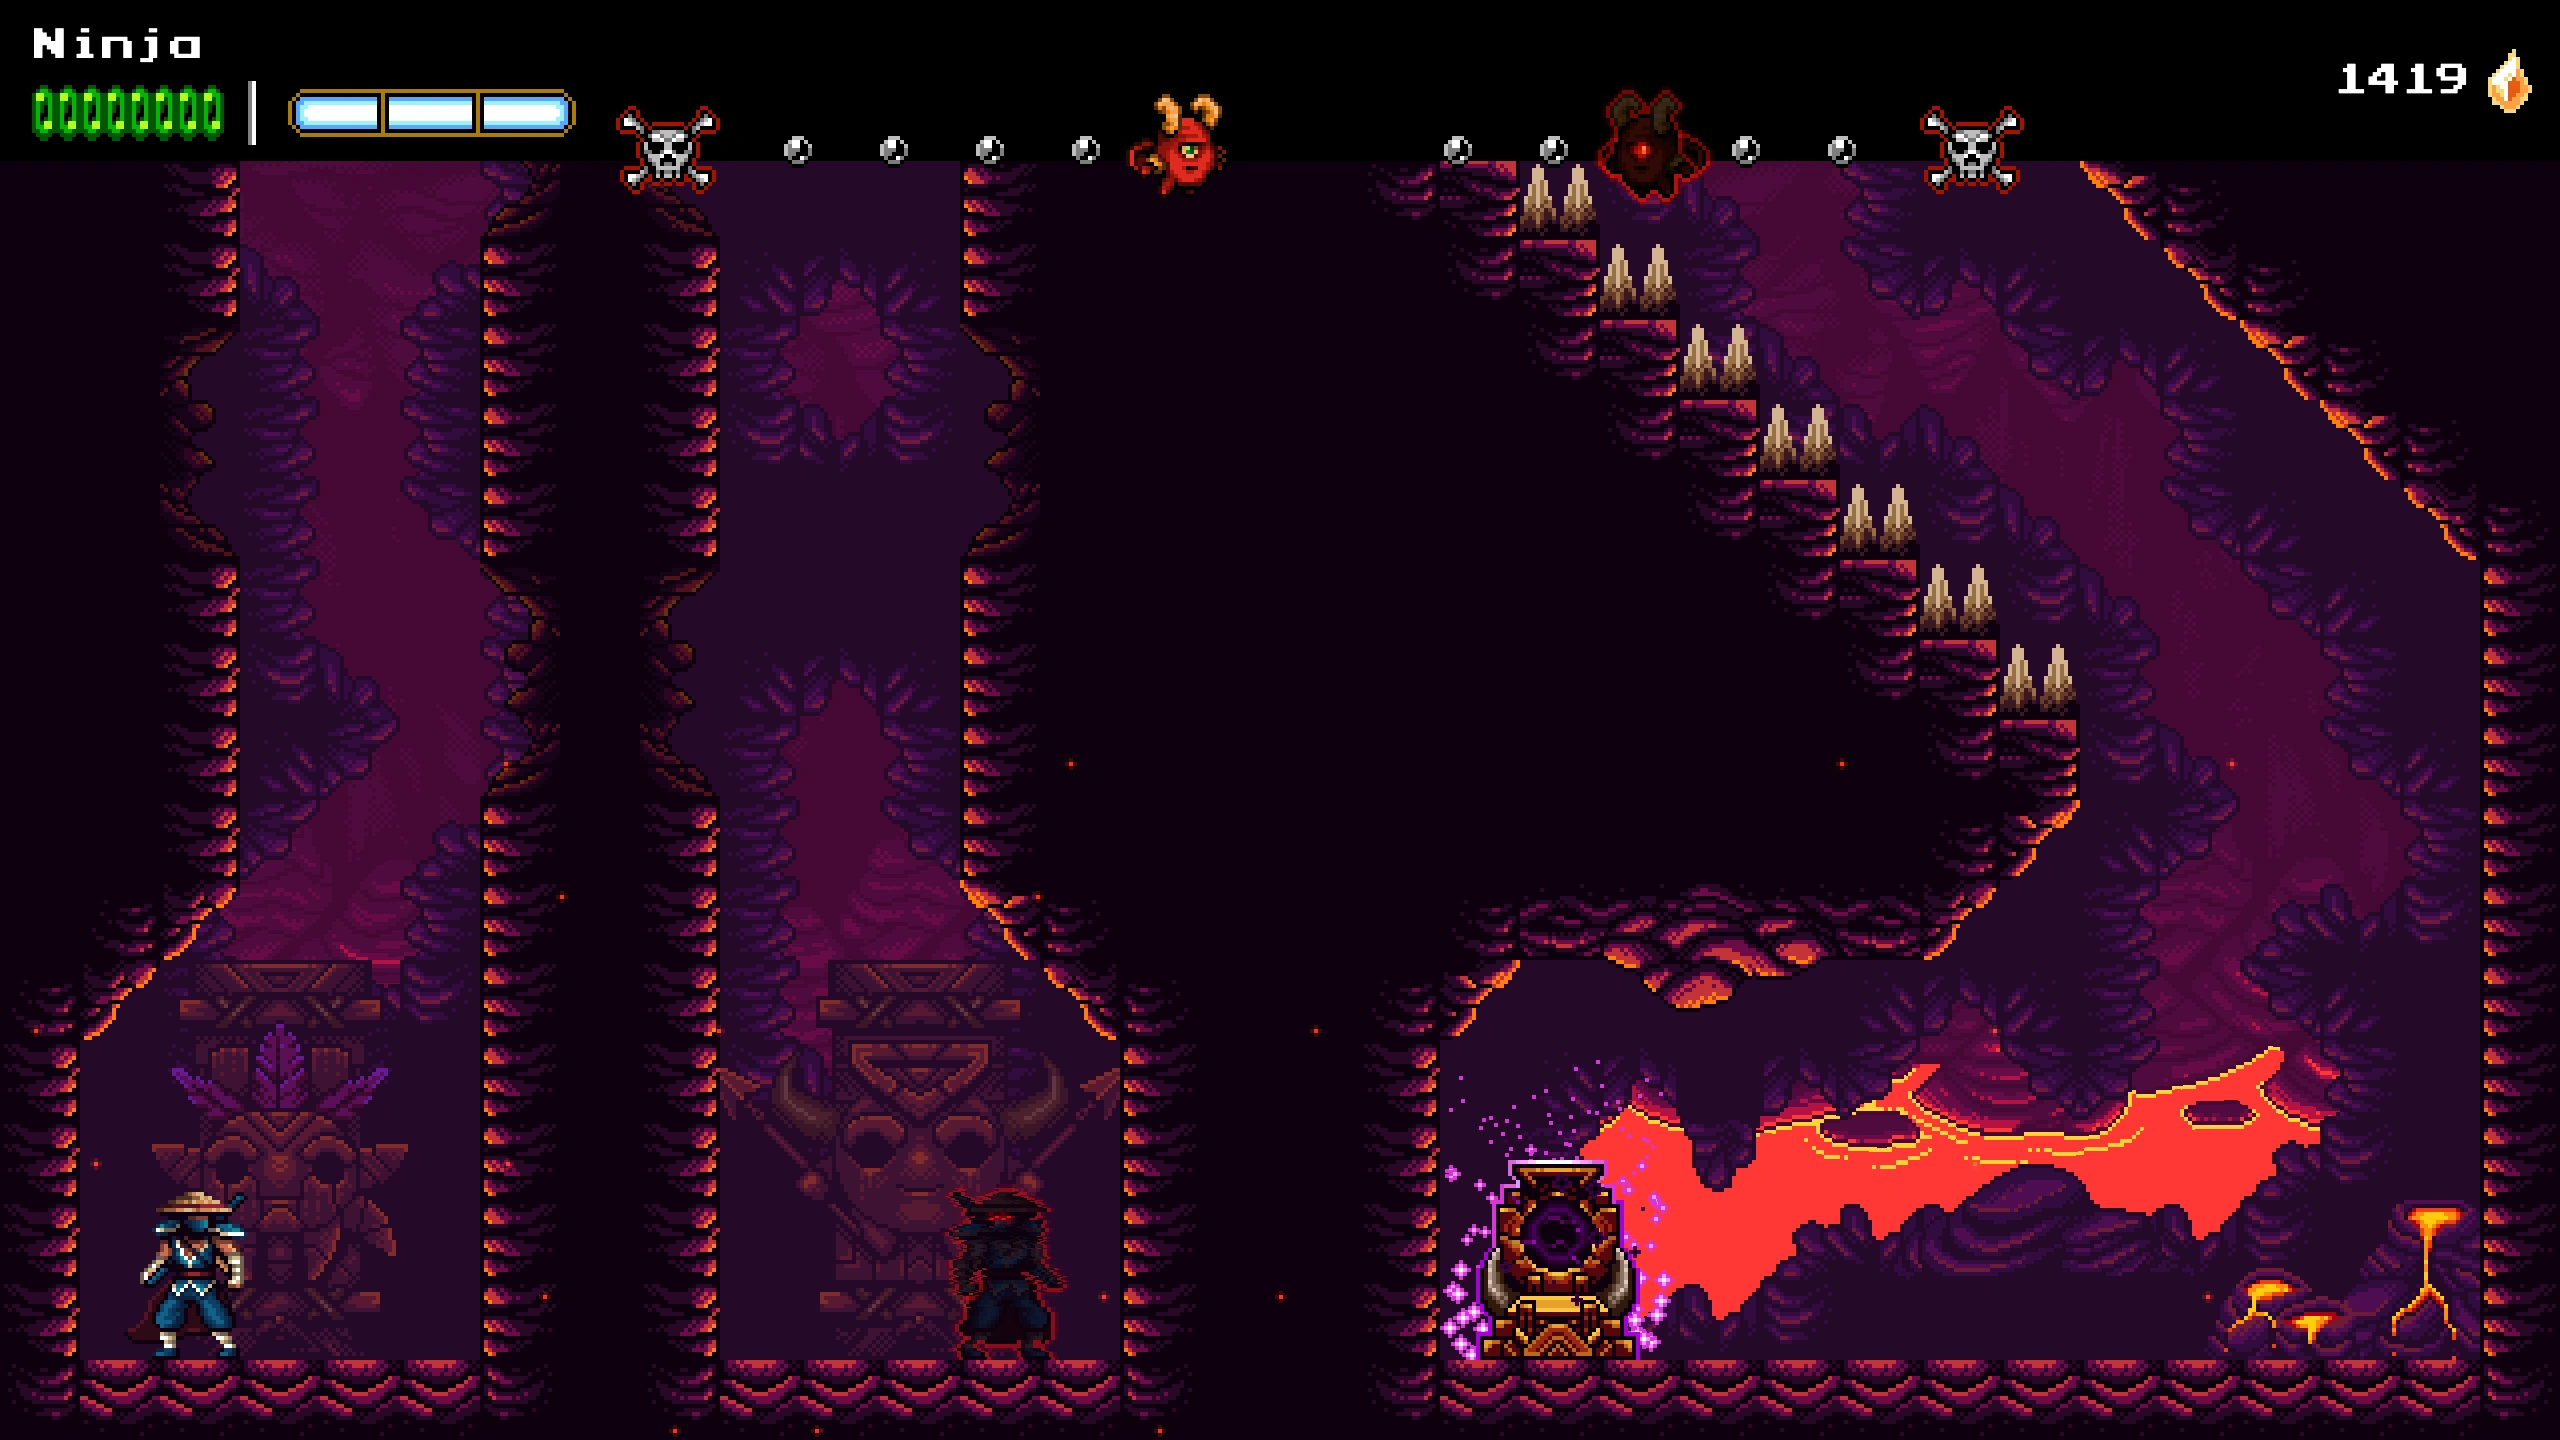
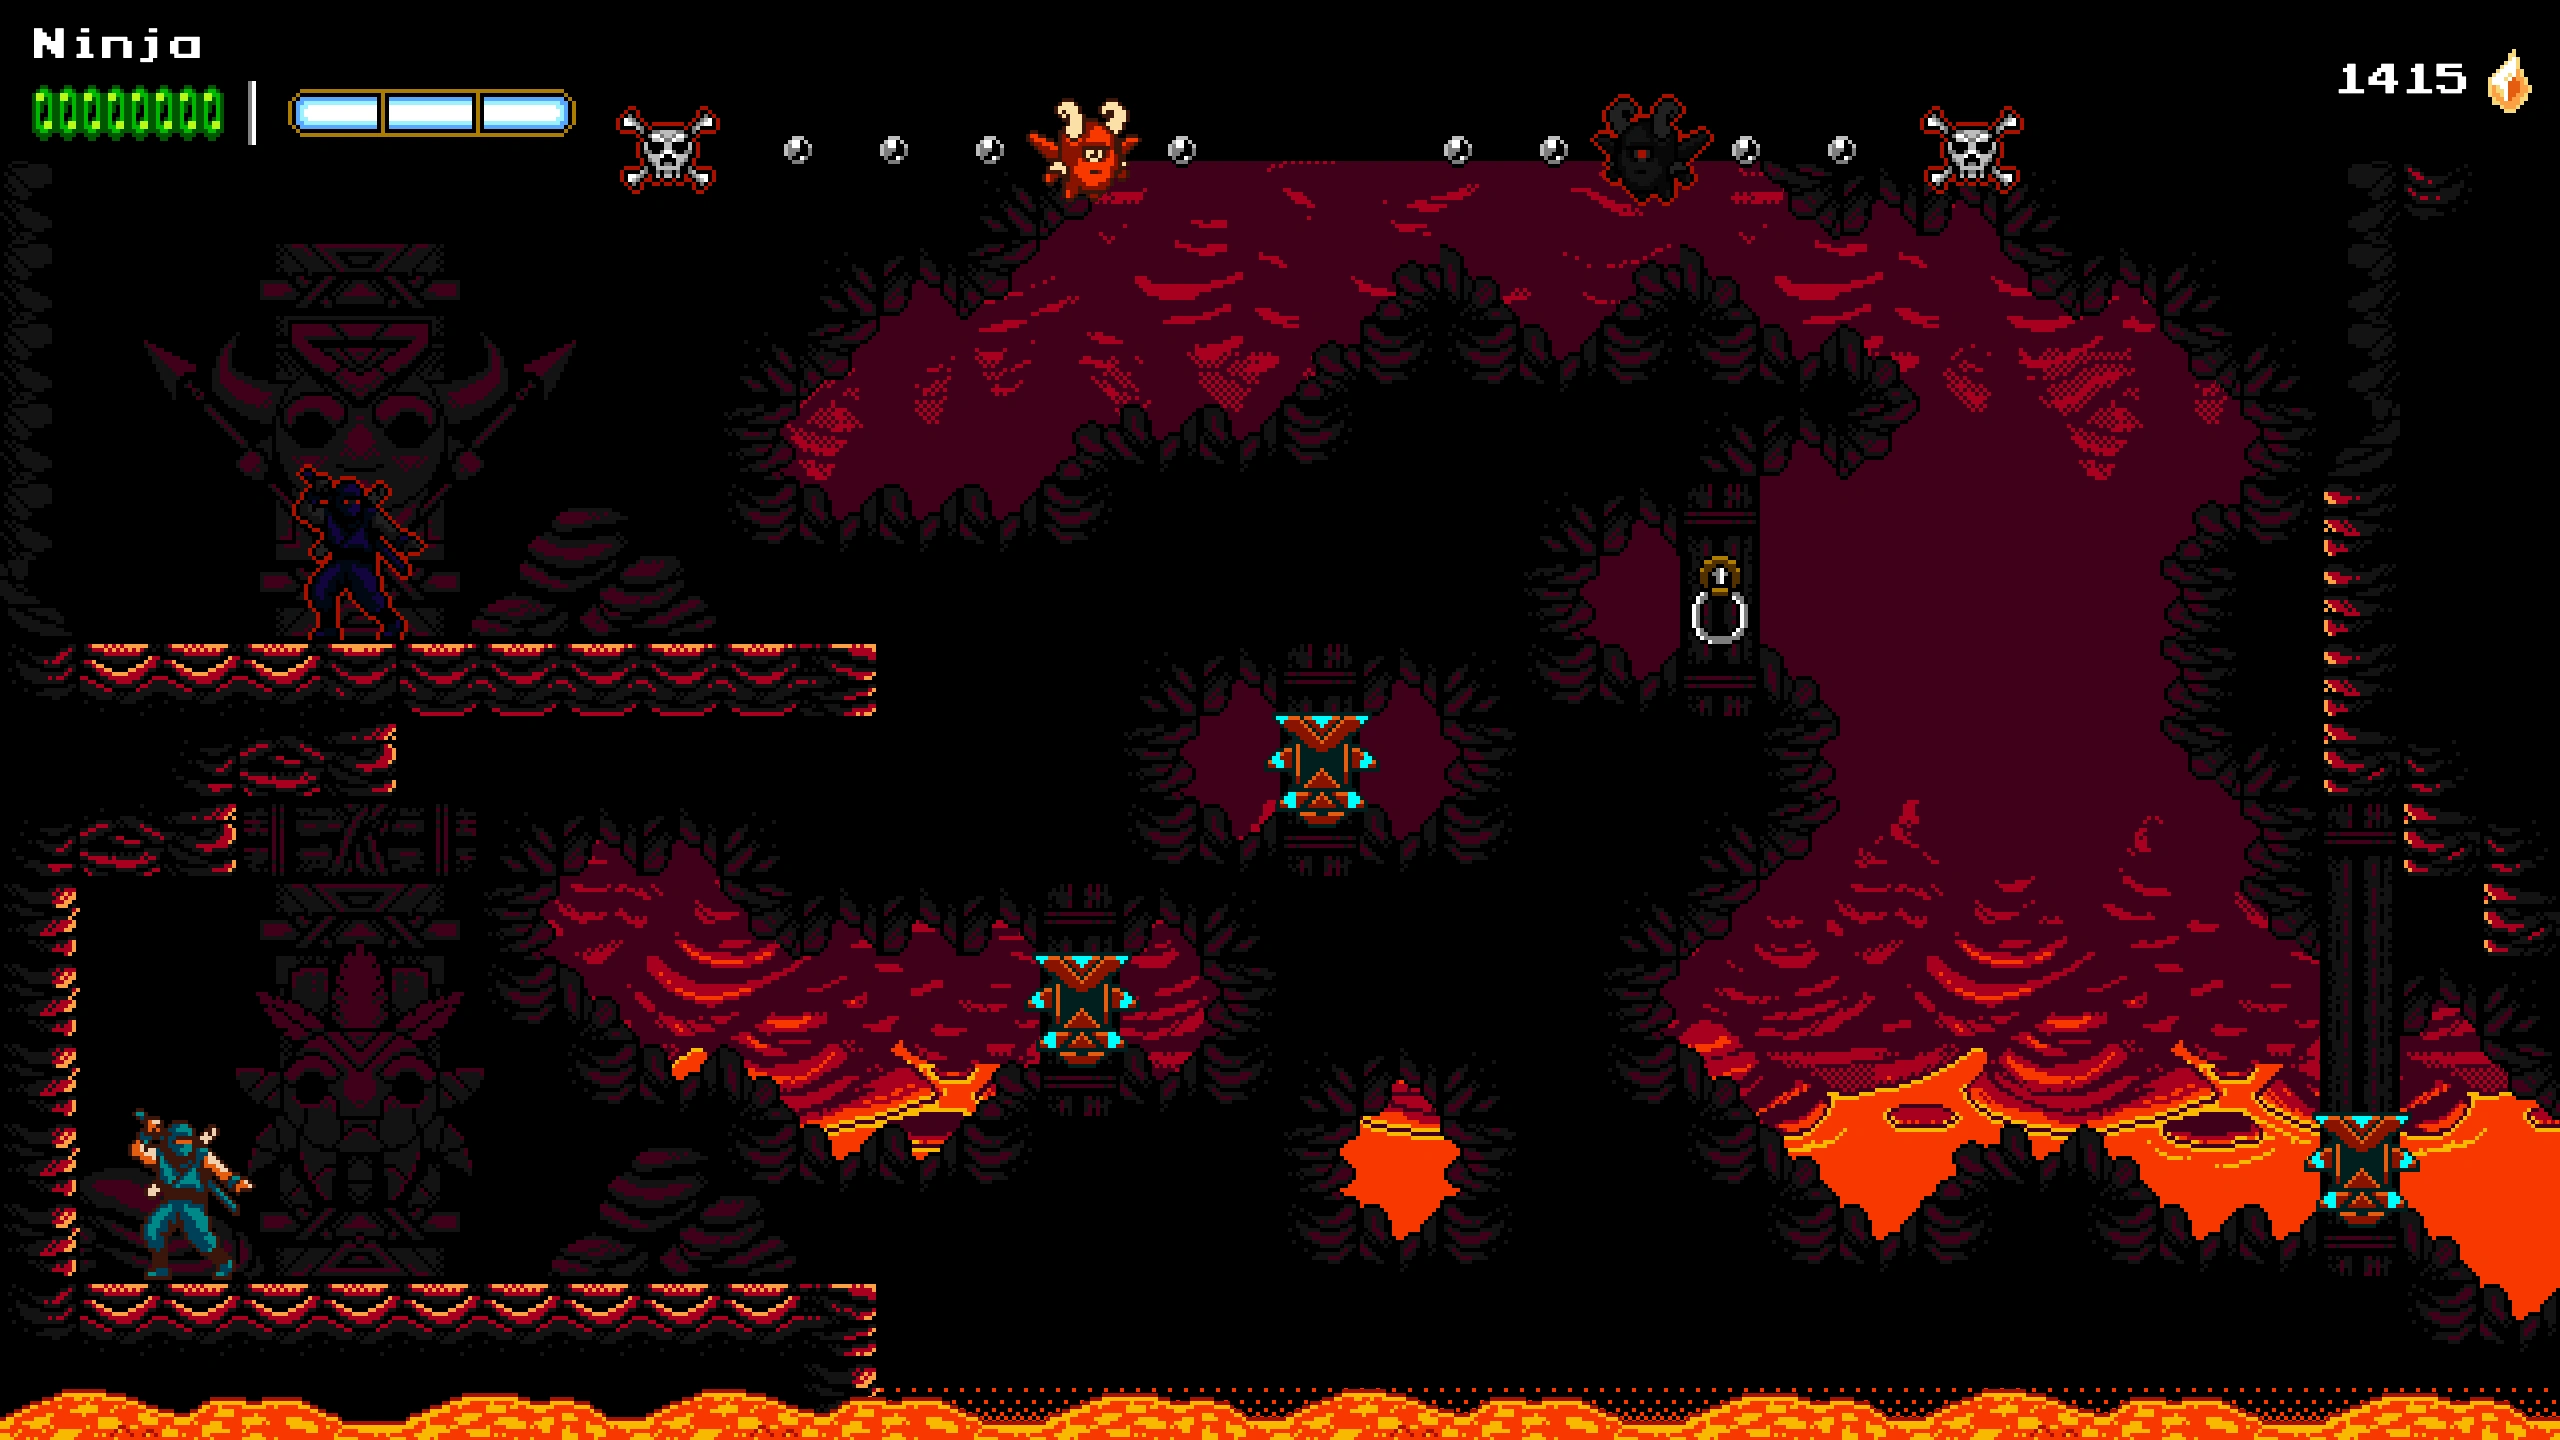
1W-3L | A tall empty room that leads upward. Lanterns must be Cloudstepped off of to reach climbable wall portions. |
|
0W-4L | A relatively short room with a few lanterns and a couple of spike pits. |
|
4W-1L | The lower pathway consists of spikes, a Tropical Blue Kappa, and a Tropical Green Kappa. The upper pathway consists of swinging spikeball pendulums, platforms with switches that activate doors, and a Tropical Blue Kappa. Ninja can alternate between the upper pathway and the lower pathway, but the Dark Messenger will remain in the upper pathway, hitting switches that close off doors that block of certain paths. If Ninja is too slow, the closing doors will hinder his progress. |

|
3W-2L | A long room with metal rings and elevated platforms with spike-lined tops. There are a couple of Birdies and a couple of Tropical Bats. The floor is a lava pit. |
|
2W-3L | Many lanterns are situated above a long pit of lava. |
|
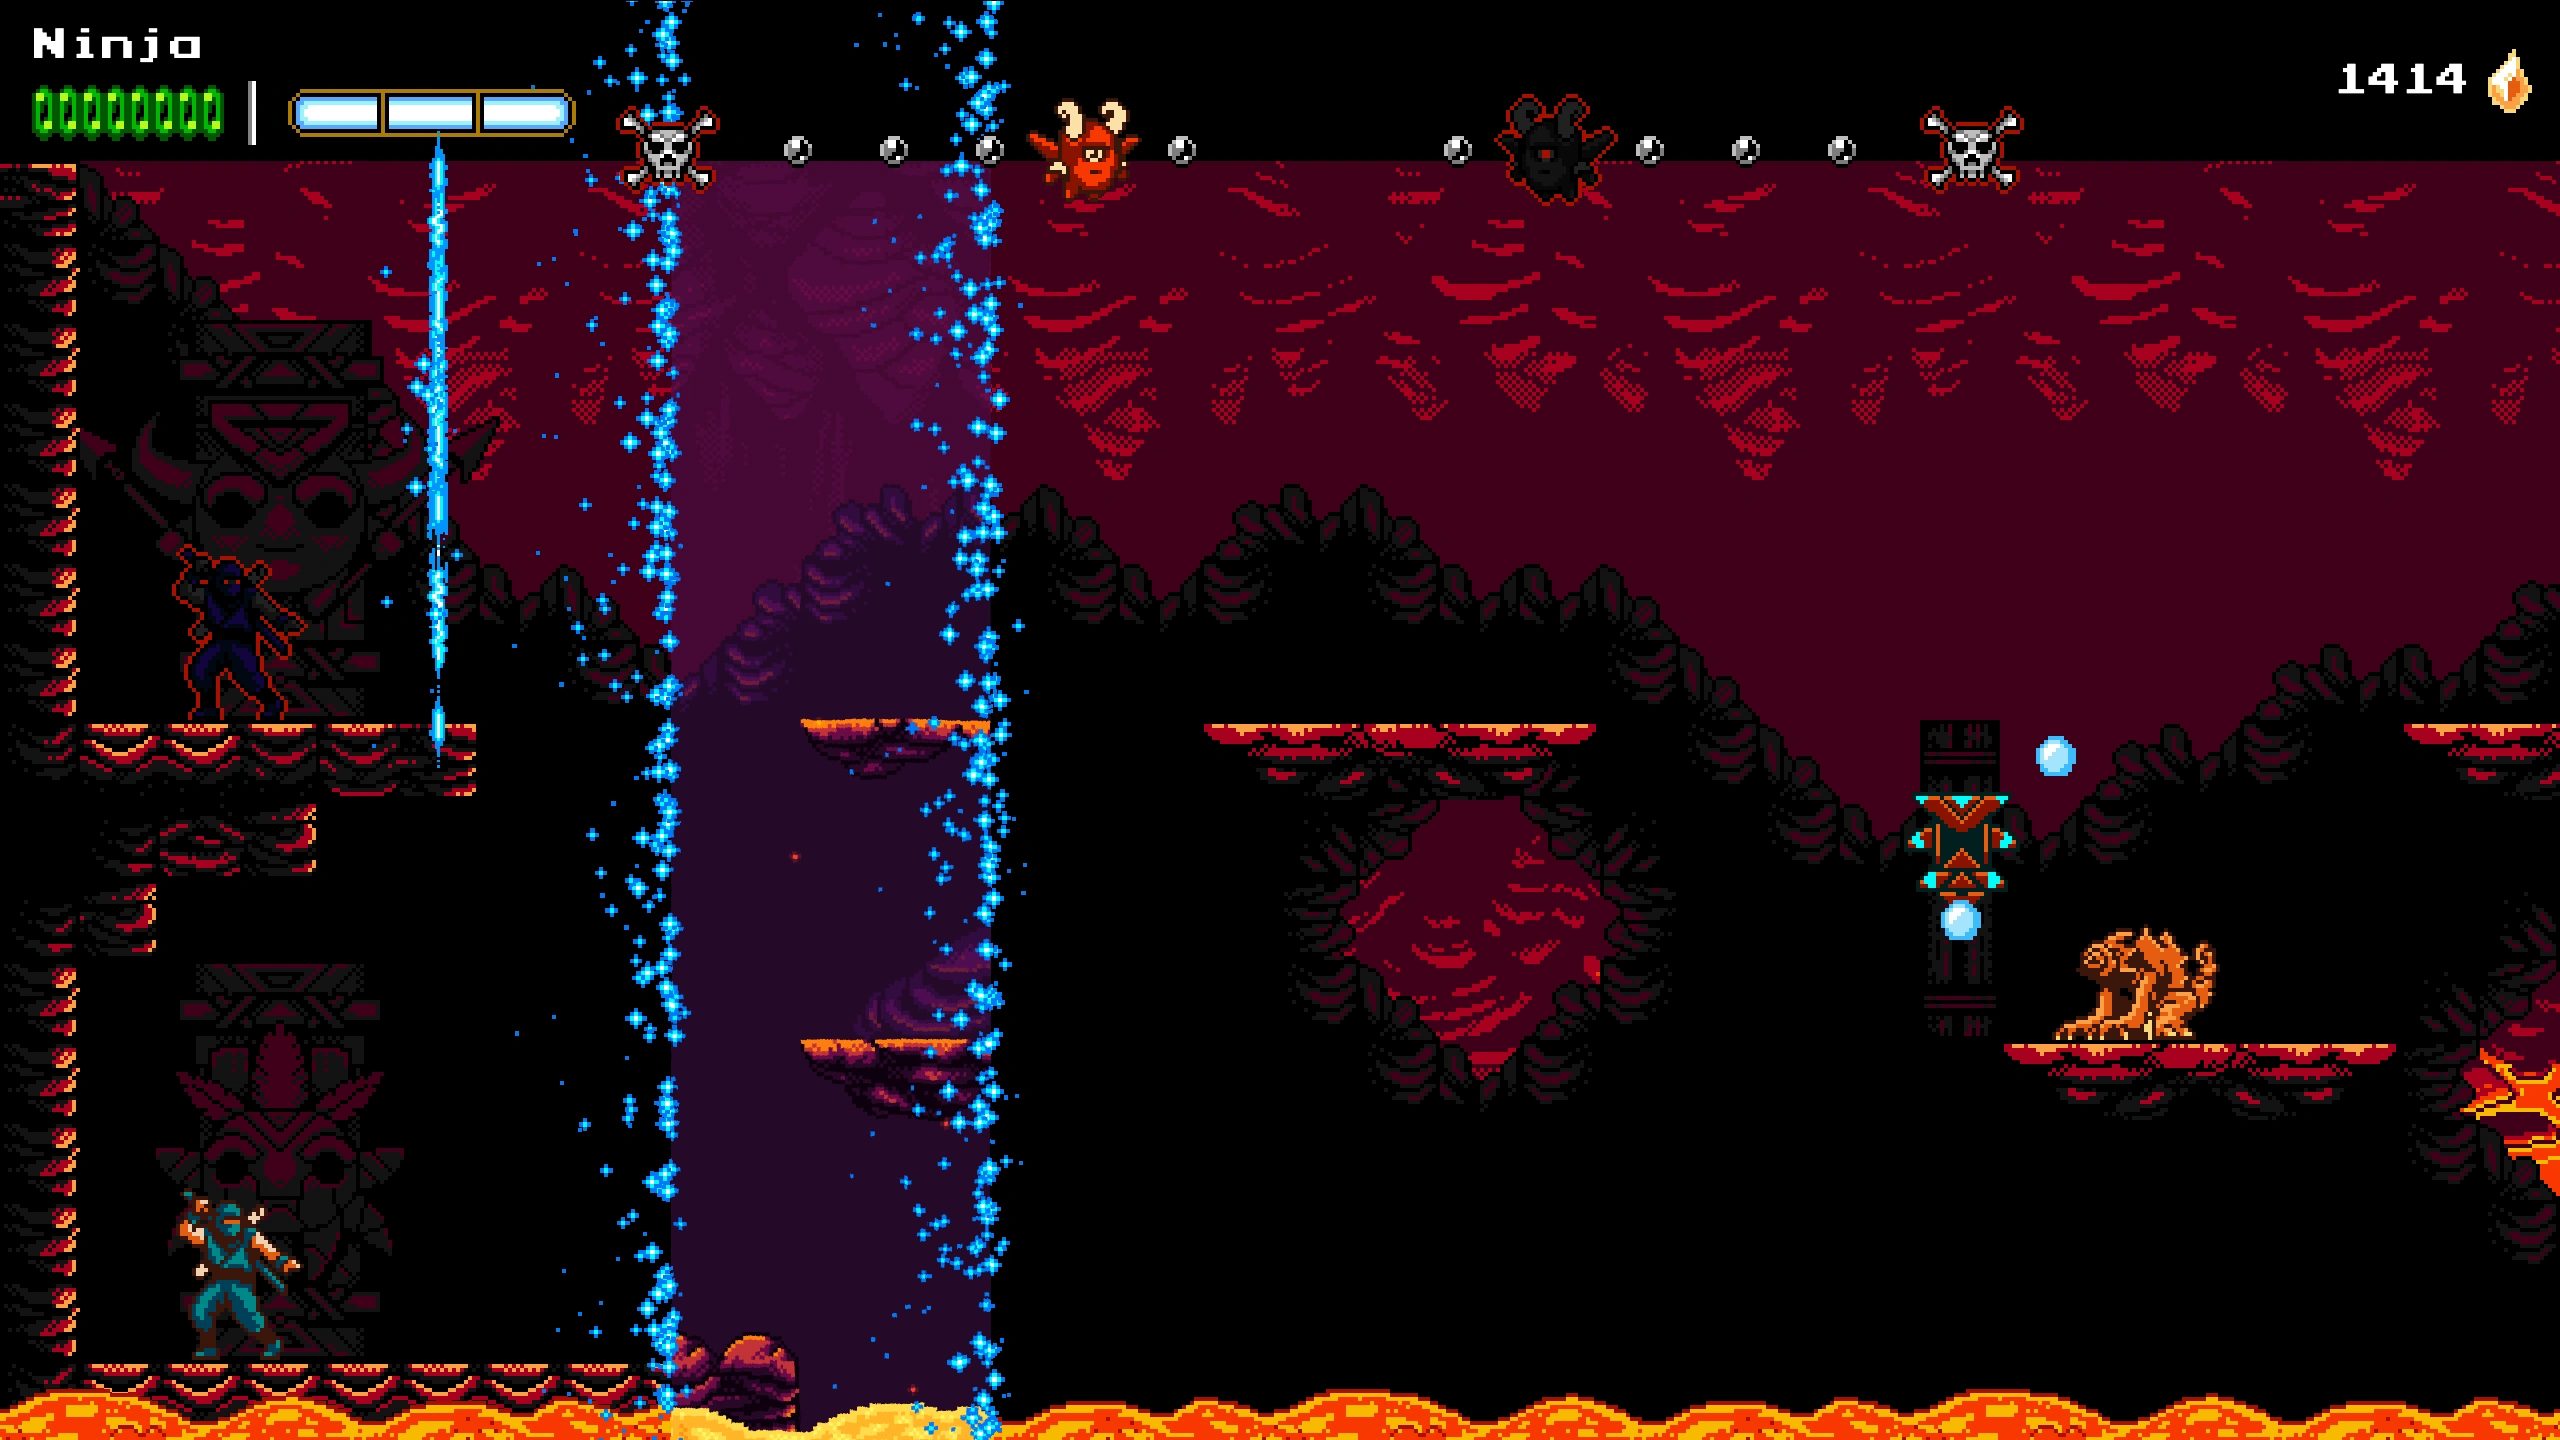
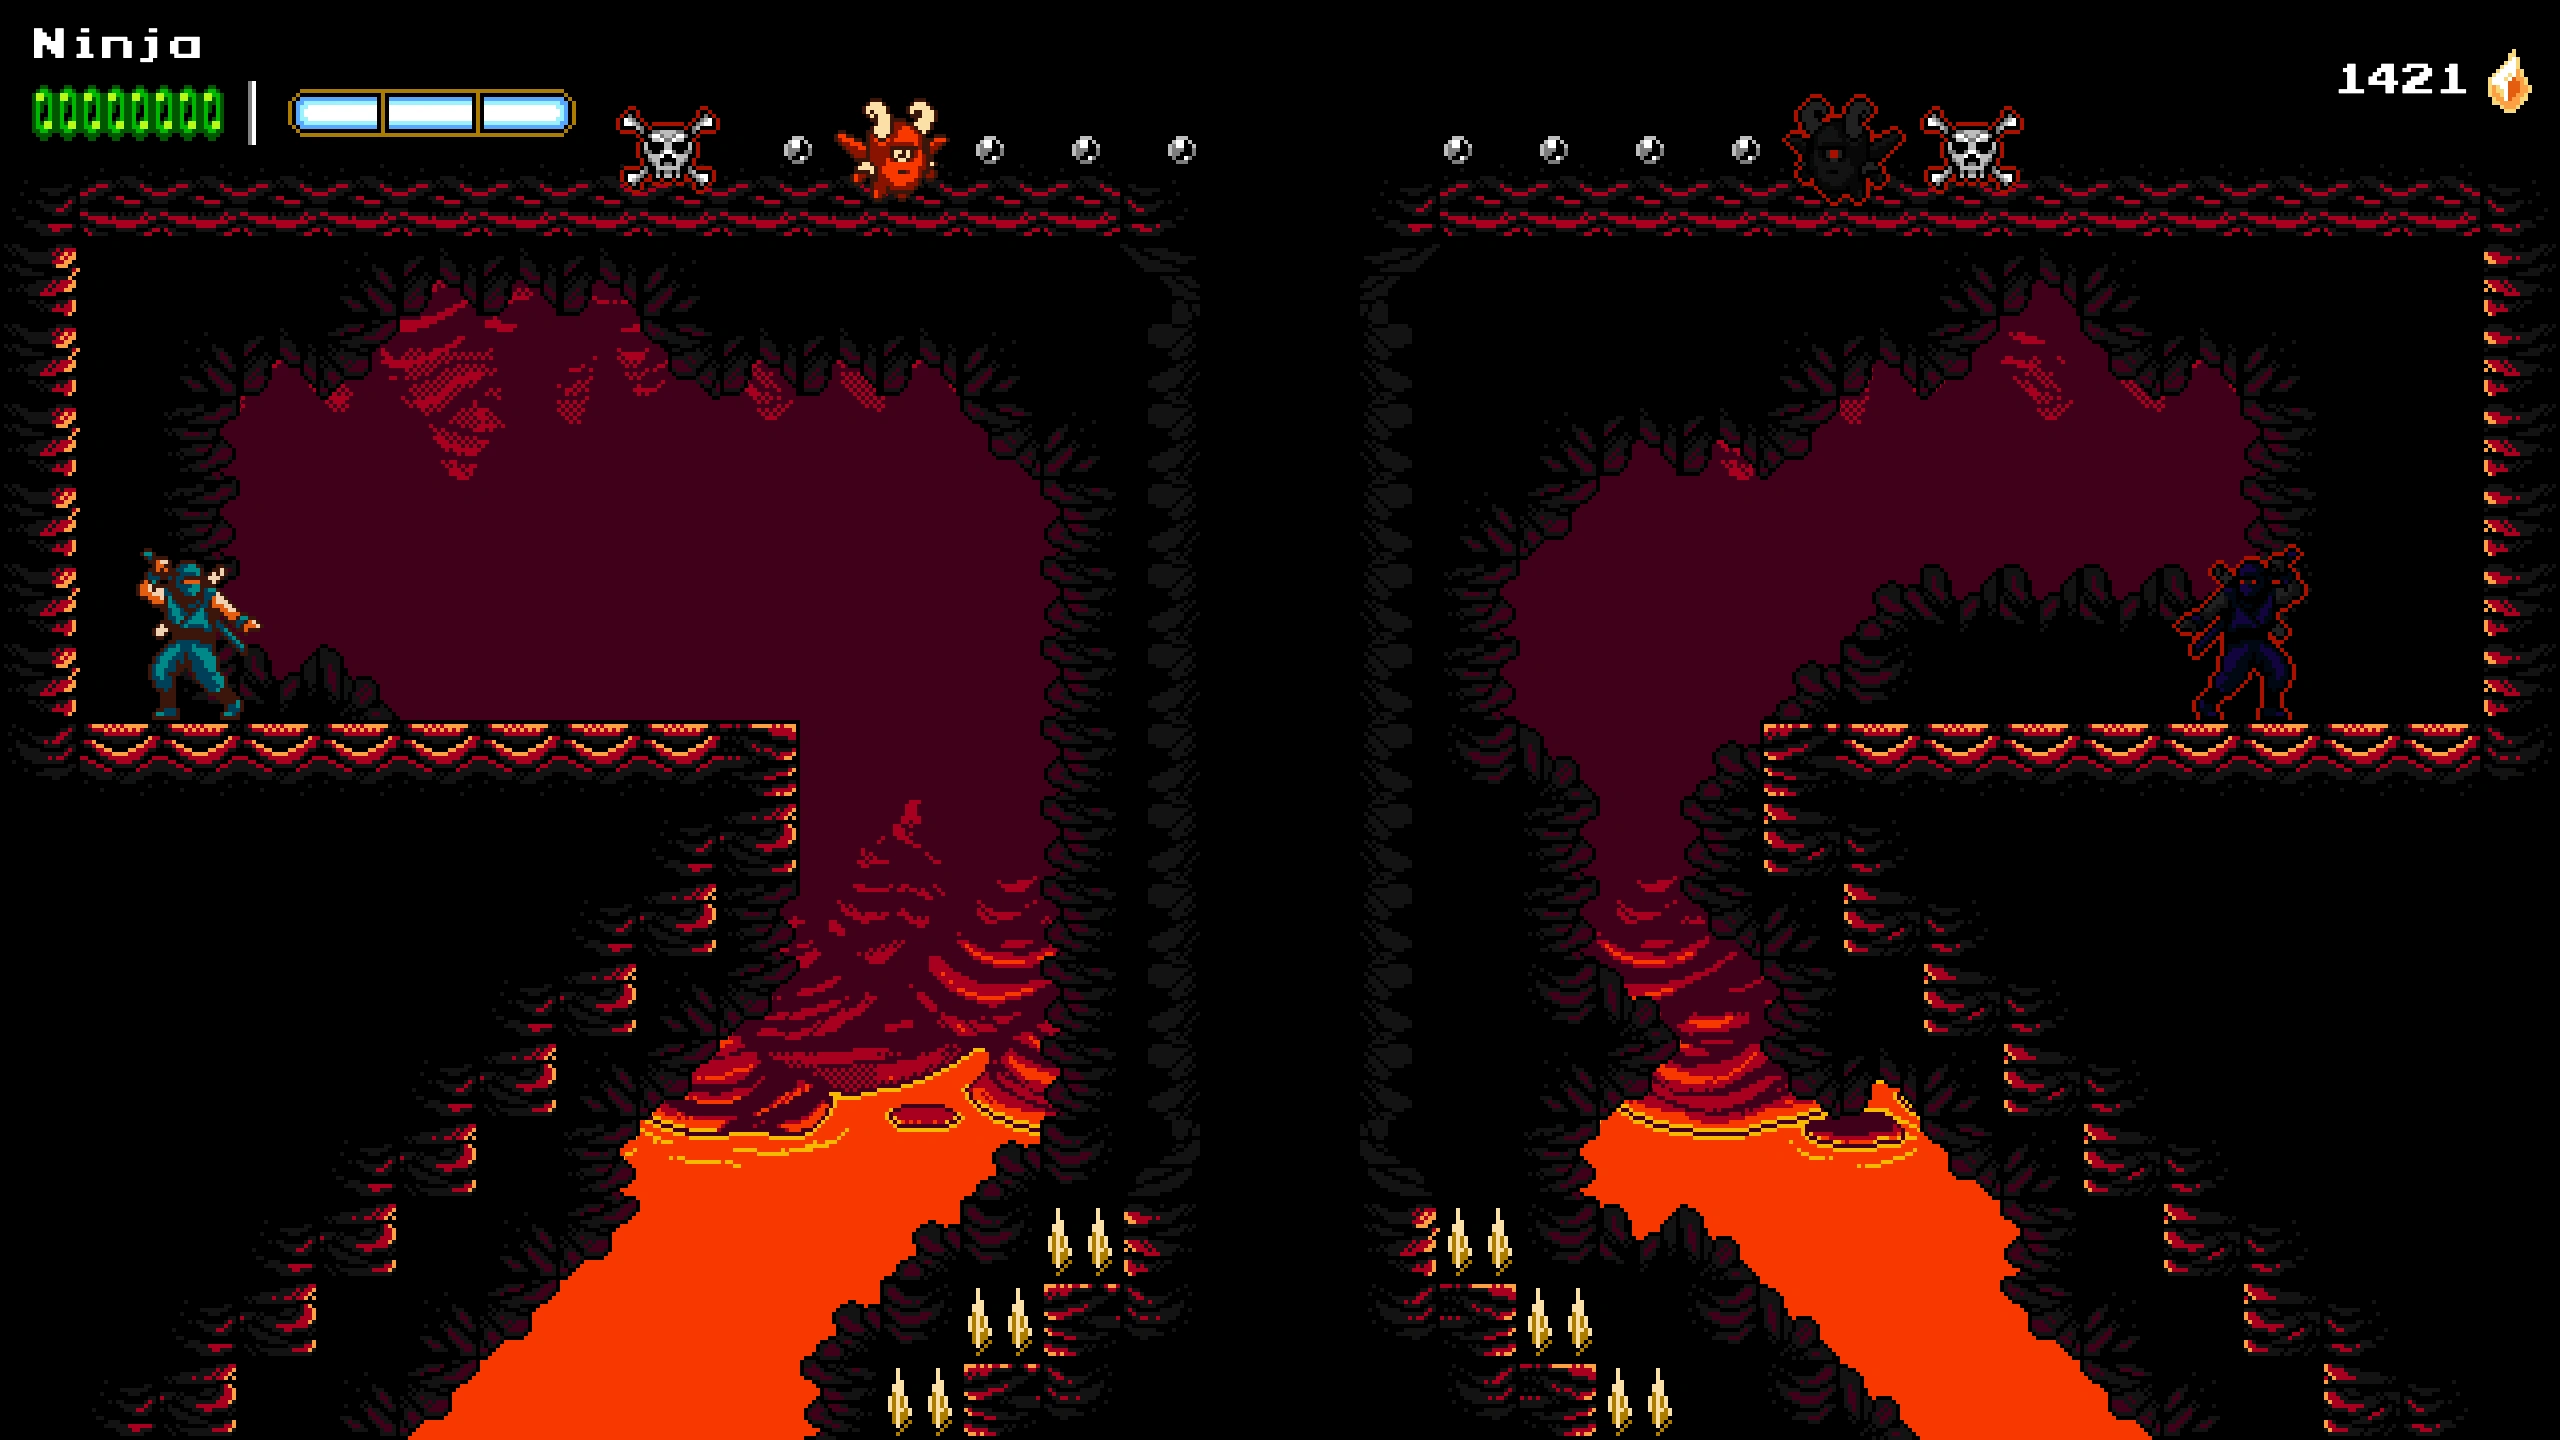
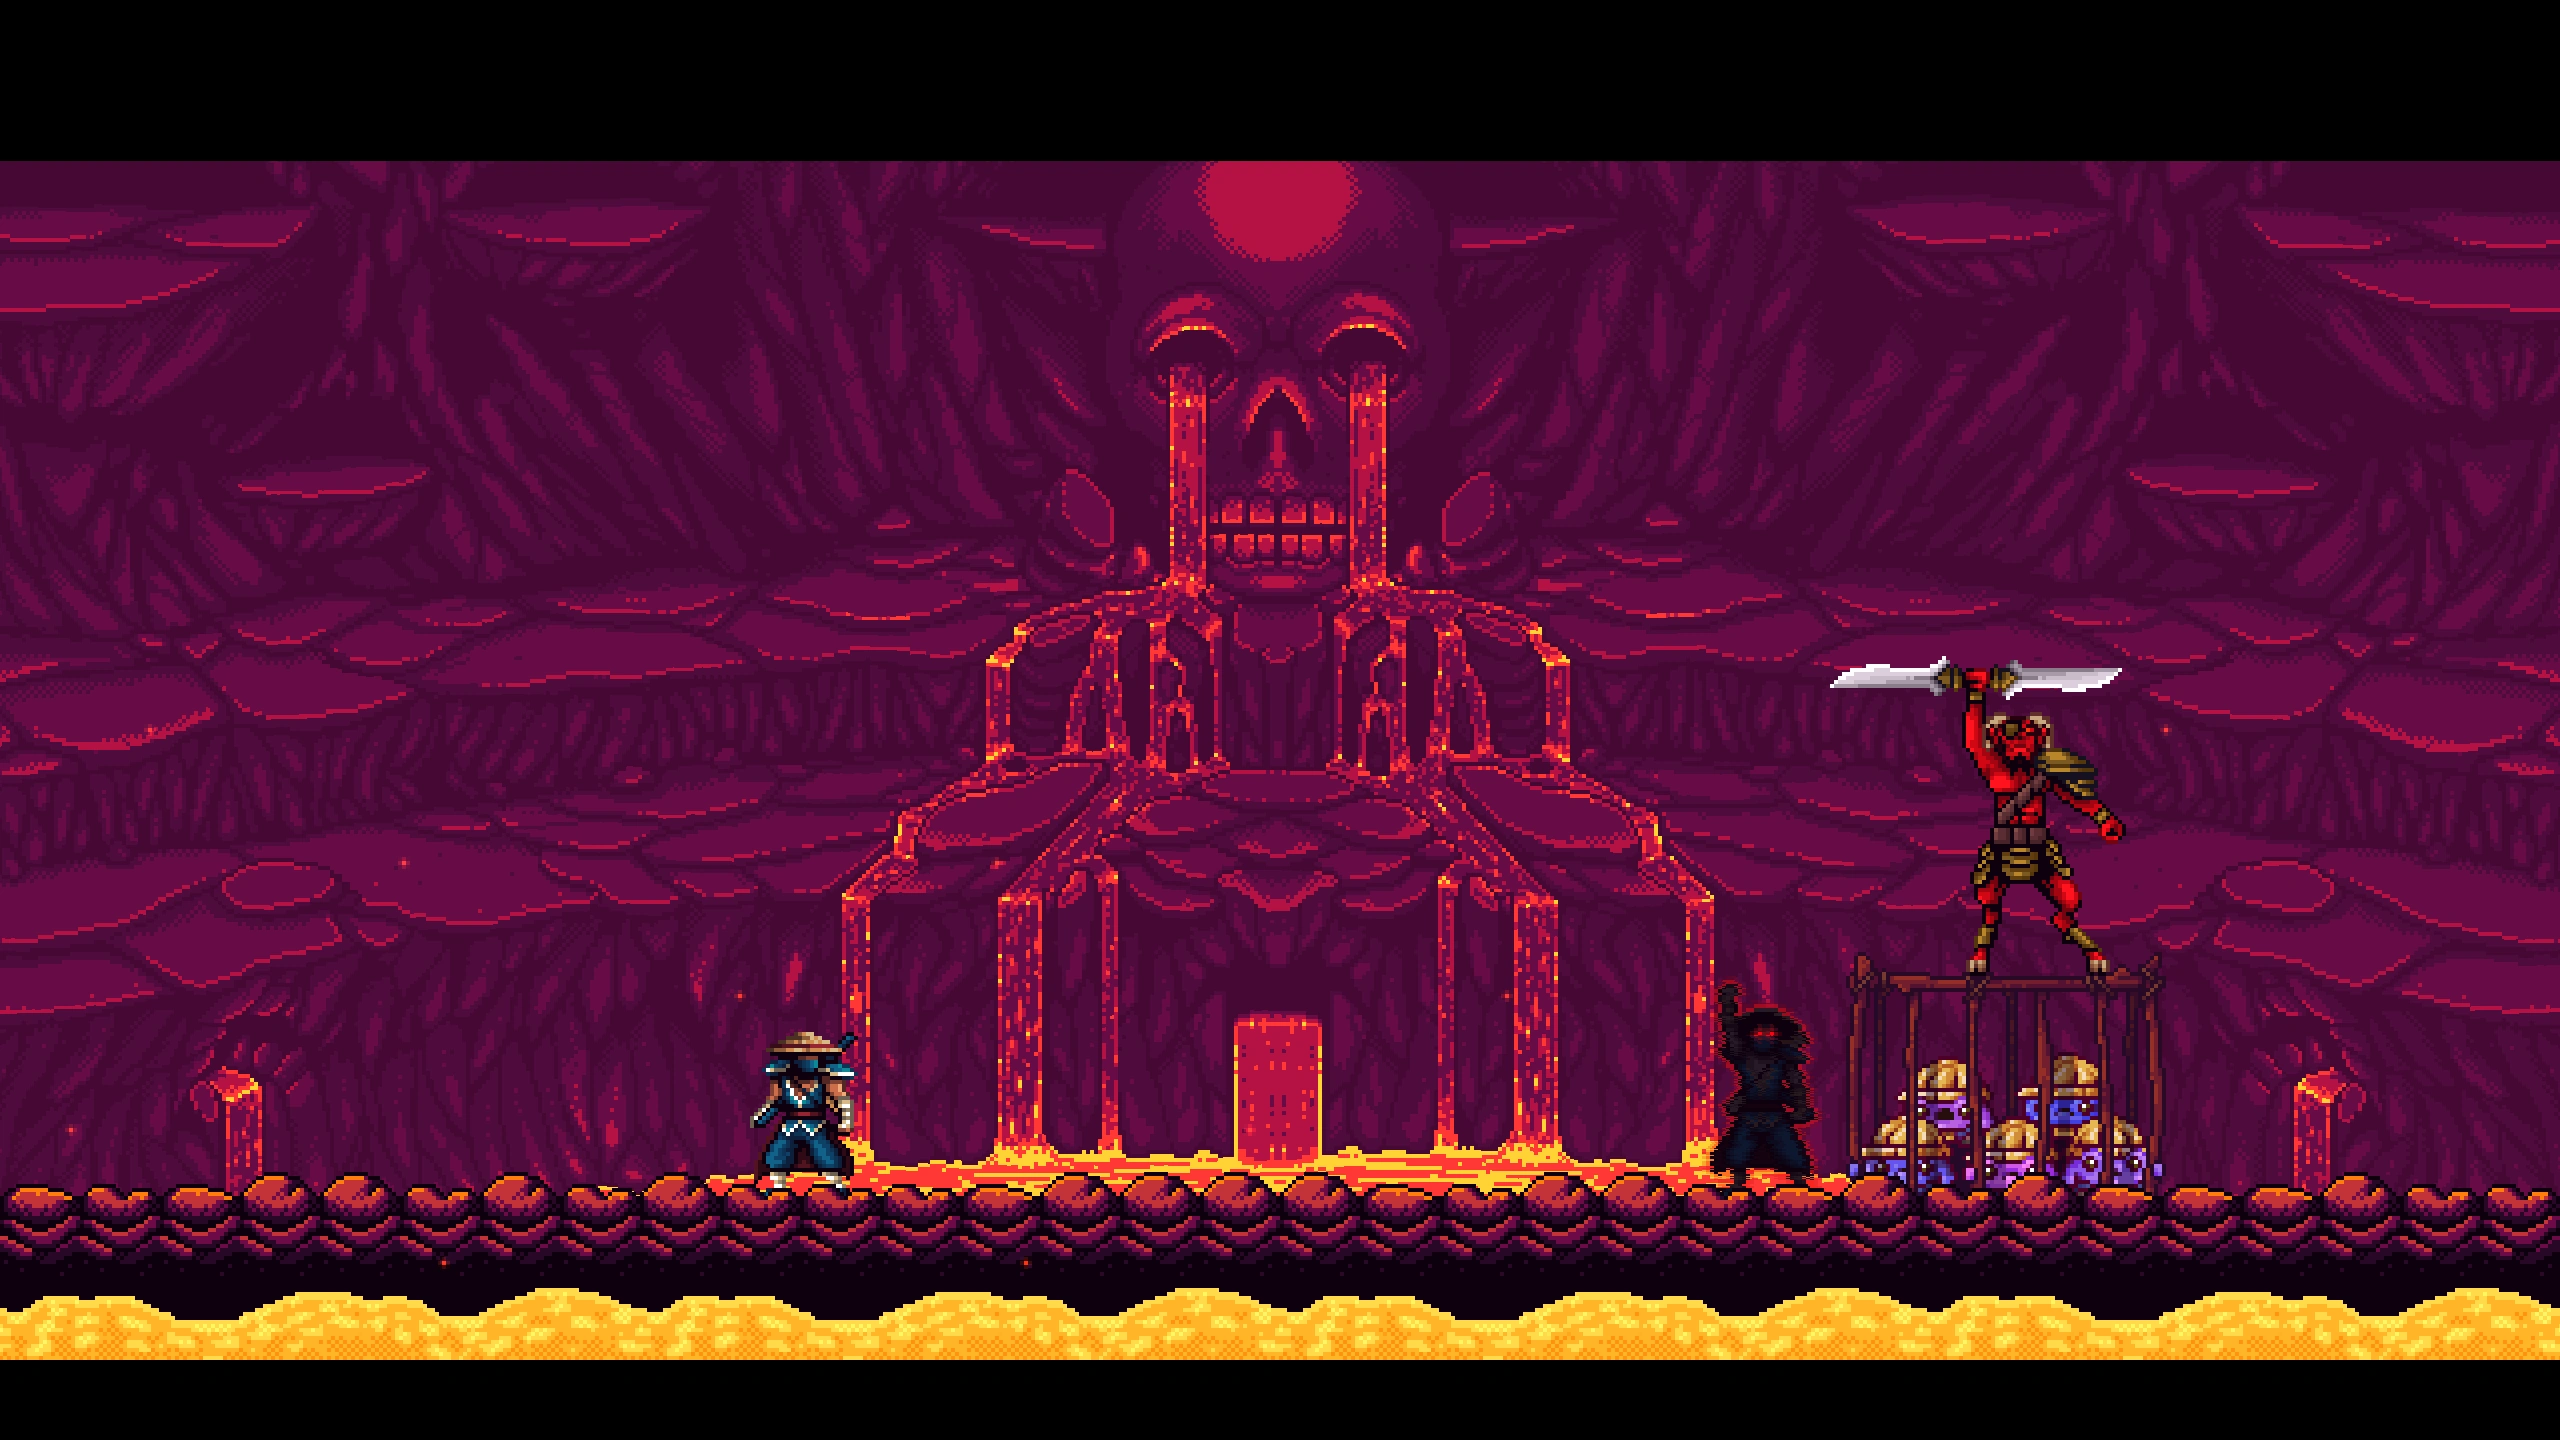
1W-4L | In the upper part of the arena, Dark Messenger rides a thin moving platform to the finish line. Ninja must navigate the lower pathway, which consists of many enemies and obstacles. There are lanterns, thin falling platforms, and a metal ring situated above lava pits. Breakable blocks slow down progress. There are also Tropical Green Kappa, a Croustarde, and a Tropical Ranged Kappa. |
|
4W-2L | The beginning section has metal rings and trails of Time Shards hovering above tall stretches of spikes, ending with Tropical Blue Kappa and Tropical Green Kappa. The middle section has lanterns and a metal ring above a lava pit. The final section leads vertically upward, with walls that alternate between spiky and non-spiky. |
|
3W-3L | The Dark Messenger rides a thin moving platform in an isolated vertical column of the room, hitting switches that activate obstacle-ridden sections of the room that Ninja must navigate. There are a metal ring, sawblades, crusher blocks, lanterns, and moving platforms. There are also a few Tropical Ranged Kappa and Tropical Green Kappa. |
|
2W-4L | A long room filled with time rifts, lanterns, Tropical Green Kappa, spikes, metal rings, and 8-bit swinging spikeball pendulums. The room switches back and forth between 16-bit and 8-bit as Ninja passes through mandatory time rifts. Tall columnar time rifts reveal the opposite era at swinging spikeball pendulum locations. |
|
4W-3L | A long winding drop that requires navigating through spike-filled corridors. There are lanterns, three Tropical Bats, and a Birdy. |
|
3W-4L | The beginning section consists of lanterns, small elevated spike walls, moving spike-lined vertical platforms, a Tropical Green Kappa, and a couple of Tropical Ranged Kappa. The latter section is an upward pathway with a swinging spikeball pendulum, lanterns, and very short Rake Voodkins. |
|
4W-4L | A tall room with many lanterns and a few sawblades. |
Main Story[]
Ninja is trapped by the Voodoo Altar.
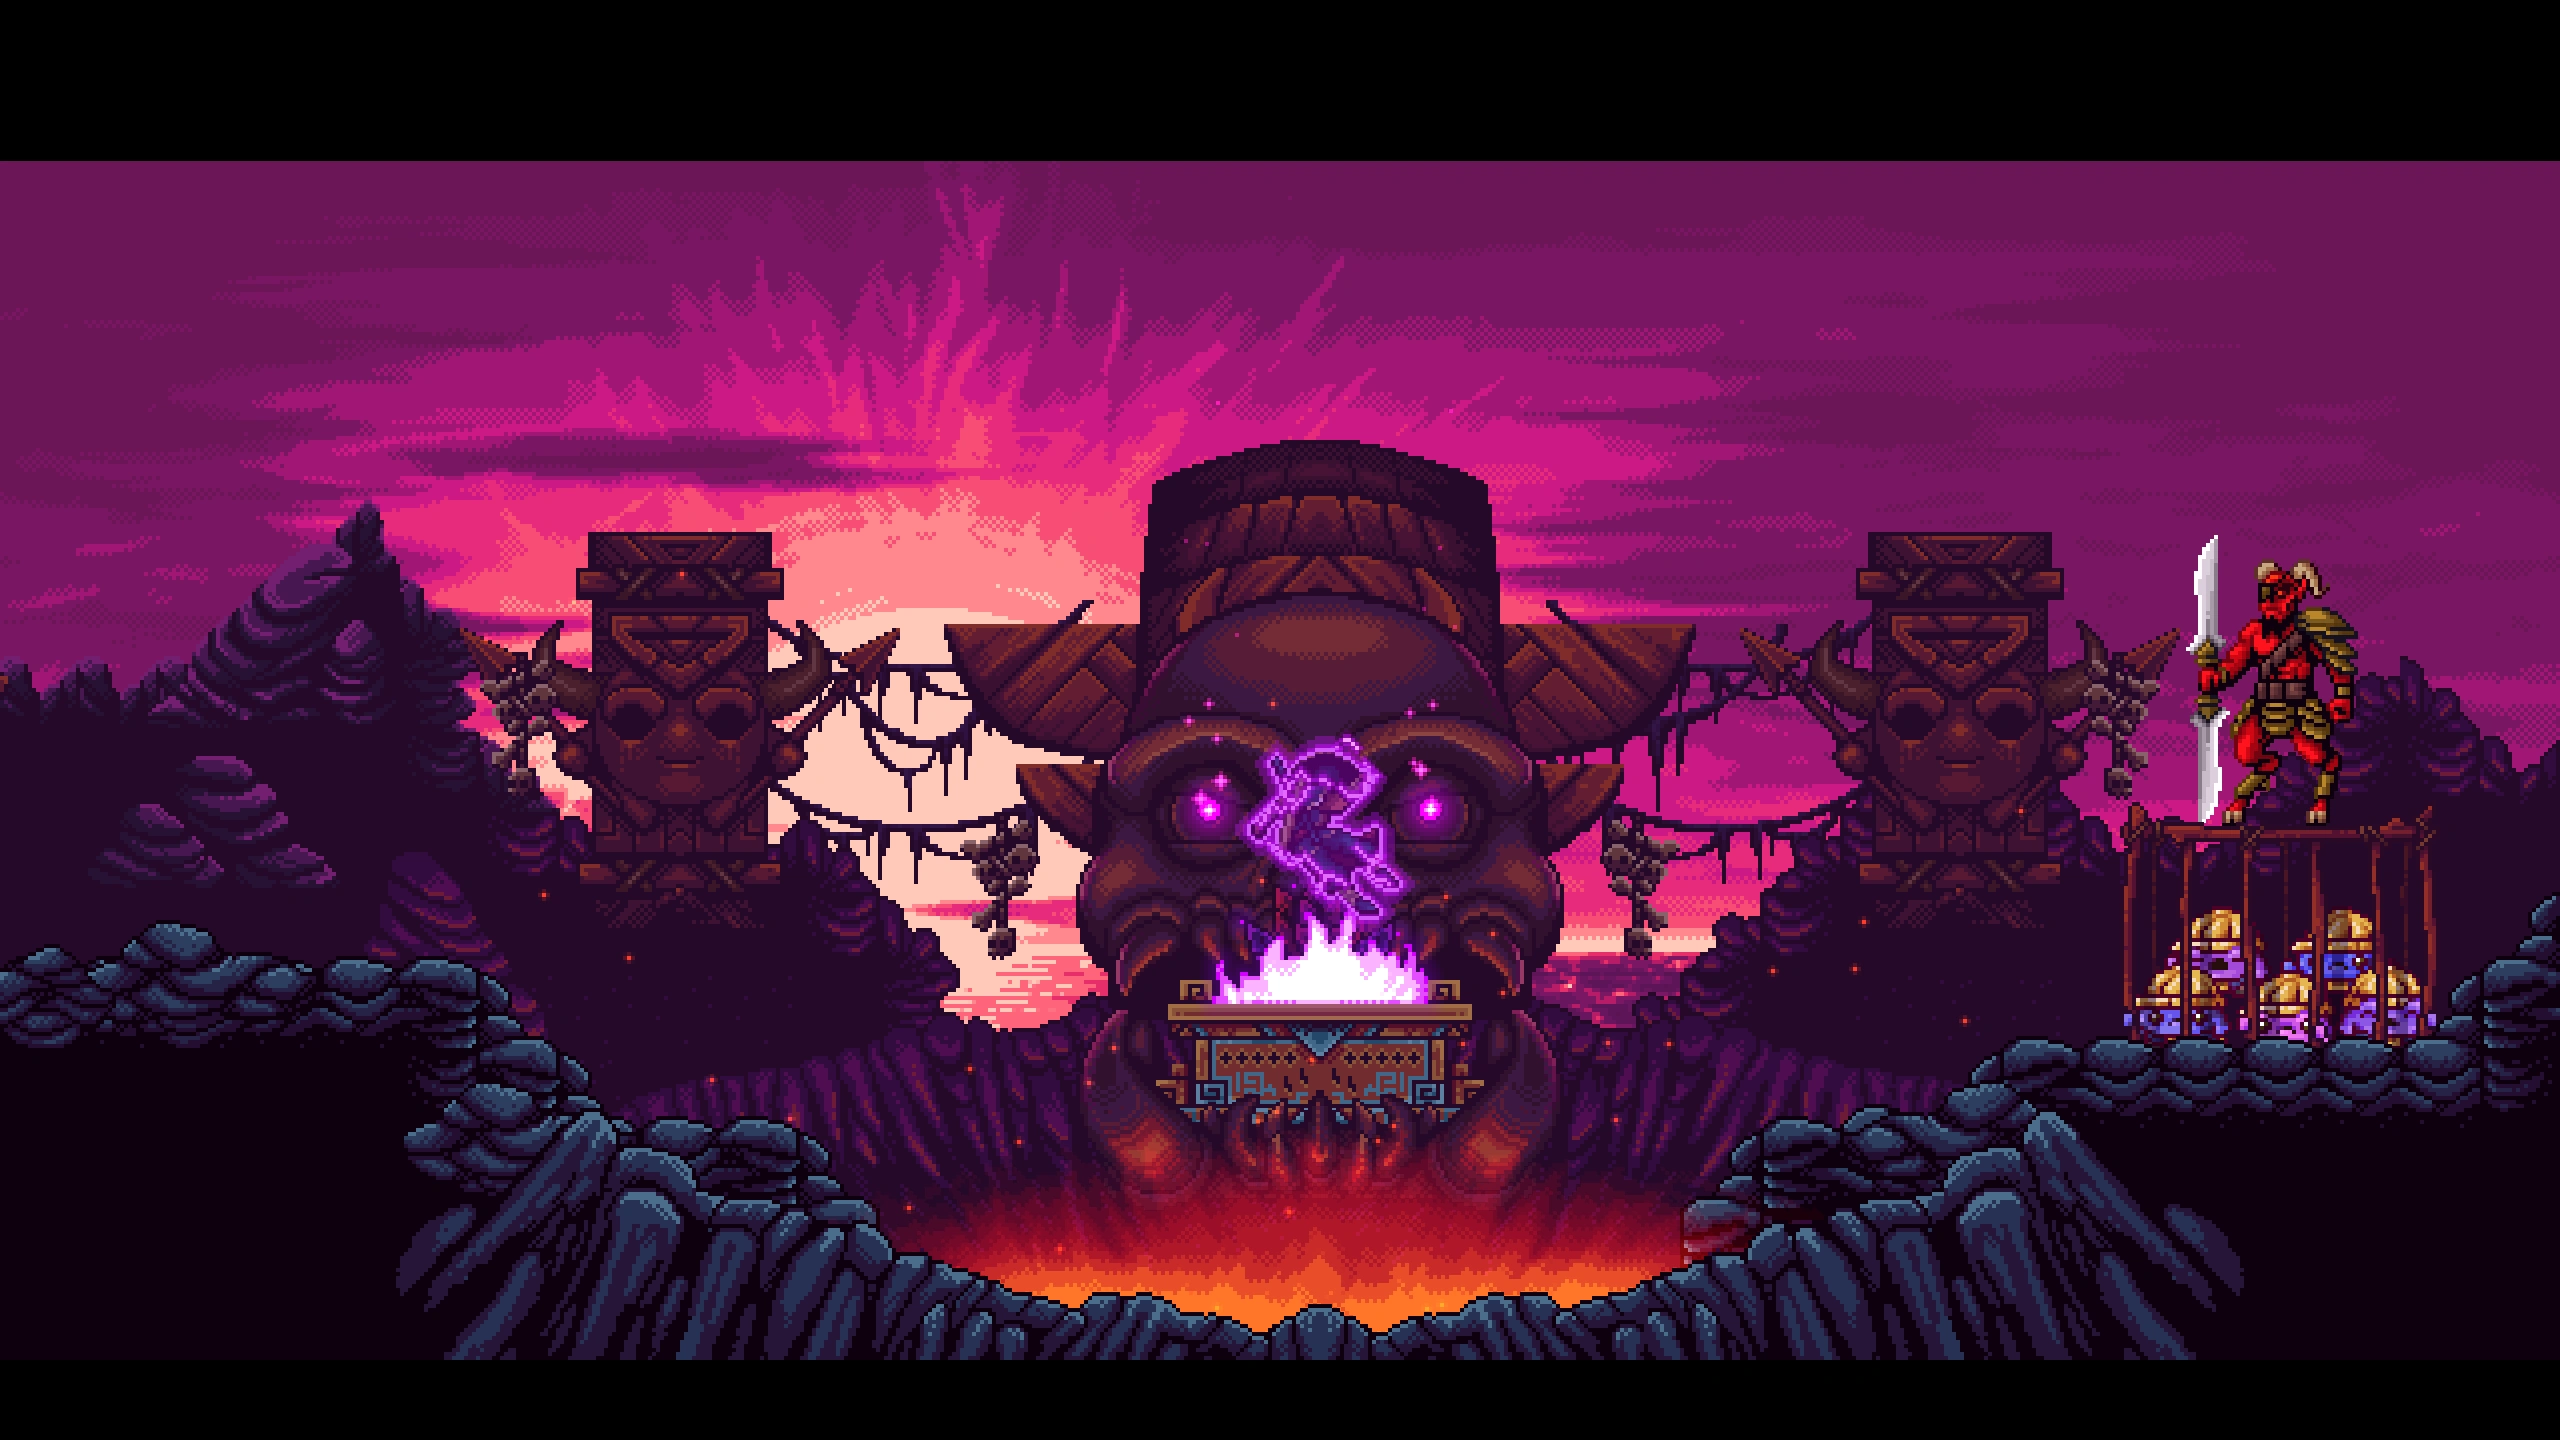
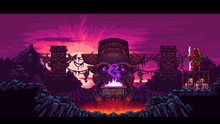
Ninja reaches the top of Fire Mountain, where he encounters Barma'thazël holding the Phobekins hostage in a wooden cage. Barma'thazël traps Ninja using the nearby Voodoo Altar, creating evil clones of Ninja and Quarble. He explains that Voodoo Idols reside in the Voodoo Heart, which are capable of damaging greed demons. Ninja must reach the Voodoo Idols before his dark counterpart does, otherwise he risks losing his protector, Quarble. Barma'thazël teleports away with the Phobekins cage, followed shortly by Quarble teleporting on scene. Quarble urges Ninja to prevent the situation, stating he would rather not die. The Dark Messenger and Dark Quarble hop into the Voodoo Heart, so Ninja and Quarble take pursuit.
Ninja races against the Dark Messenger within the Voodoo Heart in a series of different courses. The Voodoo Idol at the end of each course must be attacked, which deals damage to the opponent's greed demon. If the Dark Messenger manages to win 5 races before Ninja does, Quarble dies, but he and Ninja are rescued by Quillble, who rewinds time back to the beginning of the challenge. Eventually, Ninja wins 5 races against the Dark Messenger, destroying Dark Quarble.
Barma'thazël and the Dark Messenger "do the thing."
Ninja confronts Barma'thazël and the Dark Messenger deep within the Voodoo Heart, but Barma'thazël reveals it was all part of his plan for Dark Quarble to die, since it was necessary to untether the Dark Messenger from its greed demon. Barma'thazël and the Dark Messenger "do the thing," each raising an arm into the air and teleporting away. They return back in the form of a large being, reminiscent of the Arcane Golem. Ninja, The Artificer, and The Shopkeeper form the Arcane Golem and defeat the transformed Barma'thazël in a boxing match. After Barma'thazël and the Dark Messenger are defeated, the two are separated from each other. However, the Dark Messenger is nowhere to be seen and is replaced by a floating orb of pulsating dark energy. Barma'thazël explains that this was also part of his plan, and he absorbs the dark energy into a magic seed, then escapes by teleporting away.
Trivia[]
- The Dark Messenger will not start moving during the races until you walk forward to cross an invisible threshold. (However, there is a glitch where you will sometimes slide forward a bit if you Rope Darted the Voodoo Idol in the previous room, which may result in triggering the threshold.)
Achievements[]
- For the main article, see Achievements.
 |
Star Messenger Win the race with a perfect score |
Nomenclature[]
| Language | Name | Meaning | |
|---|---|---|---|
| English | Dark Messenger | - | |
| Québécois | Dark Messenger | - | |
| French | Messager obscur | dark Messenger | |
| German | Dunkle Messenger / Dunklen Messenger | Dark Messenger | |
| Russian | Тёмный Гонец Tomnyy Gonets |
Dark Messenger | |
| Spanish | Mensajero Oscuro | Dark Messenger | |
| Brazilian‑Portuguese | Mensageiro Sombrio | Dark Messenger | |
| Korean | 검은 전령 Geom-eun Jeonlyeong |
Black Messenger | |
| Japanese | 闇の使者 Yami no Shisha |
Messenger of Darkness | |
| Simplified Chinese | 暗黑信使 Ànhēi Xìnshǐ |
Dark Messenger | |
| Traditional Chinese | 暗黑信使 Ànhēi Xìnshǐ |
Dark Messenger | |
Gallery[]
8-Bit Sprites[]
")
")
")
")
")
")
")
")
")
")
")
")
")
")
")
16-Bit Sprites[]
")
")
")
")
")
")
")
")
")
")
")
")
")
")
")
")
")
")
")
")
References[]
- ↑
"For the Dark Messenger's full potential to be unleashed, it first needed to be... untethered from it's [sic] Greed Demon." ― Barma'thazël
- ↑ Thierry's Lore Tidbits#December 13, 2018
Characters in The Messenger
| |
|---|---|
| Characters | Ninja • Rock Lesieur • Ninja Elder • Demon King • Barma'thazël • The Bowman • Quarble • The Shopkeeper • Caged Monster • Parrot • Ruxxtin • Ruxxtin's Staff • Emerald Golem • Primal Fear • Monk • Quillble • Colos & Suses • The Artificer • The Prophet • The Iron Hood • Manfred • Soldier • Butterfly Matriarch • Guardian Gods • Clockwork Concierge • Pitou • Muse • Phantom • Cowboy • Necro • Claustro • Acro • Pyro • Alektoro • Octo • Pi • Dark Messenger • Voodoo Mask |
| Groups | Ninjas • Demons • Greed Demons • Order of the Blue Robes • Phobekins • Magic Fireflies • Sky Giants • Voodkins |
| Special Roles | Messengers • Western Hero • Fallen |
| Bosses in The Messenger | |
|---|---|
| Main Game | Leaf Monster • Ruxxtin • Emerald Golem • Queen of Quills • Colos & Suses • Arcane Golem • Evil Manfred • Barma'thazël • Butterfly Matriarch • Clockwork Concierge • Demon King • Abomination • Phantom • Mask |
| Picnic Panic | Octo • Voodoo Totem • Dark Messenger • Barma'thething |